How to Cut Shapes from Paper Pulp – Creative DIY Projects

Paper can be an incredibly versatile material for creating unique pieces. Rolled-out paper pulp (or paper-mâché) opens up endless possibilities — you can cut out beautiful shapes that later become part of larger projects. It’s a simple technique that can turn into stunning, handmade creations.
What You’ll Need:
paper pulp (paper-mâché)
a rolling pin
very sharp scissors
paper for sketching your shapes
a brush and PVA glue for smoothing the edges
Step by Step:
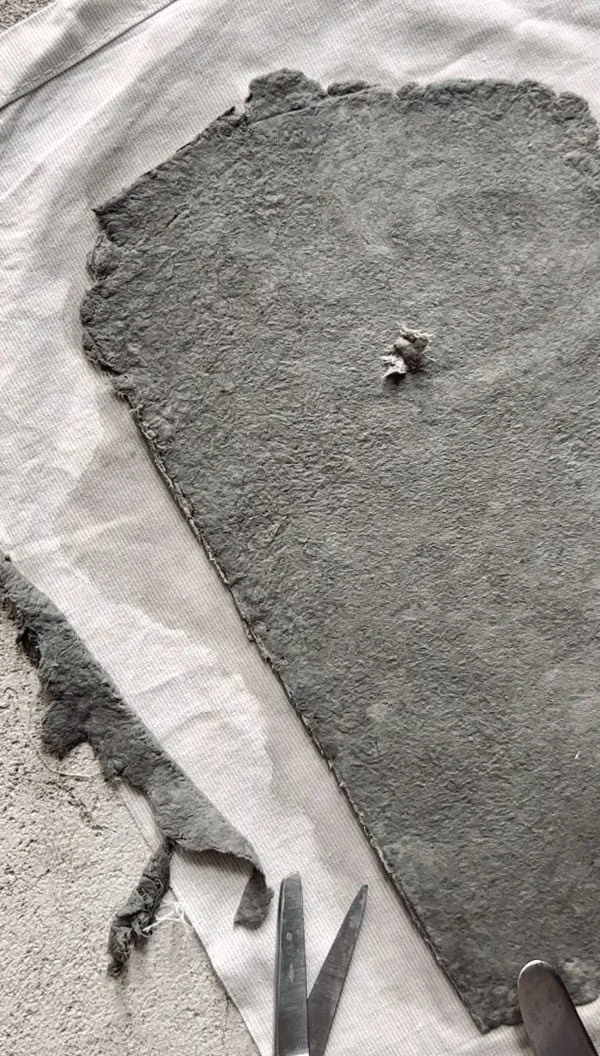
Roll out the paper pulp – try to get an even, thin sheet so your shapes will look delicate and clean.
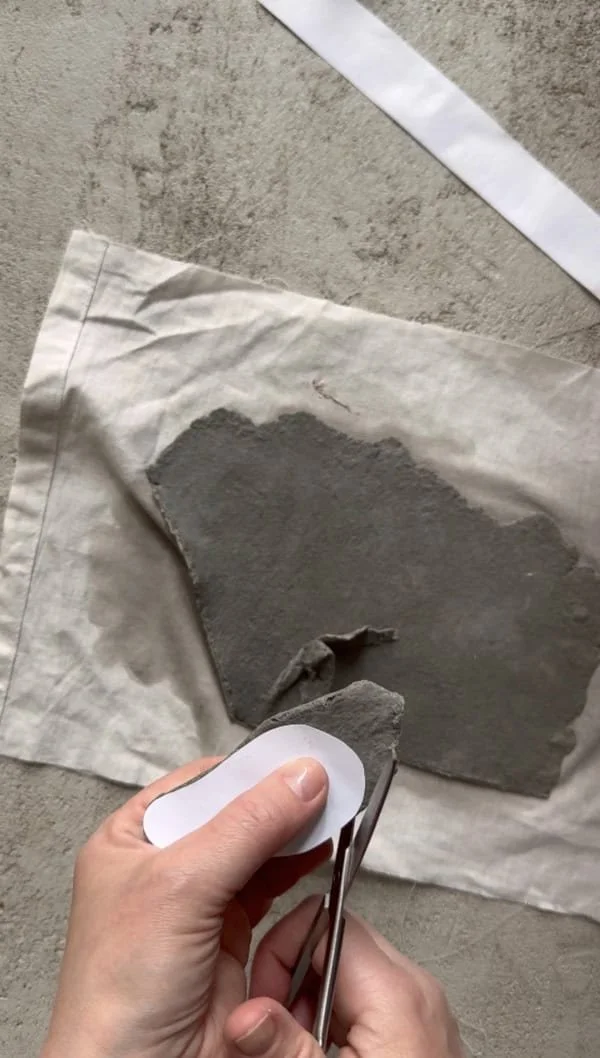
Sketch your shapes – draw your patterns on paper first. These can be organic forms, soft ovals, flower petals, leaves, or any design you like.
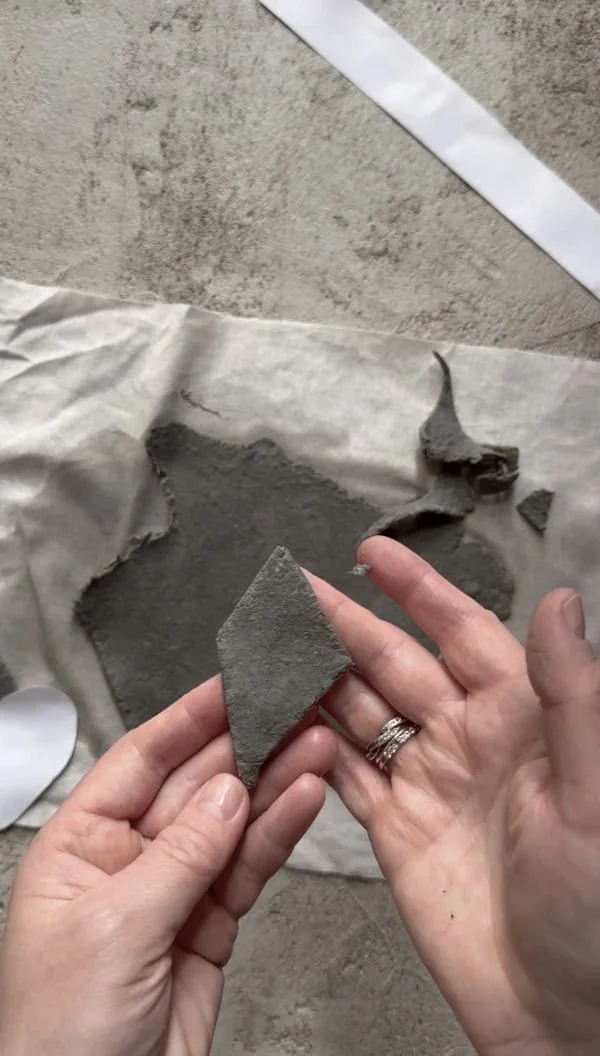
Cut carefully – use sharp scissors to get smooth, precise edges. This makes a big difference in the final look.
Smooth the edges – dip your finger in a little PVA glue and gently run it along the edges of your cut shapes. This will seal and refine them for a polished finish.
Ideas for Projects:
Cutting shapes from rolled paper pulp gives you endless creative options. You can make:
delicate flower petals for decorations,
organic shapes inspired by nature,
layered compositions and textures,
elements for larger sculptures or artistic objects.
This technique is perfect if you love working with your hands and want to create something unique, tactile, and beautifully imperfect. Each cut, edge, and layer carries its own character — making your projects feel organic, personal, and one of a kind.
You can watch the full step-by-step video on YouTube – link [here].