DIY: A Unique Poster- Using Acrylic Anti-Crack

From Ordinary to Extraordinary
Are you ready to turn the ordinary into extraordinary? In my latest DIY adventure, I dove into the world of creativity by repurposing an overlooked item: acrylic anti-crack. Originally intended for home renovations, this versatile substance took center stage in my newest project—a mesmerizing poster that's bound to turn heads.
Unleashing Creativity with Unlikely Materials
I thrive on experimenting with various materials to see what magic I can conjure. Imagine my excitement when I stumbled upon the acrylic anti-crack buried in my stash. It was like discovering a hidden treasure trove of creative potential just waiting to be unleashed.
Creating Magic: Step by Step
Armed with acrylic anti-crack and a clear idea in mind, I set out to create a poster that would exude charm and uniqueness. First, I printed out the text I wanted to include on the poster, and then I turned it into a stencil by cutting out each letter with precision.
With the stencil ready, it was time to get to work. Carefully, I applied the acrylic anti-crack to the poster, admiring how the text took on a three-dimensional effect, adding depth to the entire composition.
Simplicity at Its Finest
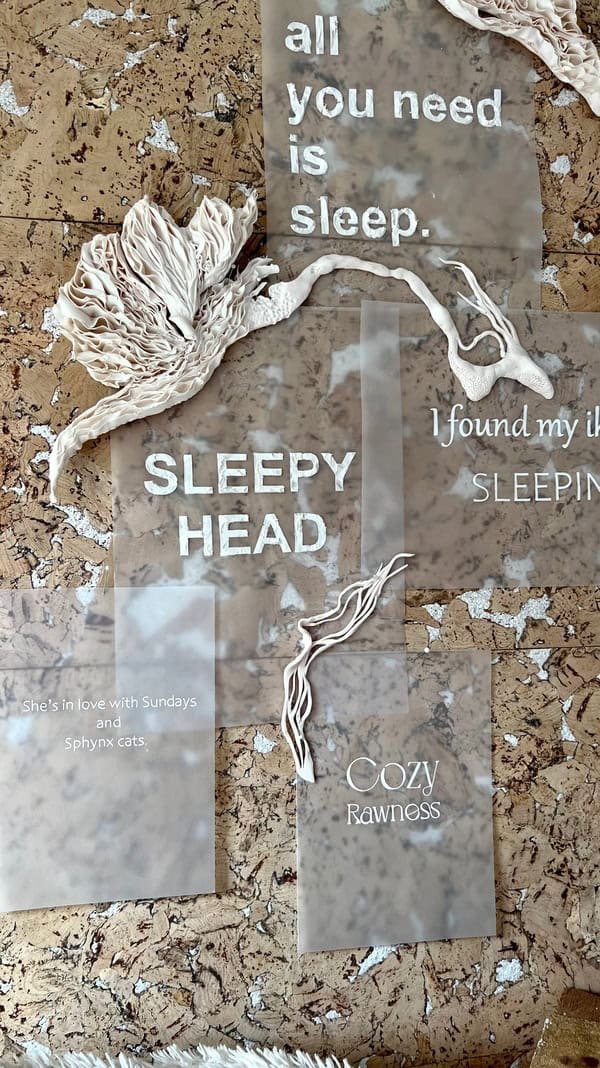
What sets this project apart is its sheer simplicity. While I opted for a sleek monochromatic aesthetic, the beauty lies in its adaptability. Feel free to infuse your own personality by playing with different colors or adding embellishments to suit your style and taste.
Unlock Your Imagination
At its core, this project reflects the essence of creativity and resourcefulness. Whether you're an experienced creator or just taking your first steps into the DIY world, this guide serves as a gateway to unleash your imagination and create something truly unique.
You will need:
Acryl
Scissors
Sheet of paper
Tracing paper (optional)
Spatula (e.g., made from a plastic card)
Pencil
Paper tape
Container for acrylic paint, e.g., a jar lid
Toothpick
Cotton wool
Nail polish remover

We start by printing out the sentence or phrase that interests us. The font should be bold and wide so that there is plenty of space to fill it in with acrylic after cutting it out.
Some letters cannot be cut out entirely - we connect them together with the centers.

Next, we cut out all the letters.


For my project, I used a transparent sheet (tracing paper) because I wanted the background to show through it. You can use colored paper or simply white paper.

Then we place the template on the sheet and attach it using paper adhesive tape.


In the next step, using a spatula (I made mine from an old bus card), we apply a layer of acrylic, covering every space.


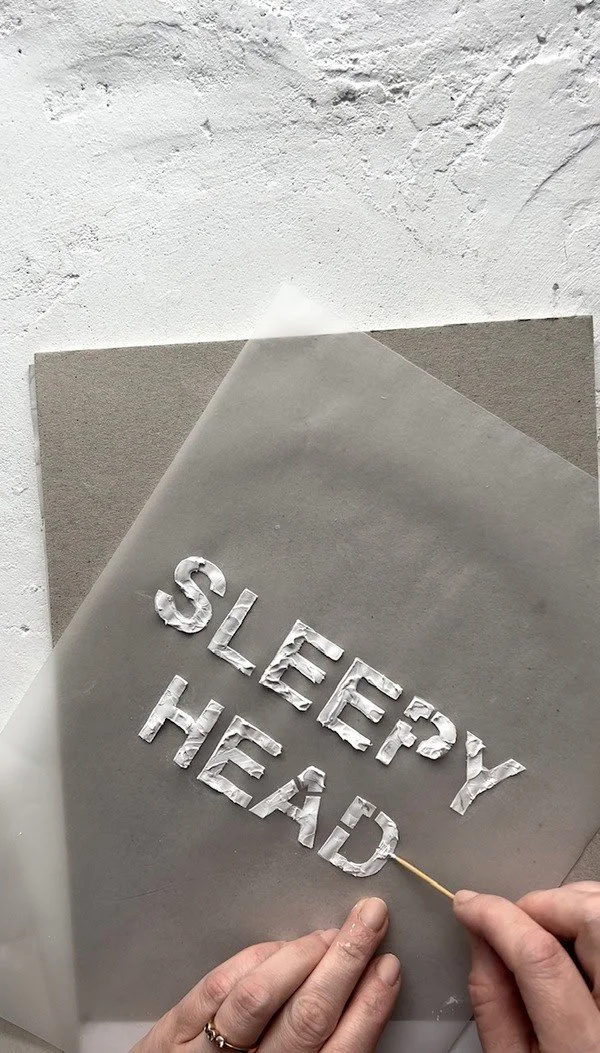
In the next stage, we peel off the paper tapes and swiftly, decisively, remove the template.


Sometimes acrylic may appear beyond the edges of the letters. To remove it, I used a toothpick with cotton wool at the end and nail polish remover.

The final step is covering the spaces within the letters with acrylic – for this, I also used a toothpick.