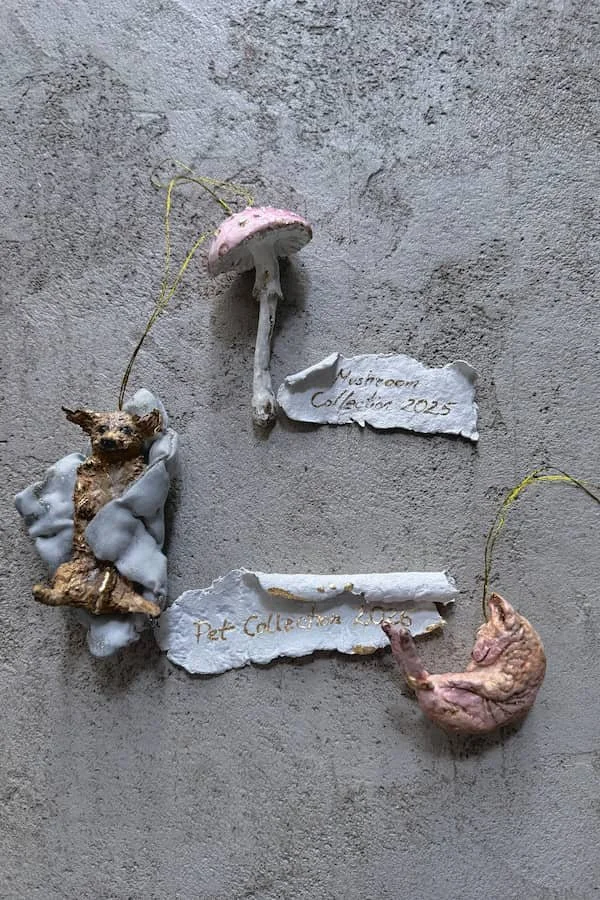
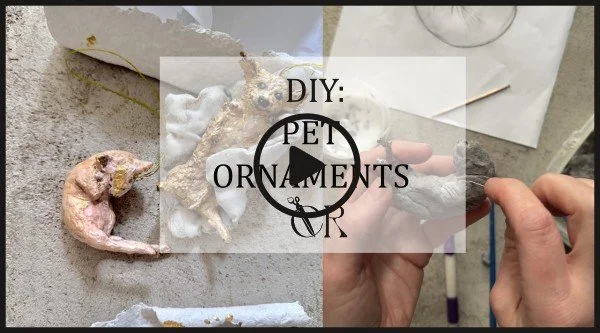
Last year, I made my own Christmas tree decorations for the first time. They were little mushrooms. This year, I wanted to create something completely different: Pet Collection, a set of Christmas ornaments inspired by our pets.
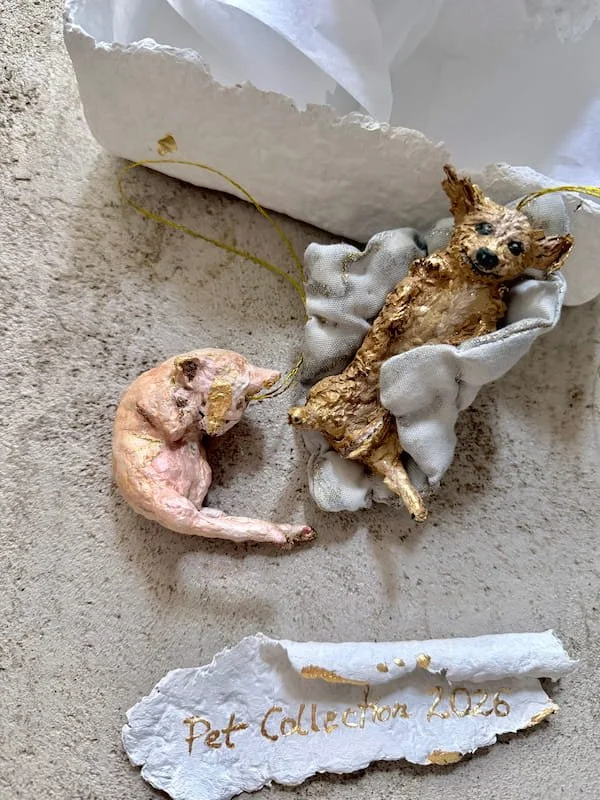
The first two figures represent Andżelika, our cat, and Wiesia, our dog. Two more ornaments for the rest of the family are still in progress. I wanted each one to resemble its real-life inspiration — its shape and the special character we know so well.
A more raw finish
As always, I start with a wire frame, but for this collection I used the paper pulp in a different way. The figures have a more raw, uneven and textured surface. I didn’t want them to be perfectly smooth. I wanted them to show that they are made from paper and shaped by hand.
Capturing the likeness of each pet turned out to be quite a challenge. Every animal has its own shape and little features that make it unique. I tried to capture these in a small Christmas ornament.
Pearly colours and a golden shimmer
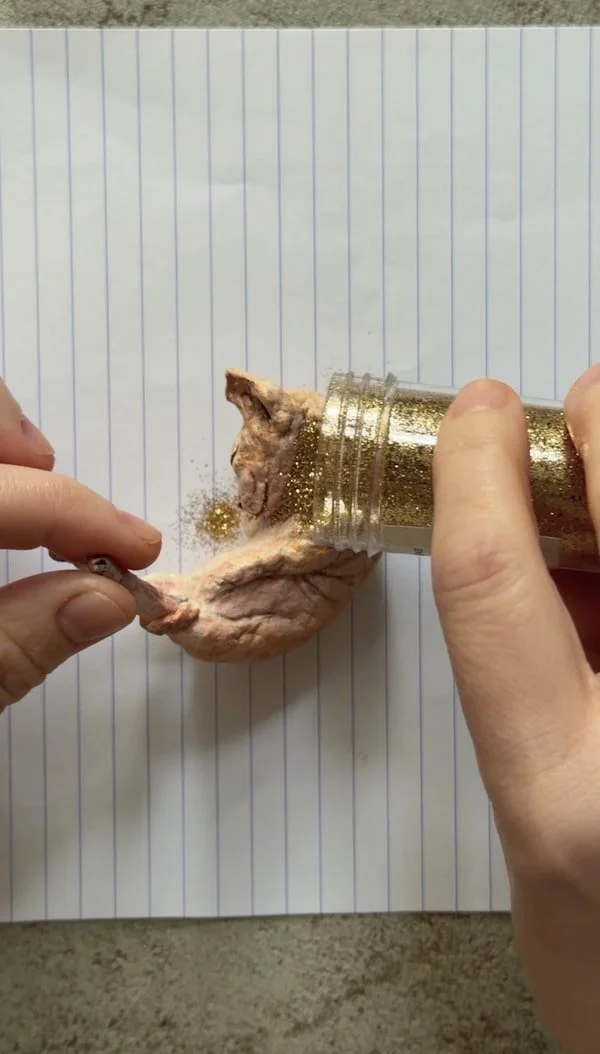
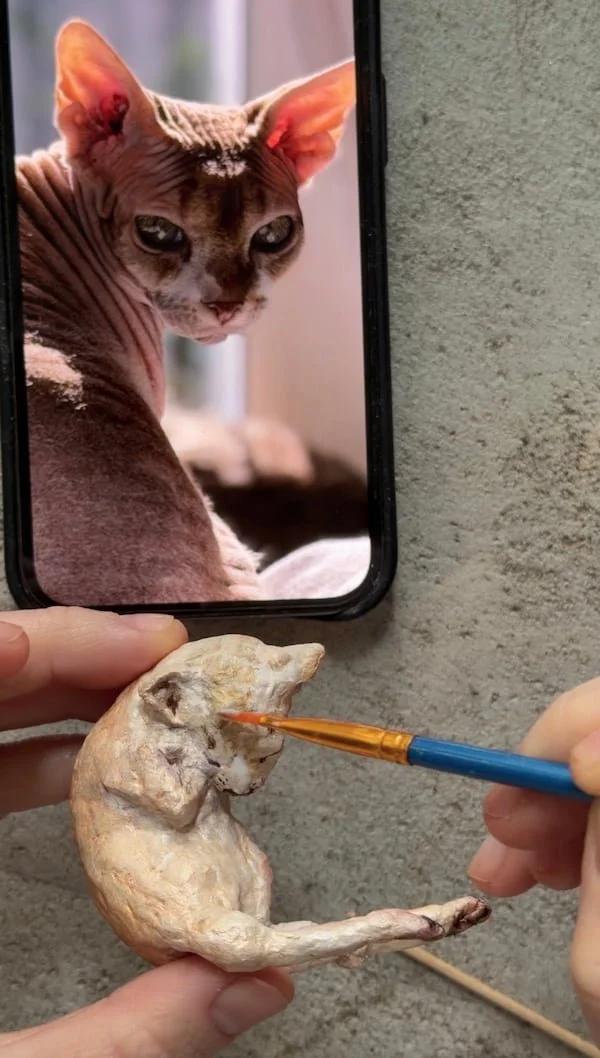
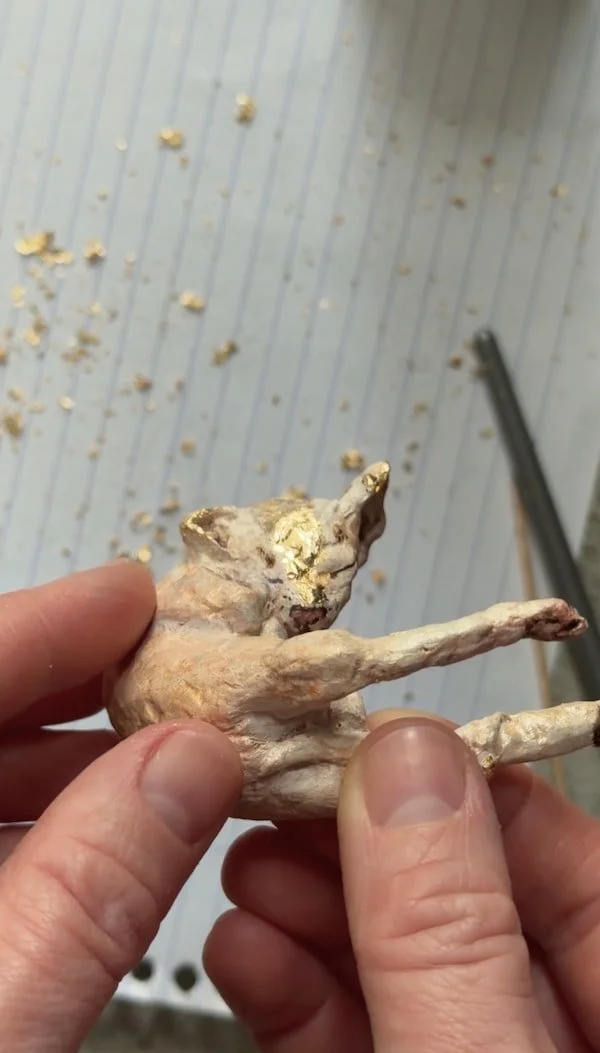
I also changed the way I decorated the figures. For last year’s mushrooms, I used glass paints; this time, I chose pearlescent paints with a subtle shimmer. I picked shades to match the appearance of my pets, then added a few gold details and a little glitter.
Pet Collection is a very personal project for me. These ornaments will bring more than Christmas decorations to our tree — they’ll also bring little likenesses of the pets who are part of our family. Each figure has its own character and its own little story.
FULL TUTORIAL:
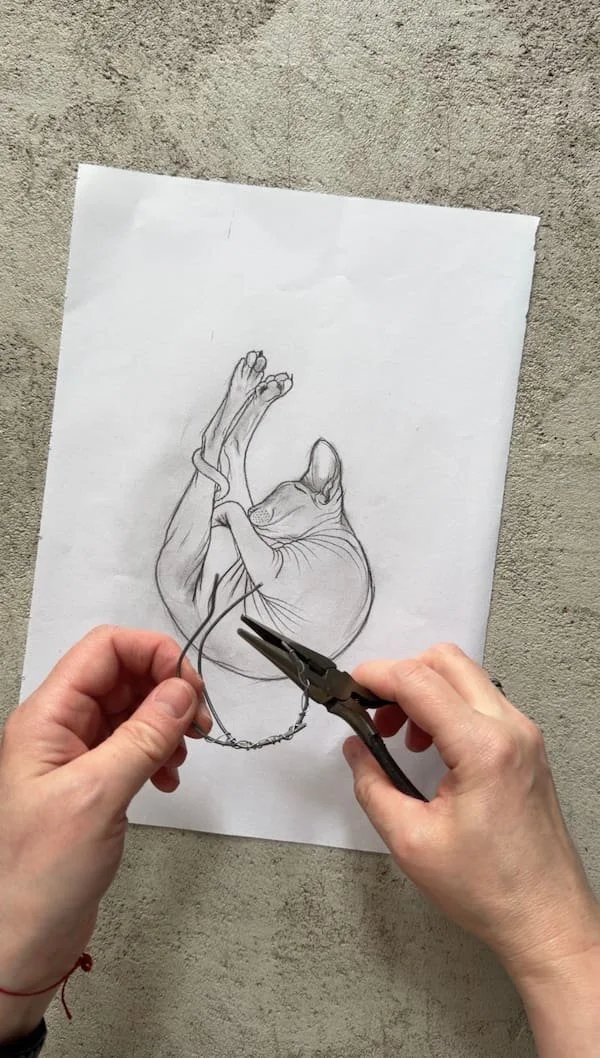
1. Creating the wire frame
I start by making a small wire frame. I use thicker wire, joining two pieces with a thinner piece. I chose a shrimp-like shape because that’s how Andżelika looks when she’s asleep. As I shape the wire, I try to capture the curve of her body and the position of her legs.
2. Wrapping the frame
I wrap the entire frame in a layer of aluminium foil. This helps hold the wet paper pulp in place.
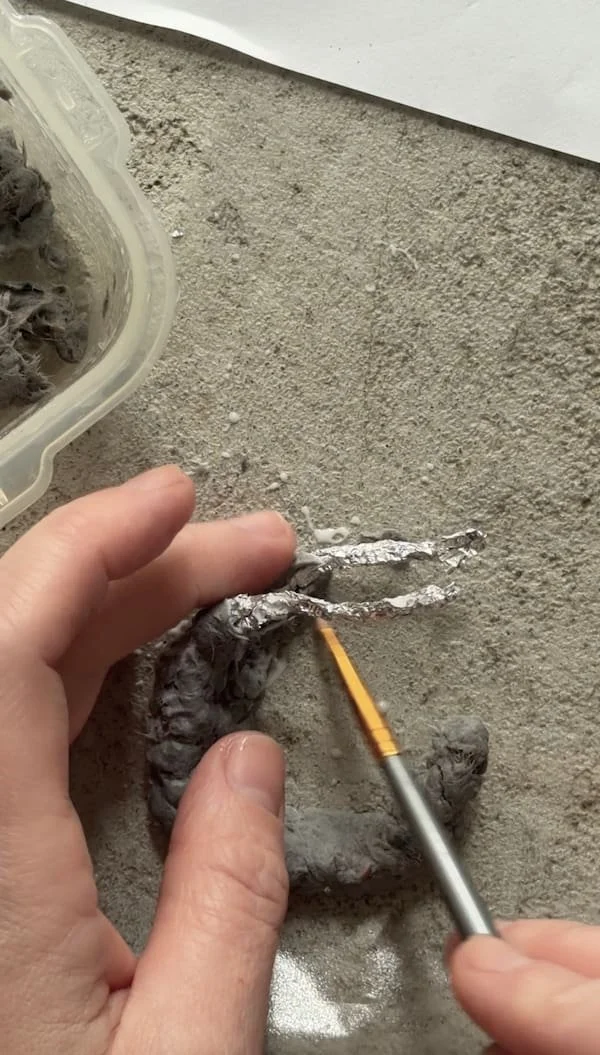
3. Building up the paper pulp
I start by applying the first layers of paper pulp. It’s best to work in stages: add a few layers and let them dry slightly before covering the remaining areas. The pulp may not stay in place if you try to cover the whole frame at once, so building it up gradually works best.
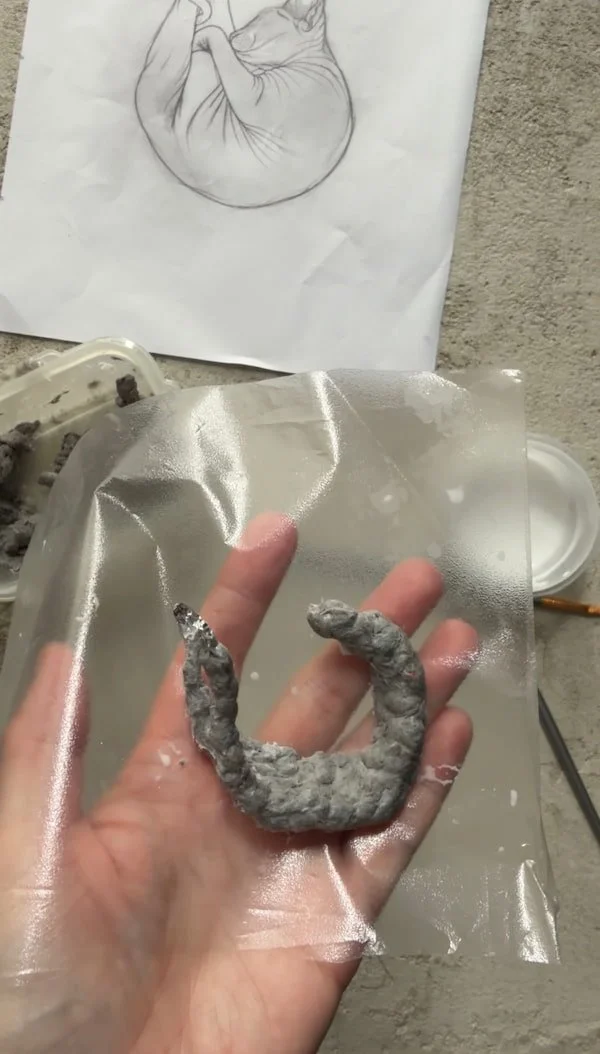
4. Building the main shape
Once the first layer has dried, I add more layers to create the main shape. I build up the pulp to give the figure a fuller silhouette, shaping the head, legs, belly and rounded back.
I used a toothpick, pins and other fine-pointed tools to shape the finer details.
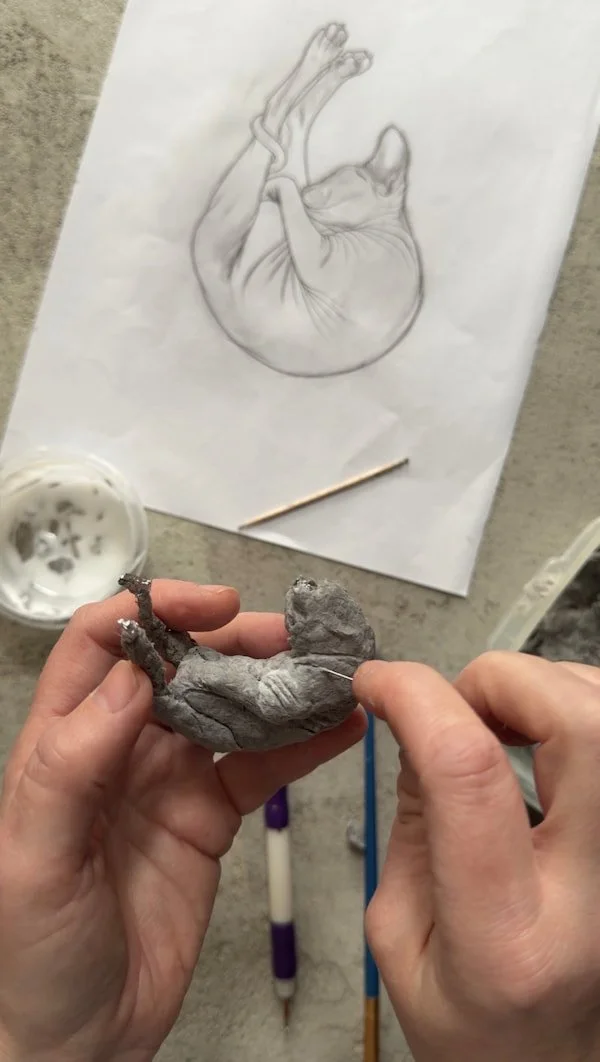
I leave the whole figure to dry.
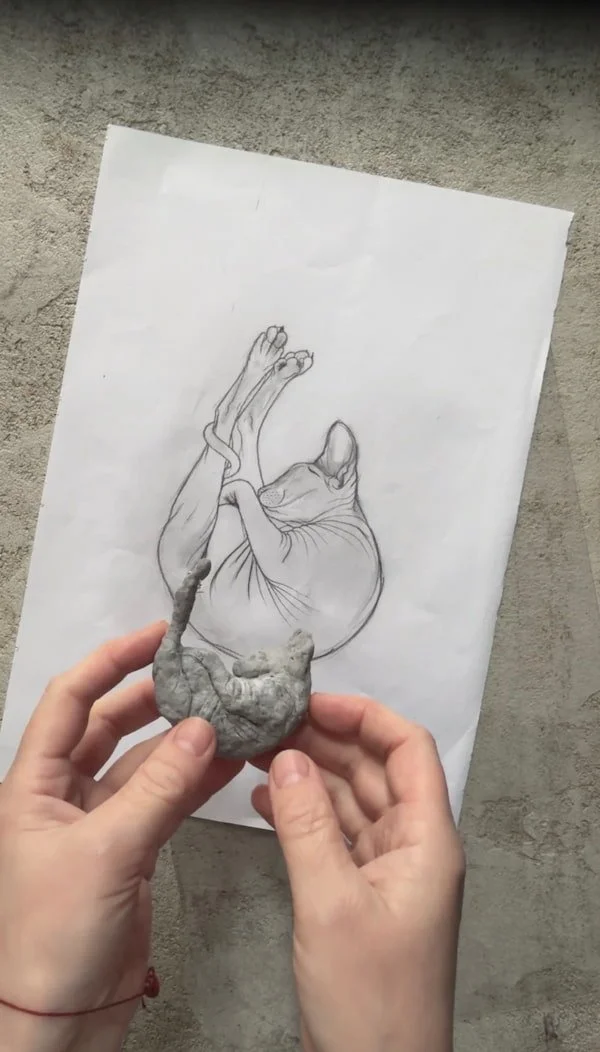
5. Smoothing the surface
Once the figure is dry, its surface may be uneven. You can gently sand it to smooth it out.
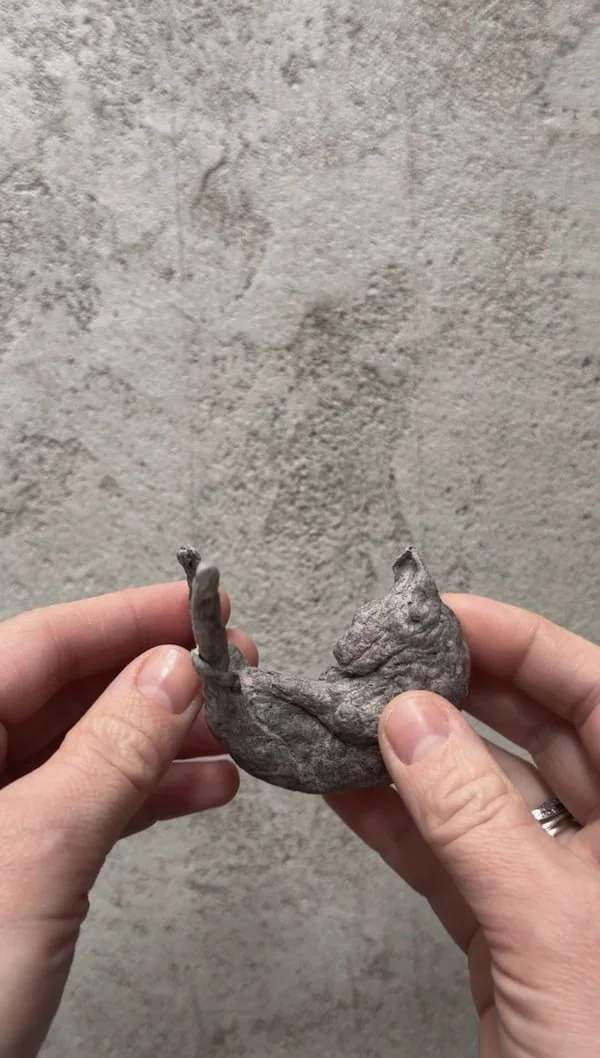
6. Painting the figure
I first gave the figure two coats of white acrylic paint. Then I chose shades to match my cat’s skin tone.
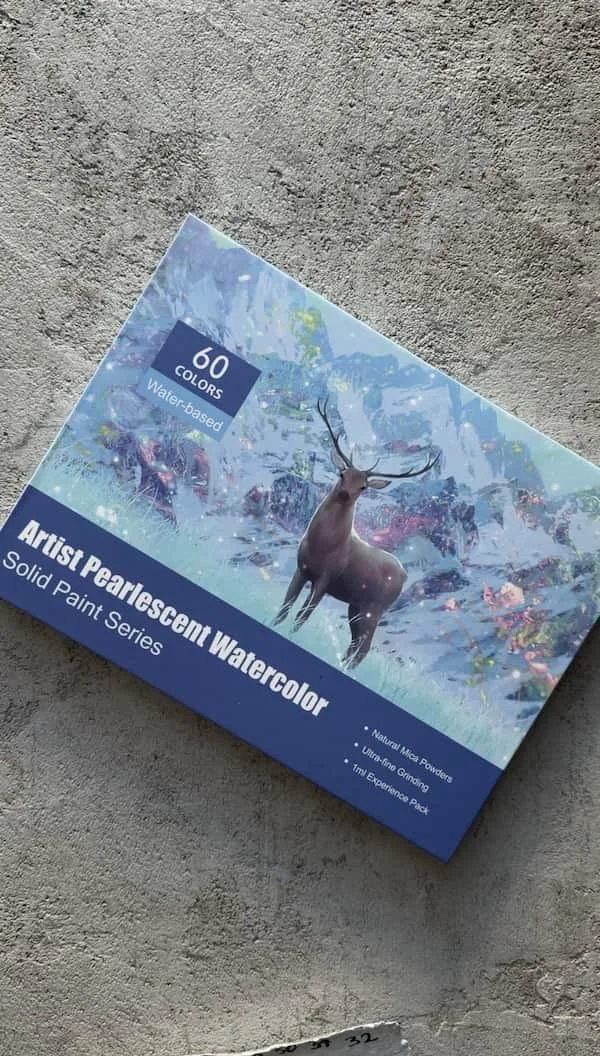
I bought these shimmery paints last year, especially for the Christmas ornaments I planned to make this year, and I can definitely recommend them. They apply beautifully over acrylic paint, dry very quickly and leave a lovely pearlescent sheen — just what I wanted for these decorations.
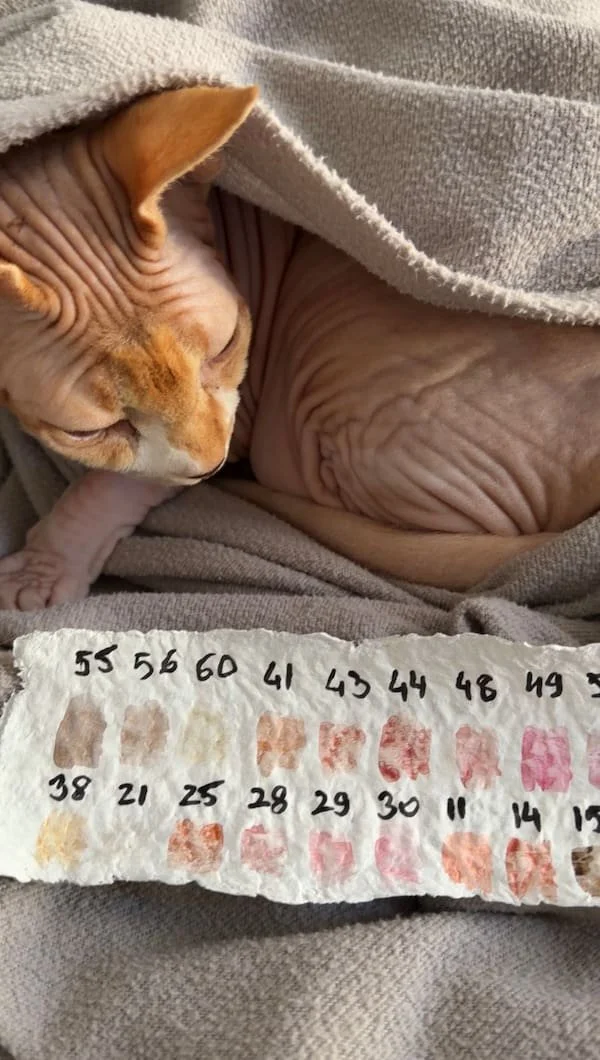
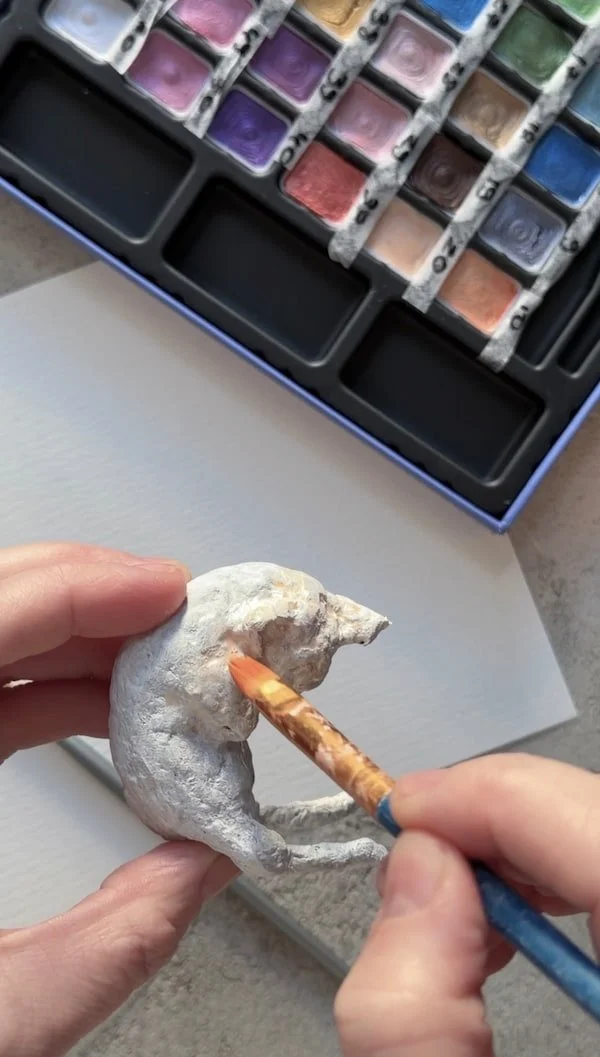
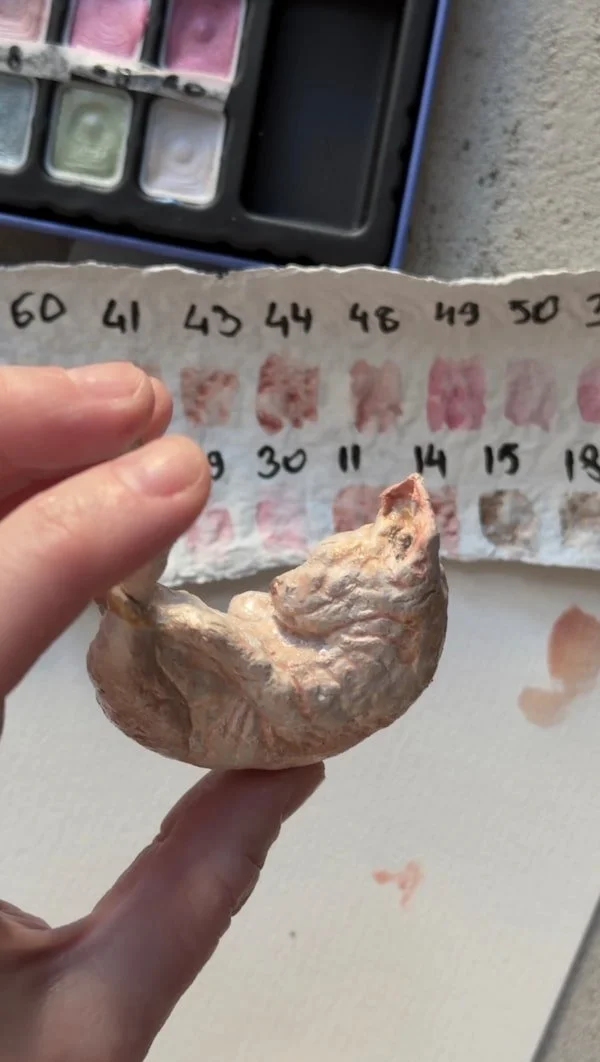
7. Adding the decorative details
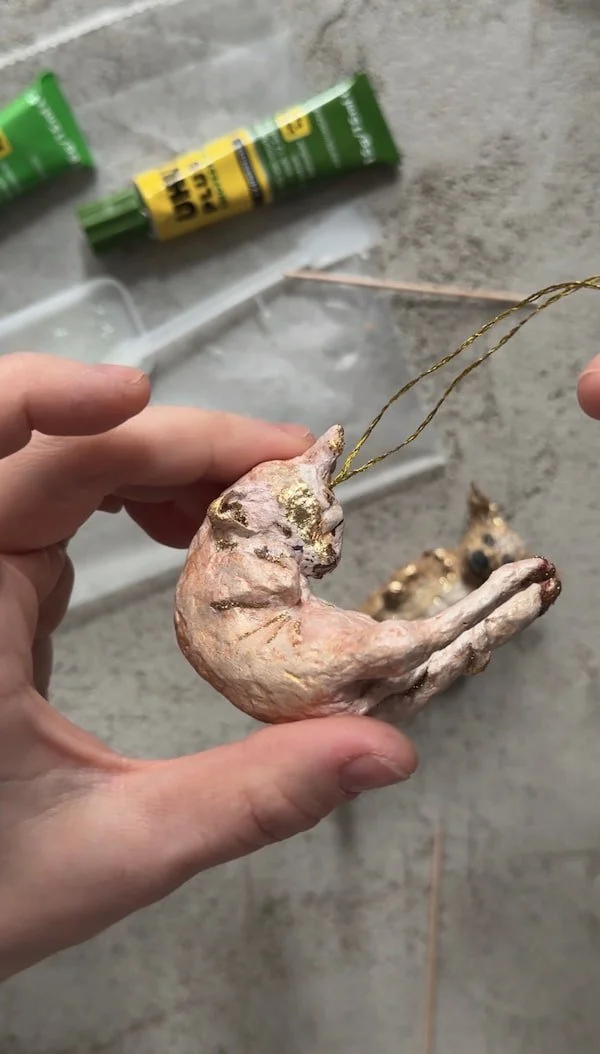
I used a special adhesive to add both glitter and metal leaf.
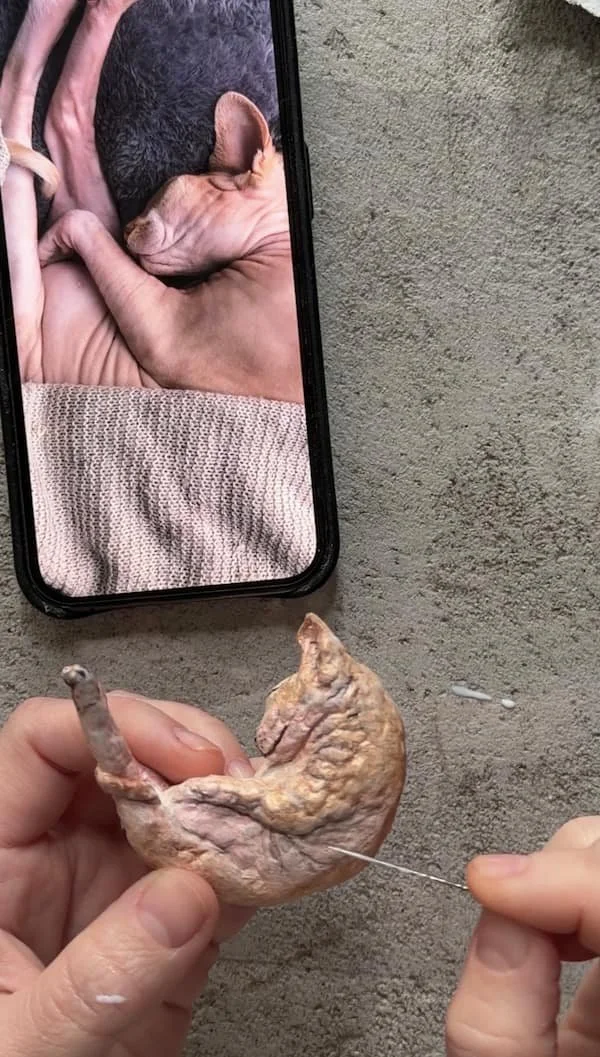
8. Adding the hanging loop
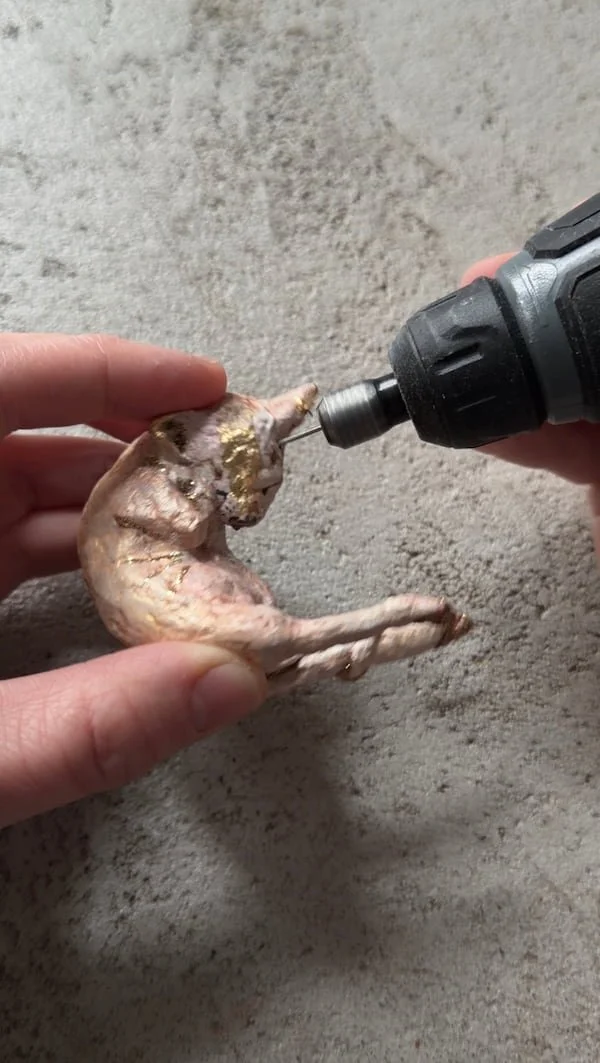
Before making a hole, check carefully where the hanging loop should go. I temporarily attached the middle of the loop to the figure with small pieces of masking tape, then checked how the ornament hung. This way, you can adjust the position before making a permanent hole.
I first attached mine near the belly, but the weight was off and the ornament didn’t hang nicely. I had to remove the loop, smooth the area and repaint it, so it’s worth checking the position carefully.
I made a new hole in the head and cleaned out all the dust. Then I secured the loop with a strong two-part adhesive. You can buy a ready-made hanging cord or make one yourself, as I did. I plaited six lengths of gold thread into a simple braid.