How to Roll Out Paper Pulp – My Tried and True Method
Making paper pulp and rolling it out is a process that opens up so many possibilities. You can create anything from sturdier sheets perfect for bookmarks, to elements that can be applied to three-dimensional shapes and blended seamlessly, or completely flat surfaces that are easy to cut into specific patterns or details.
Over the past few months, I’ve done countless experiments, testing different ways of rolling, drying, and shaping. Today, I want to show you the essence of this process – the version that, for me, is the most universal and gives the cleanest, nicest result. It’s the perfect base for further experiments and for those calm, meditative moments at a table full of wet rags, pieces of foil, and the fresh smell of damp paper.
1. Paper Pulp
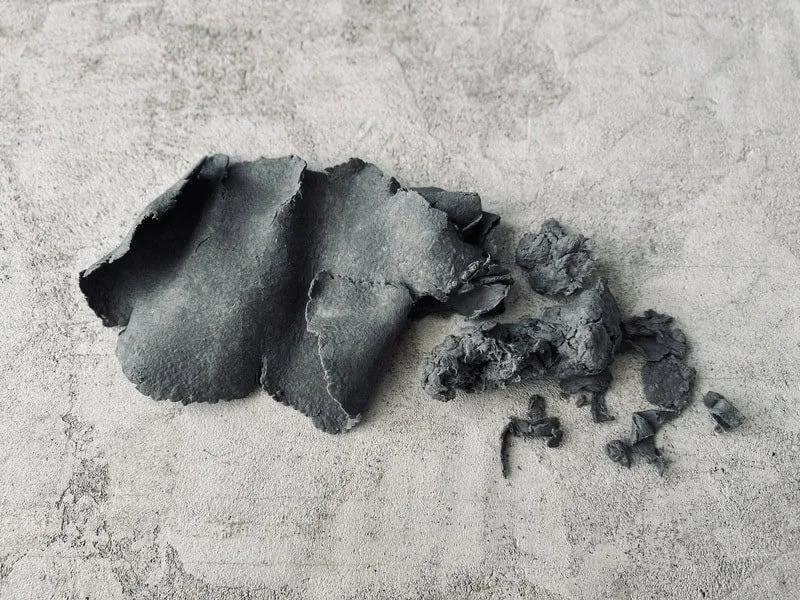
Before we can even start rolling, we obviously need the paper pulp itself.
You can find my tried-and-tested recipe here → [link to recipe].
The most important thing is to have the pulp well-prepared – compact, cohesive, and uniform, but not too wet or too dry. It should be easy to shape in your hands, not stubbornly stick to your fingers, and at the same time not crumble at the touch. This consistency is key because it makes rolling easier and ensures a smooth, even surface.
2. Transparent Base Layers
Rolling is best done on a flat table, but it’s important to protect both the surface and your rolling tool. Paper pulp is damp and can stick, and we don’t want to damage the table or constantly clean the rolling pin.
Stiffer, smooth sheets work great for this purpose – think cellophane sheets, binding covers, or thicker plastic sleeves for binders. Avoid soft or flimsy plastics, like garbage bags, because they tend to wrinkle and make it difficult to achieve a flat sheet.
The plastic base acts as a protective barrier and makes it easy to lift the finished pulp without damaging it. And if you cover the pulp with a second sheet of plastic, your rolling pin will stay clean and dry, making the process much smoother.
3. Cloth Layers
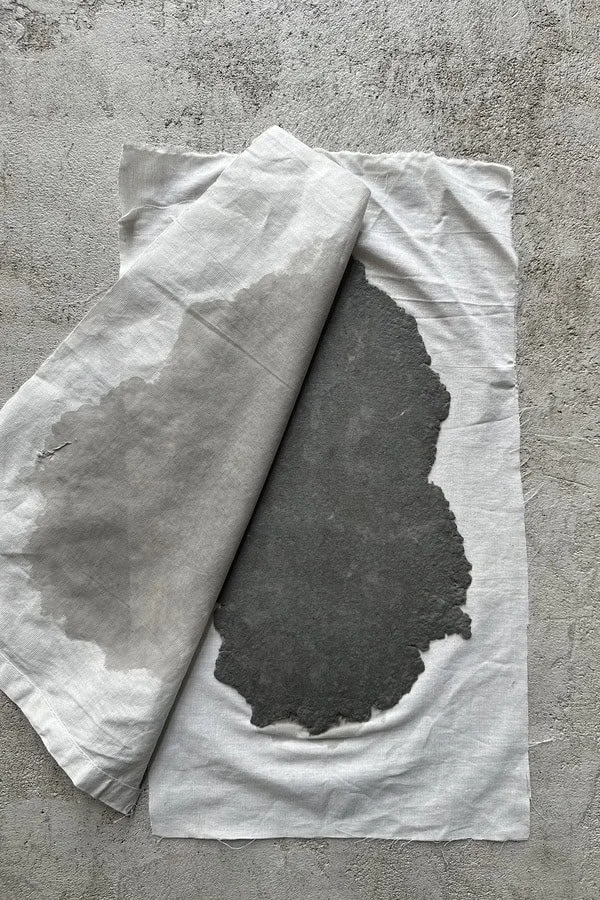
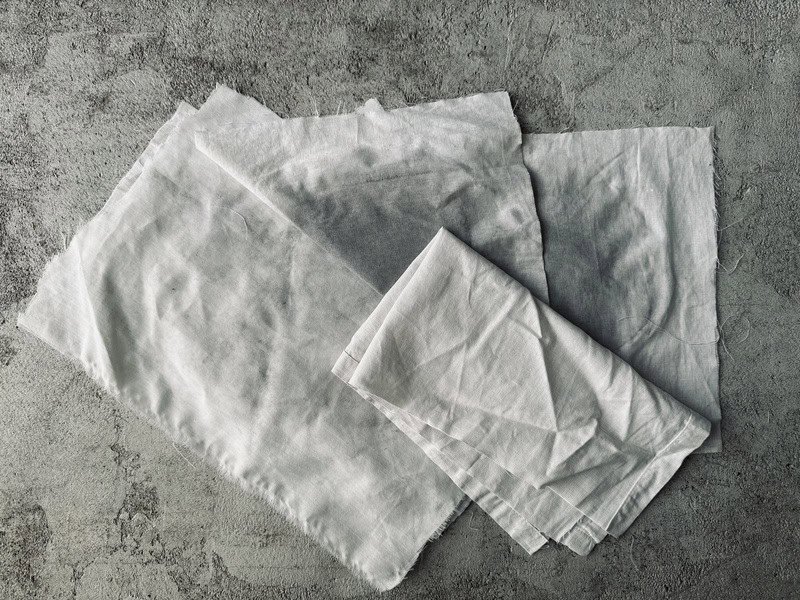
While you can roll the pulp just between plastic sheets – and that’s exactly what I did in the beginning – I eventually discovered that adding a layer of fabric makes the whole process easier. The best are cotton, non-stretch fabrics.
Here’s my setup: plastic → cloth → paper pulp → cloth → plastic.
This makes rolling much more comfortable, and the excess water naturally soaks into the fabric. The result? The pulp dries faster, and it’s easier to get an even surface without water “floating” underneath.
I keep a little pile of fabric scraps in different shapes and sizes. Recently, I even used leftover pieces of Ikea curtains I had to shorten – perfect for projects like this! And I can wholeheartedly recommend old kitchen towels with stains that are no longer fit to hang in the kitchen. Instead of scaring people there, they’re brilliant in the studio. :)
4. Rolling Pin
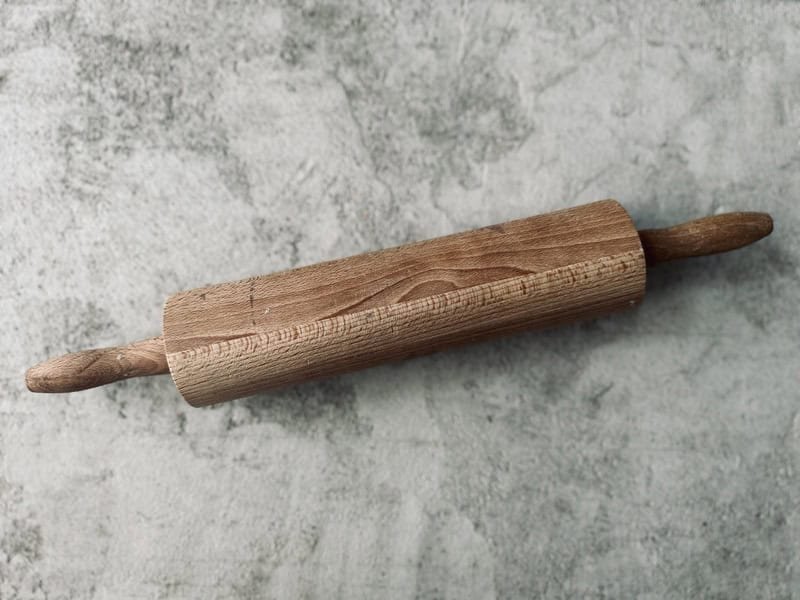
I use a regular wooden rolling pin. Since I bake often, my first instinct was to “borrow” one from the kitchen (luckily, I have a few :). A wooden pin works best for me – it has a good weight, feels comfortable in the hands, and spreads the pulp evenly.
After so many studio sessions, my rolling pin has started to creak a little (you can even hear it in some videos!), so I think it might be time to give it a light oiling.
If you don’t have a rolling pin, don’t worry! A glass bottle works perfectly – a wine, olive oil, or even liquor bottle. The important thing is that it’s cylindrical and smooth so you can get consistent pressure when rolling.
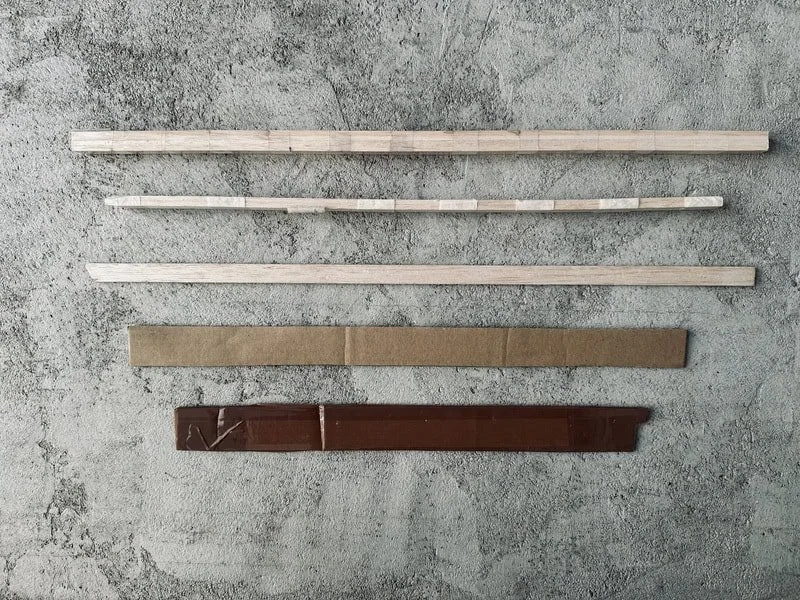
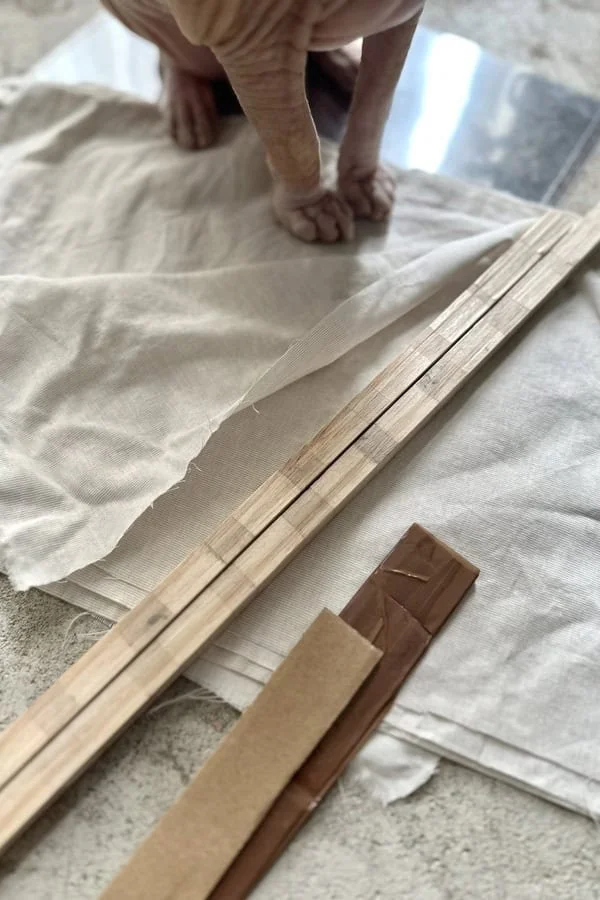
5. Thickness Guides
If you want your sheets to have a specific thickness, you’ll need guides. These can be wooden slats, plywood strips, or even thick cardboard.
Place them on either side of the pulp, and run your rolling pin across them. This ensures that your sheet comes out uniform and consistent every time.
Pro tip:
If your project is wide and your rolling pin is too short, you can use a long cardboard tube or a metal rod instead. That way, you can roll out even very large sheets of paper pulp.
Final Thoughts
Rolling paper pulp may seem like a purely technical step, but in practice, it’s both relaxing and creative. It’s a moment to quiet your mind – a bit like baking dough – only instead of a kitchen aroma, you’re left with the quiet satisfaction of creating a material that will soon turn into something unique.
Give it a try and have fun experimenting. Who knows – maybe a simple cloth, a sheet of plastic, and a bit of paper pulp will spark your next project.