Sculptural Paper Pulp Boxes
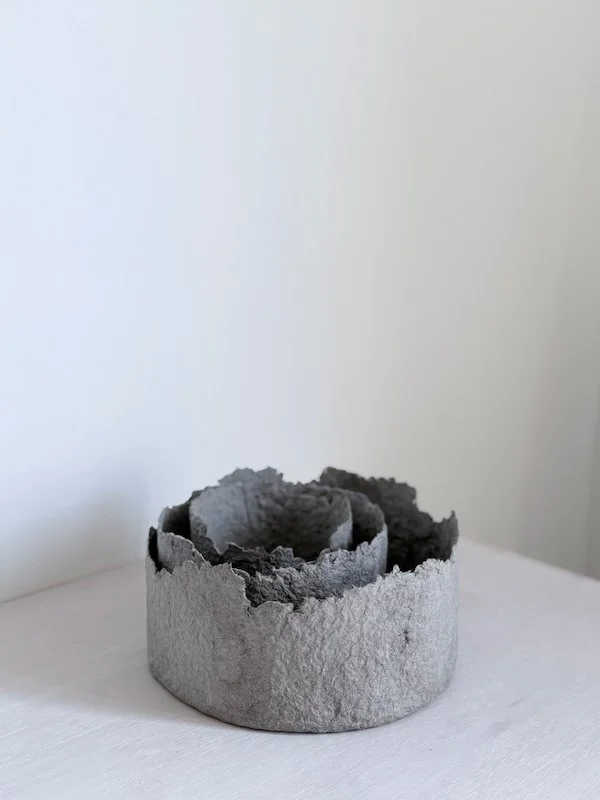
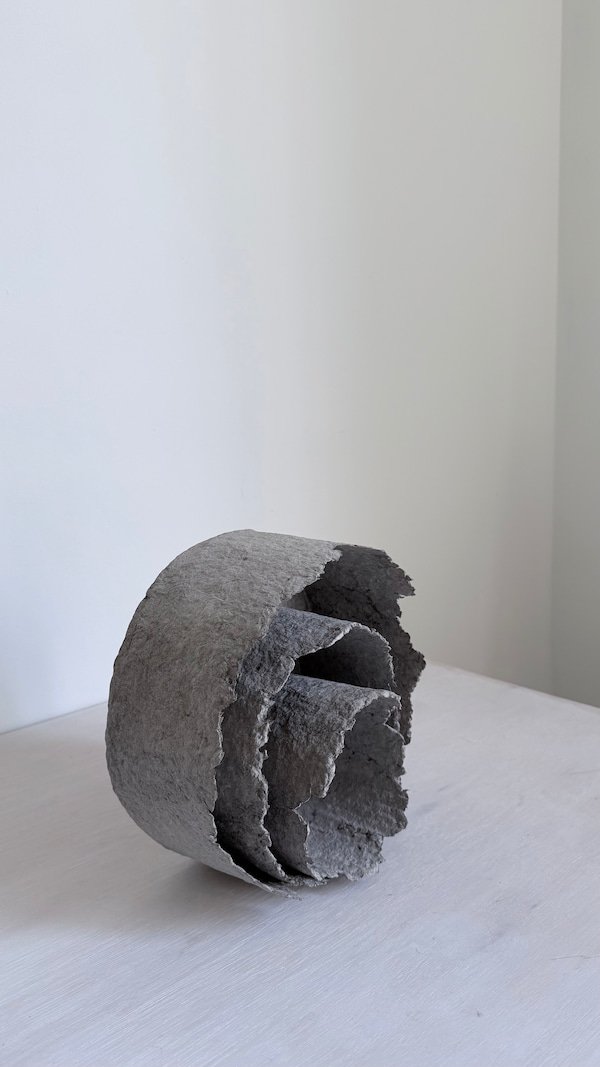
In this tutorial, I’ll show you how to create lightweight, thin, and raw-finished boxes made from paper pulp. From the very beginning, I wanted them to have an organic, hand-shaped character — imperfect, yet still delicate and functional. These containers can be used for storing small objects, turned into plant pot covers, or even finished with lids to create original handmade gift boxes.
In this tutorial, I also show how to create a simple cardboard base form. If you cover it with adhesive tape or protect it with cling film, it can be reused many times. Of course, you don’t have to limit yourself to cardboard only — ready-made containers, bowls, pots, or other objects with interesting shapes will work just as well. Basically, anything that you think could become a good form for working with paper pulp.
CHECK OUT FULL TUTORIAL:
What You’ll Need
Paper pulp — you can find the recipe here
Old cardboard boxes
Scissors
Adhesive tape
A pencil
Cups or plates for creating the template shapes
Cling film (optional)
Fabric such as cotton for rolling the pulp
A protective cover for your work surface
A rolling pin
A paintbrush
A container with PVA glue
A knife with a rounded edge or another tool for smoothing the surface
Step 1 — Creating the Form
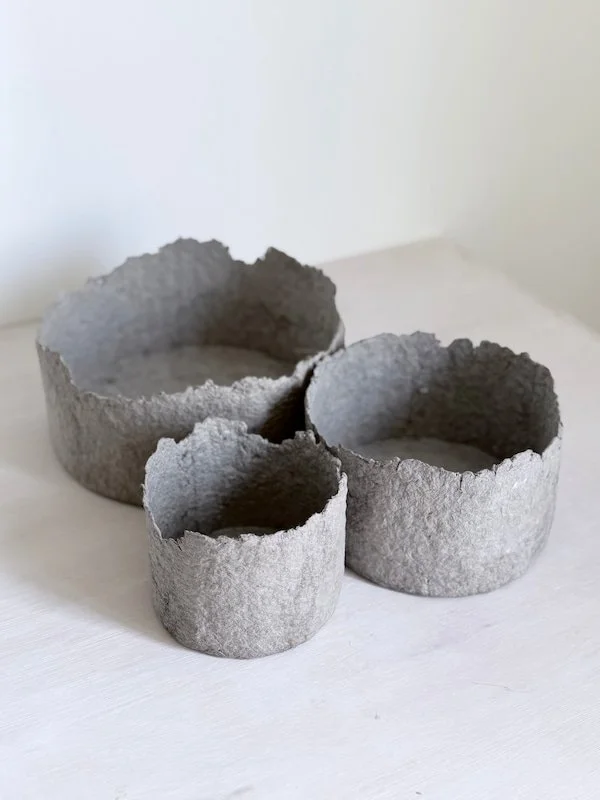
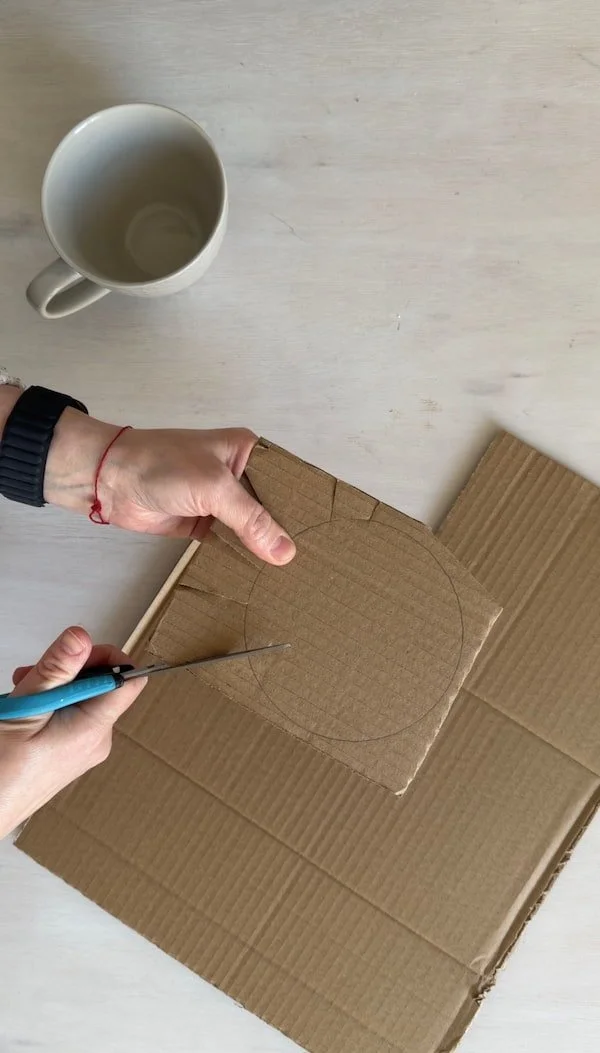
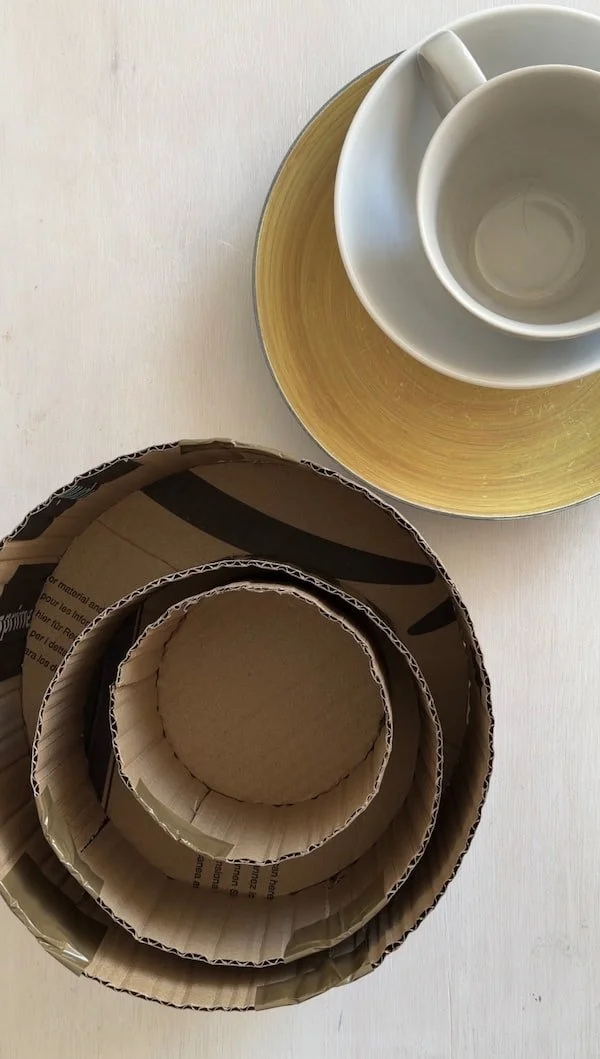
To create round paper pulp boxes like these, you first need a form. You can either make one from cardboard or use existing objects such as bowls or pots. I decided to create my own forms and made three different sizes.
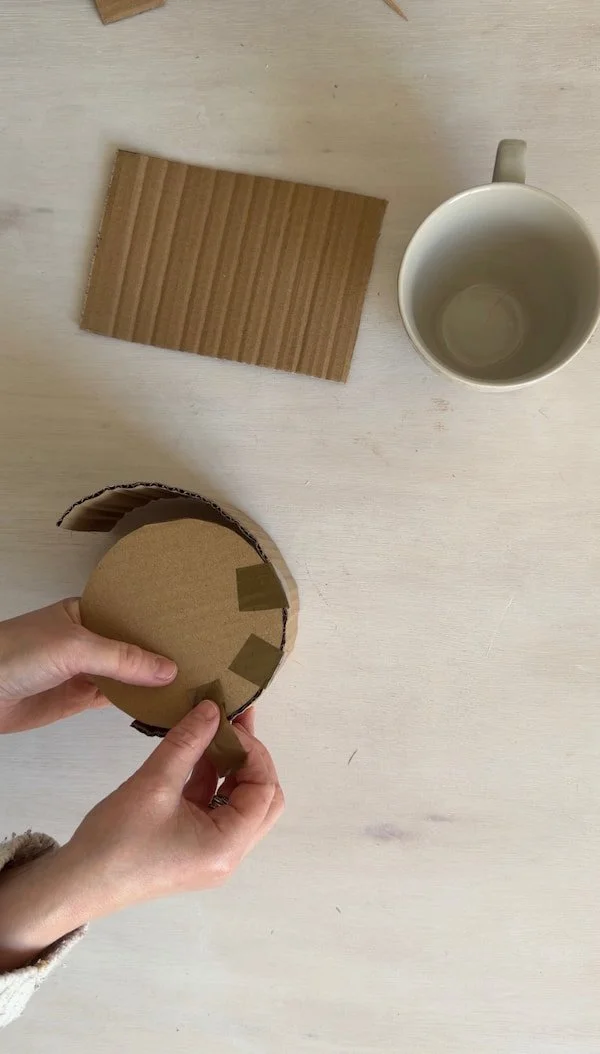
I traced around a cup and several plates to create the circular bases for each form. Then, I cut wide rectangular strips from cardboard and rolled them in different directions. This helps make the cardboard more flexible and allows the walls to fit smoothly around the round base.
Next, I attached the walls to the bases using adhesive tape, creating the final form shape.
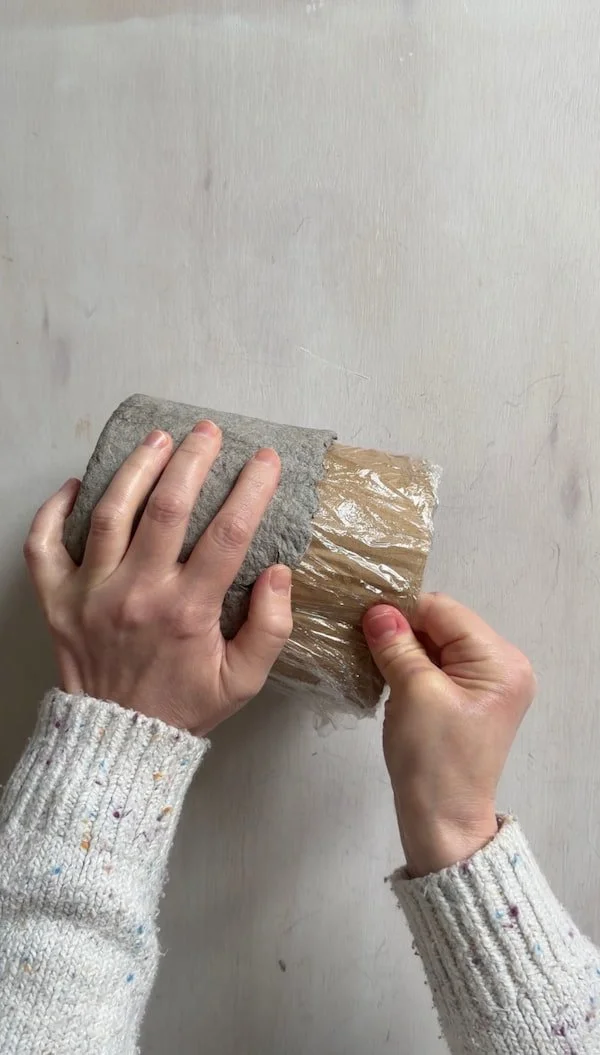
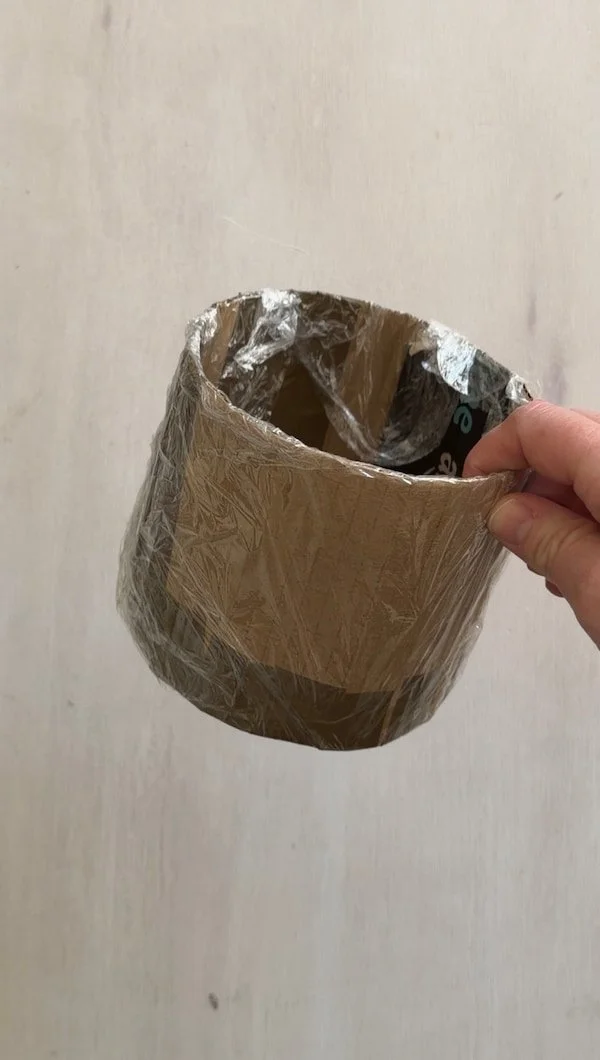
The form needs to be protected from moisture, as paper pulp is quite wet. You can either wrap the form with cling film or completely cover it with adhesive tape. Covering it with tape makes the form more durable and reusable for future projects.
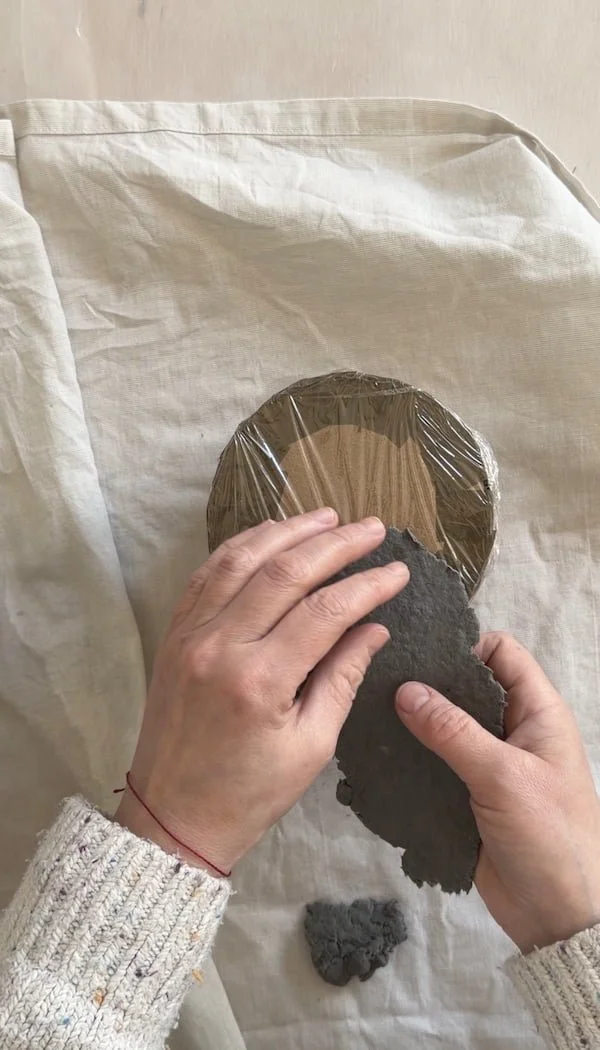
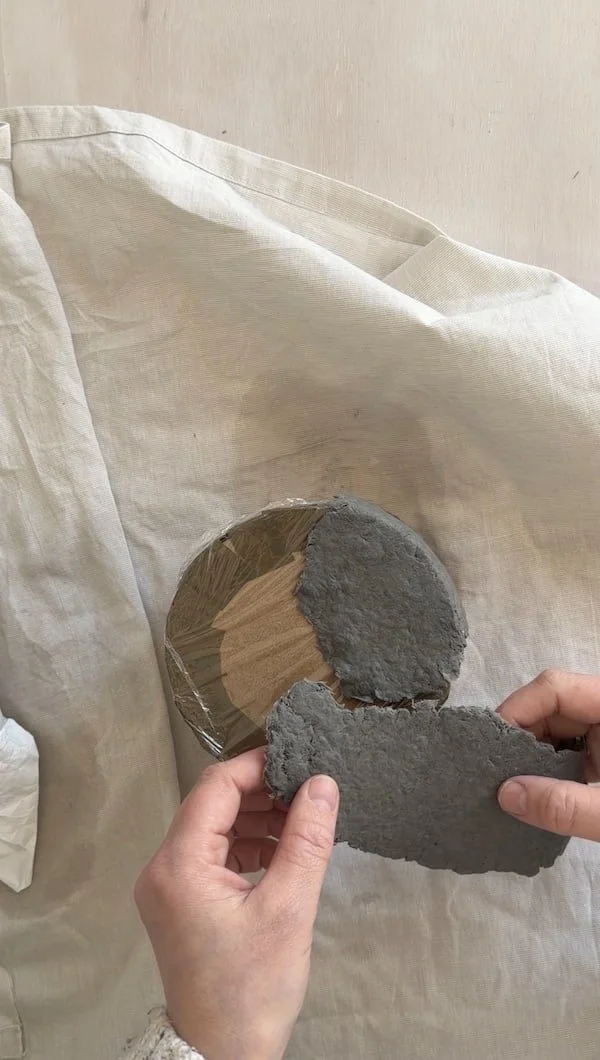
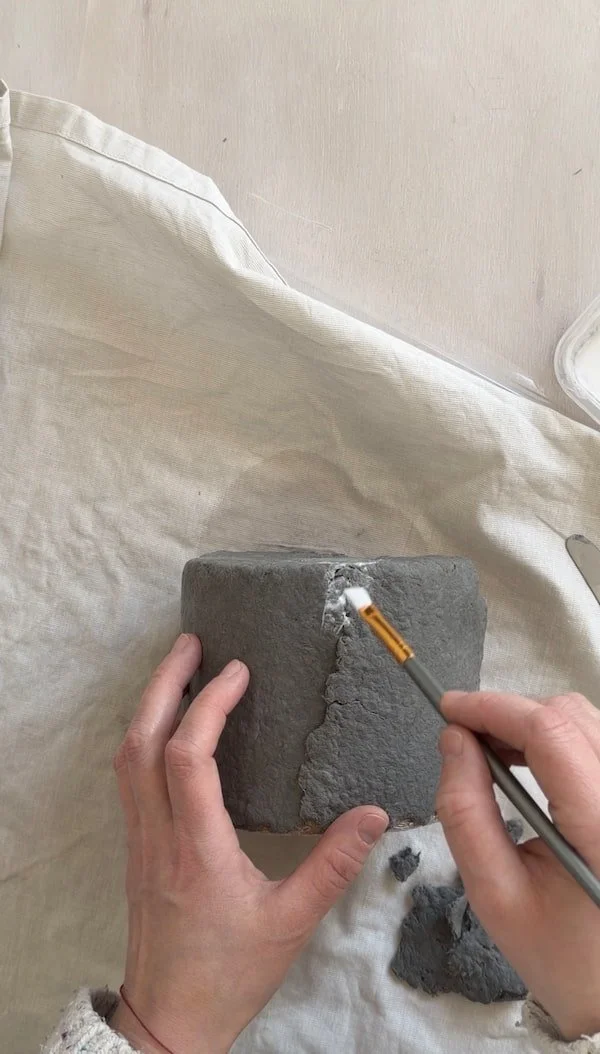
Step 2 — Applying the Paper Pulp
Roll out pieces of paper pulp and begin applying them to the form. Join the pieces together using PVA glue, then blend and smooth the surface with a knife or another smoothing tool.
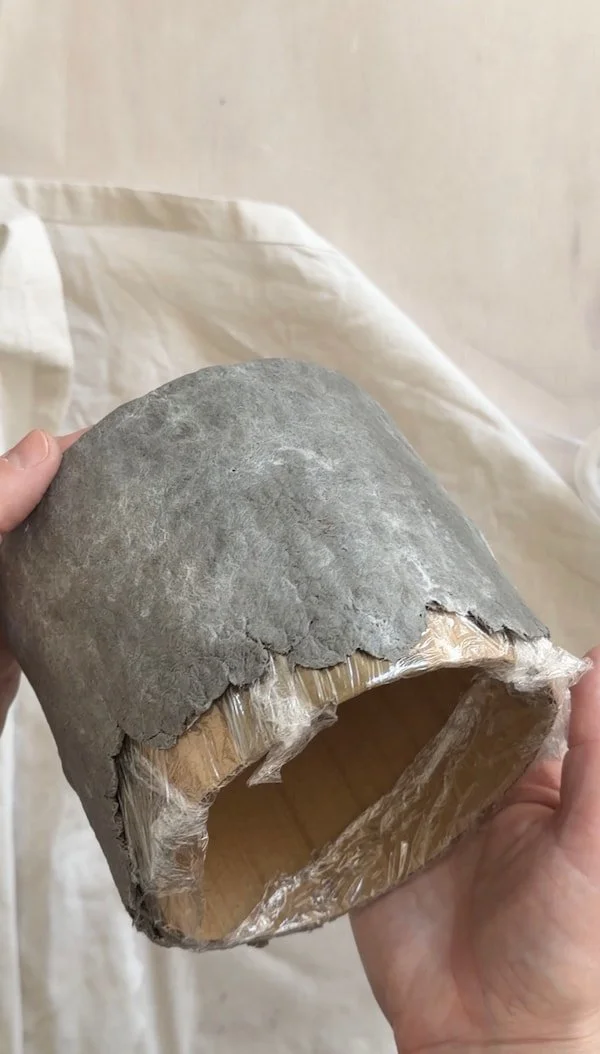
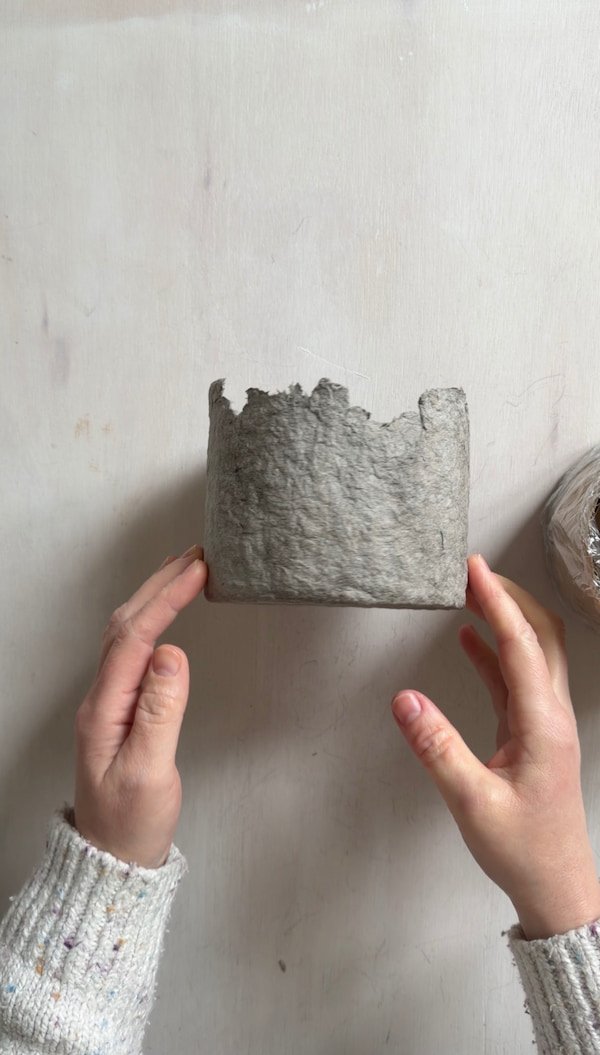
I decided to leave the edges raw and uneven, which gives the container a more organic, sculptural character and highlights its handmade quality.
Leave the entire piece to dry completely. Once dry, carefully remove the form from the inside and your paper pulp box is ready.
Of course, you can also paint, decorate, or finish the surface in any way you like.