The Beginning of a Holiday Tradition — Paper Mushrooms in Watercolour
CHECK OUT FULL TUTORIAL:
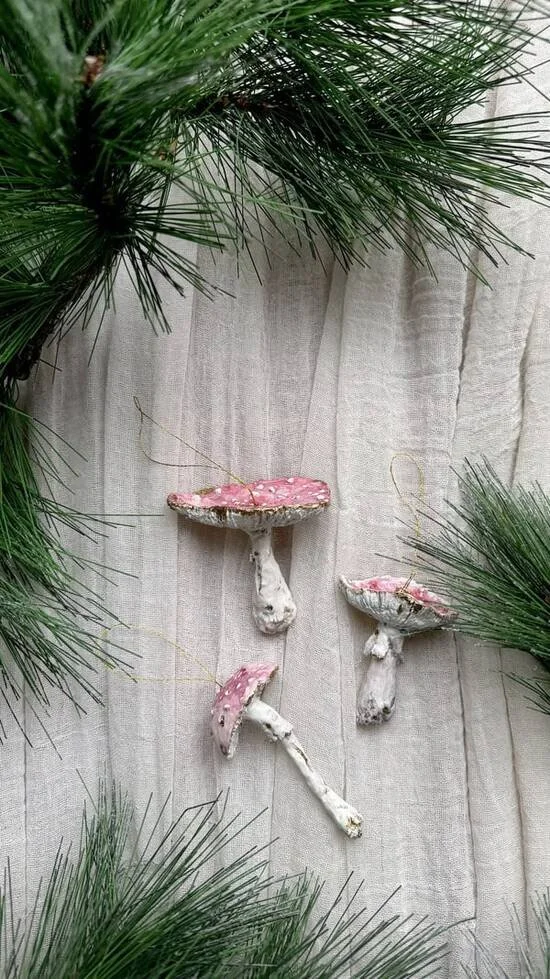
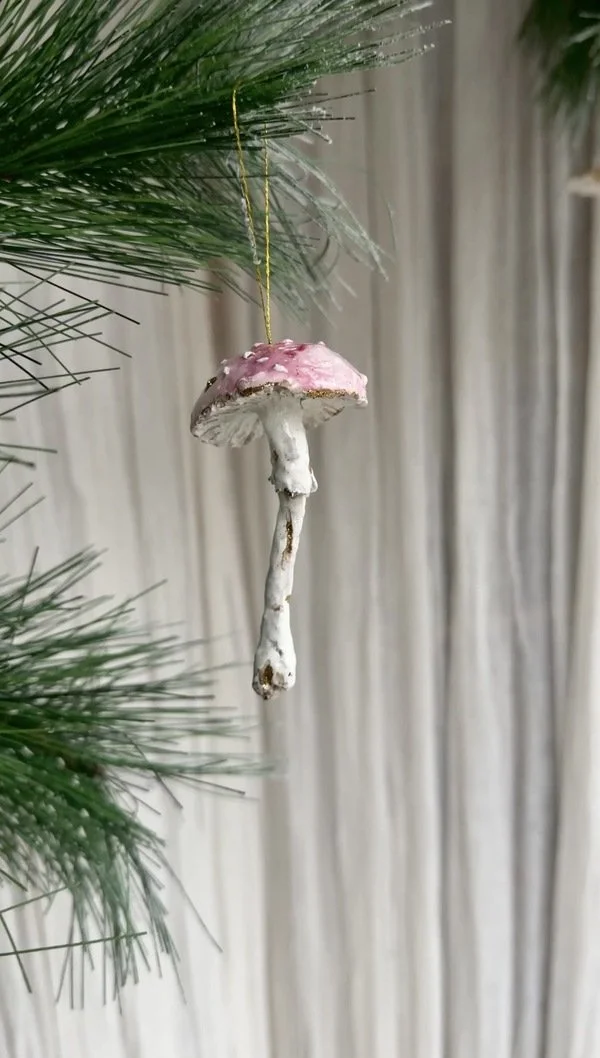
For a while now I’ve been feeling that Christmas decorations gain real value only when there are human hands and a story behind them. So this year I decided to start my own tradition — creating ornaments that I can share with my loved ones, pieces that will stay with us for years to come. The first ones to take shape were little paper mushrooms, pretending to be porcelain, painted softly like watercolours. Sculpted by hand, light and fragile in appearance, yet surprisingly durable. Tiny woodland charms for winter branches.
And with that came the idea to create a small themed collection every year — a mini-series that will grow with me, reflect the mood of each passing season and fill our Christmas trees with memories. This first collection is all about mushrooms — playful, slightly nostalgic, simple in form and full of gentle tones. Next year there will be a new theme, a new micro-world to imagine and translate into paper.
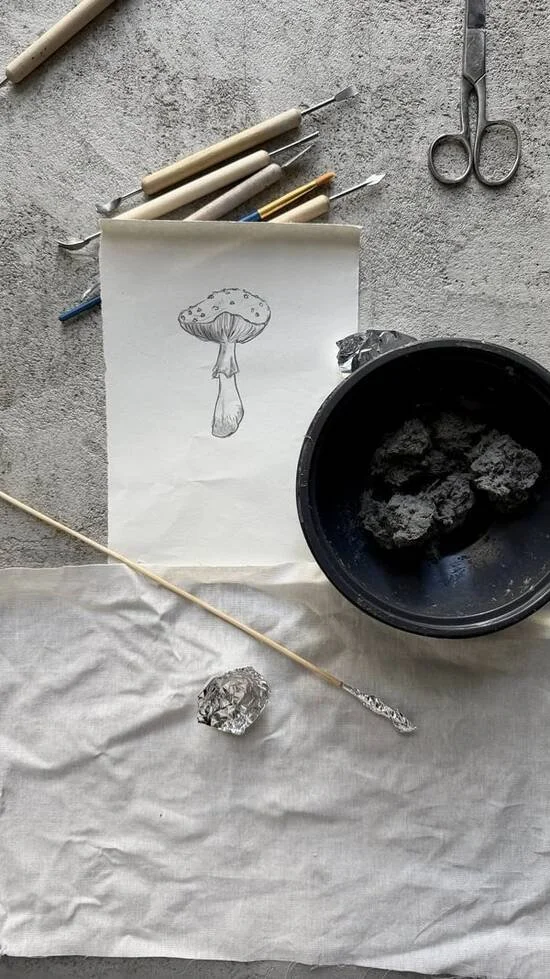
Materials You’ll Need
Paper pulp / paper clay
full recipe here.
Wooden skewer
A piece of aluminium kitchen foil — for shaping the core
Paper + pencil — if you’d like to make a quick sketch
(I recommend it especially for sizing — it helps to keep the ornaments small and delicate rather than oversized)Toothpick or any thin sculpting tool for adding gills under the mushroom cap
PVA glue
A small bowl of water
Old fabric / cloth scraps / or paper towels — useful for drying and resting pieces while working
A paintbrush
Paints — I used glass paints, which give that gentle, porcelain-like finish
Glitter (optional) — for a subtle festive spark
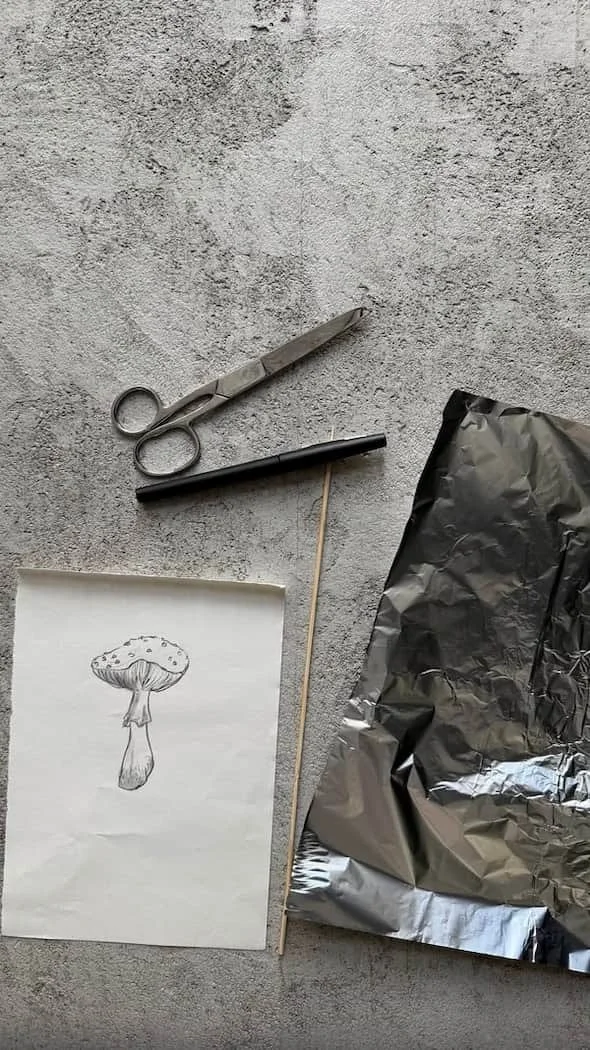
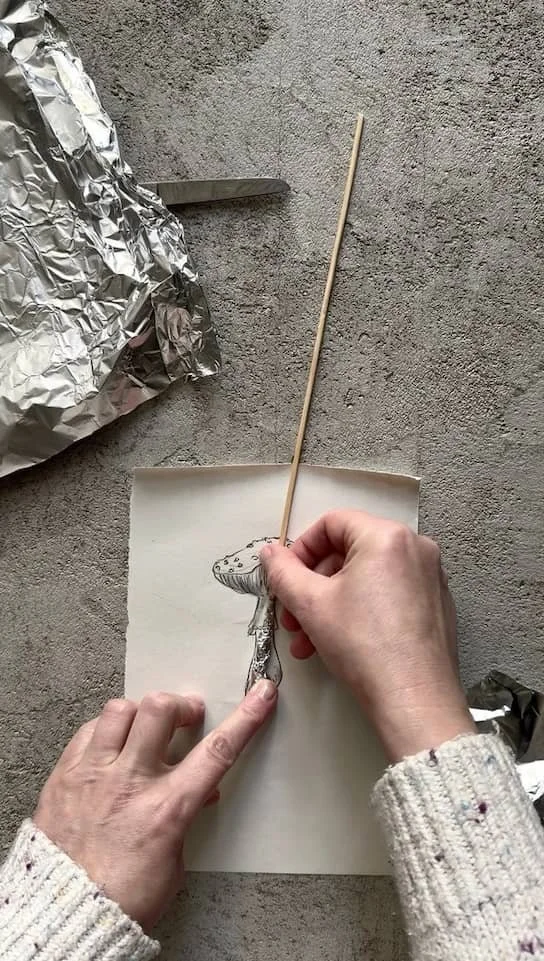
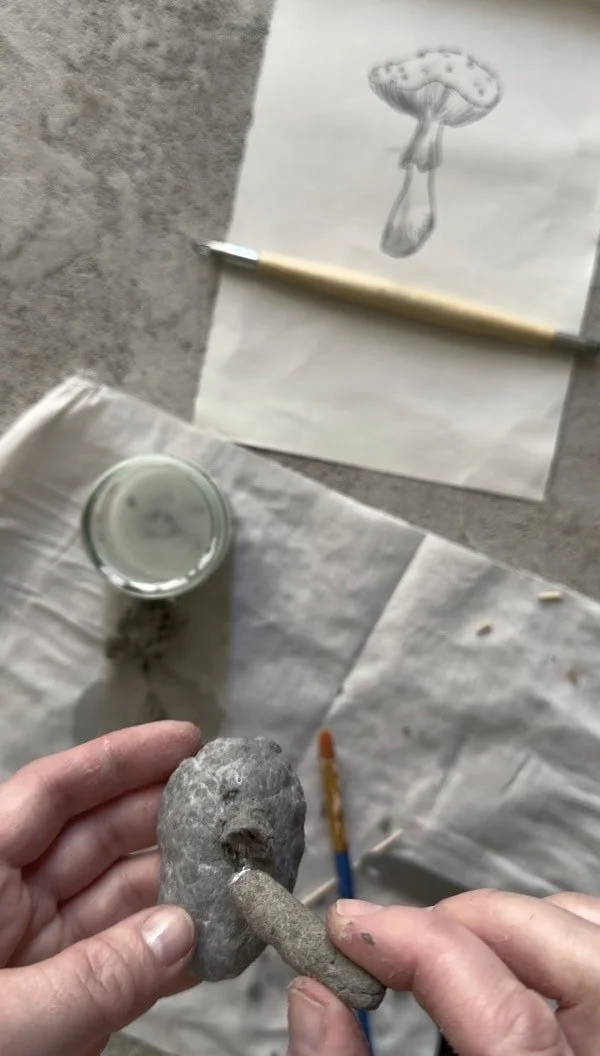
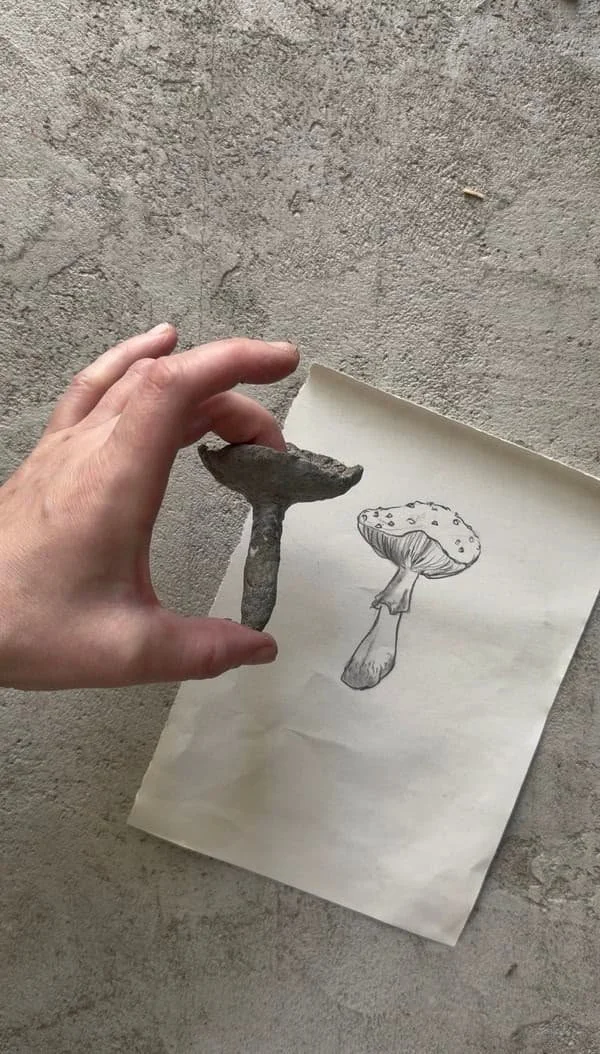
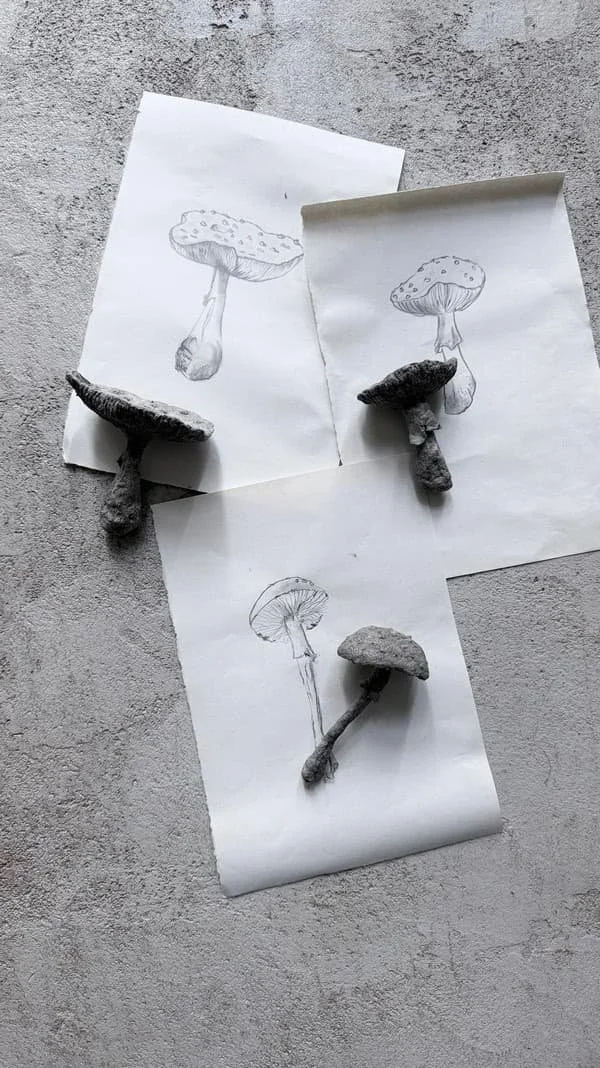
Step 1 — Sketch & Length Planning
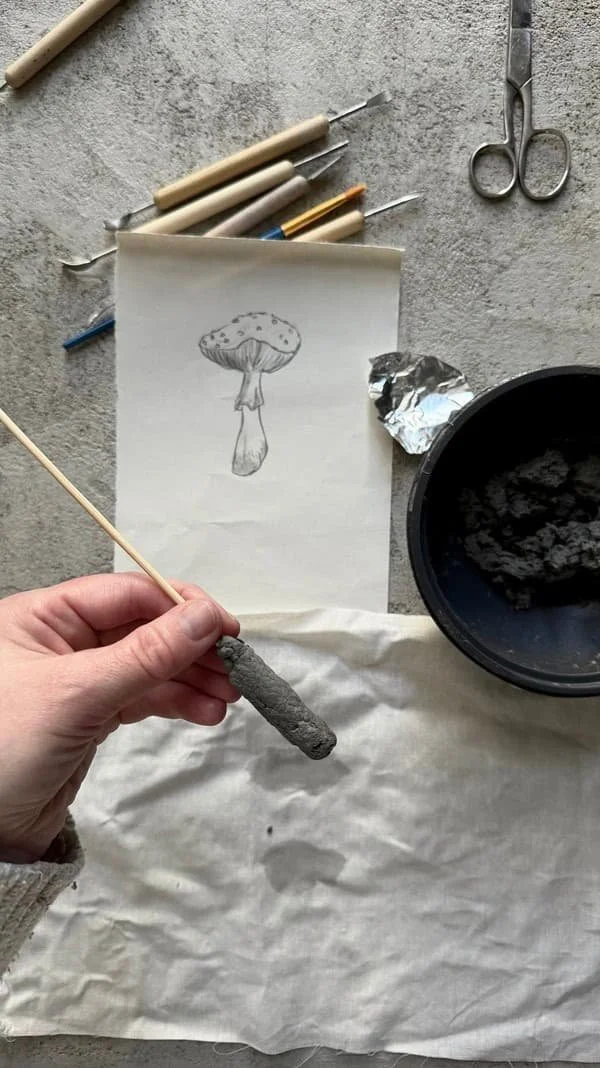
I started the process by making a few loose mushroom sketches on paper — nothing precise, just a quick outline to follow. A sketch is not required, but it helps a lot with proportion, especially if you want your ornaments to stay small and light. Think of it as a gentle guide rather than a blueprint.
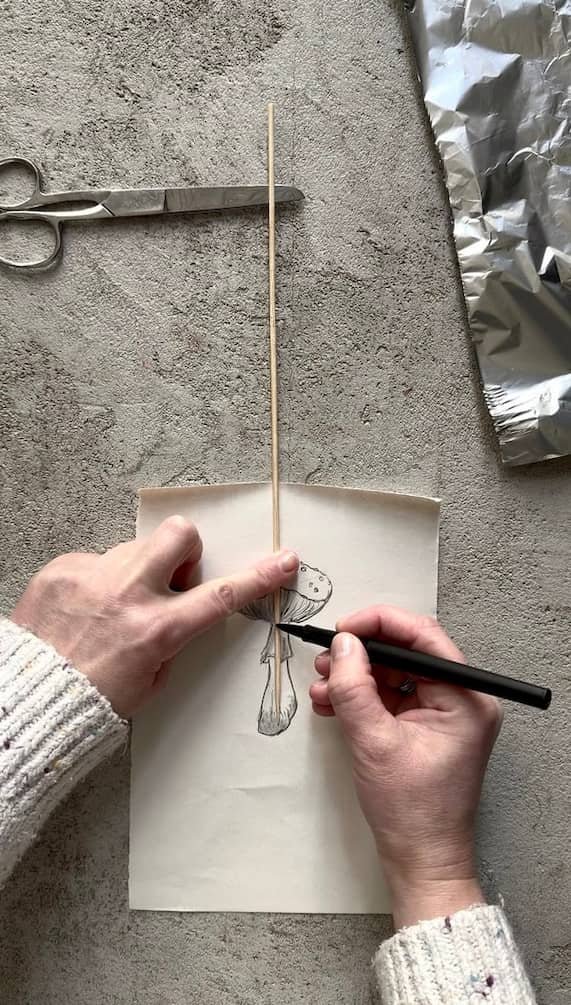
Place a wooden skewer over your sketch and decide how tall the mushroom stem should be.
Mark the skewer about 1 cm shorter than the final stem length, so that later you can build up the missing part with paper pulp. This gives the stem a much more natural, organic shape.
Once marked, wrap the skewer with aluminium foil up to the mark. This becomes the internal bone structure of your ornament — light, but stable enough to sculpt around.
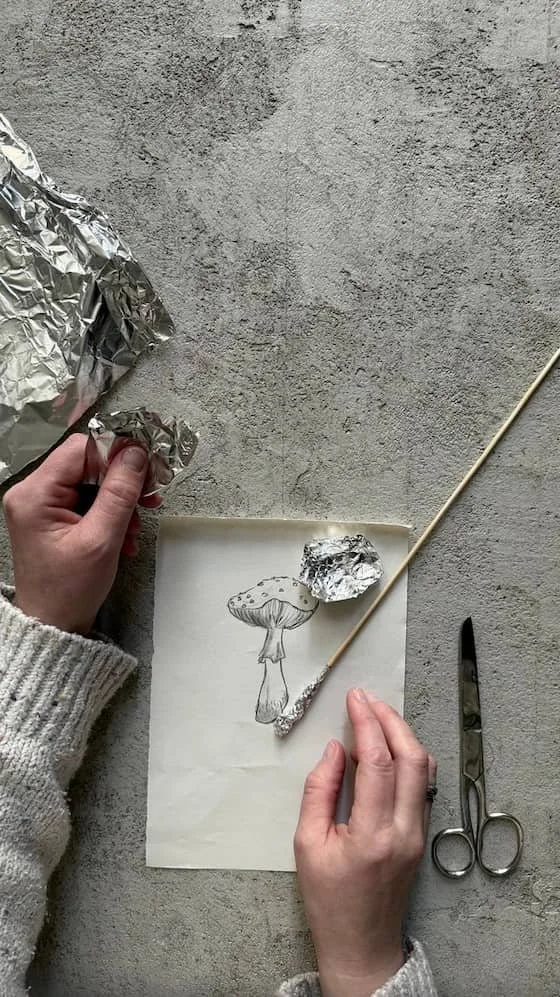
Next, shape the mushroom cap using aluminium foil as well.
Use your sketch again as a gentle guide — aim for a form that is slightly smaller than the drawing. You’ll be adding pulp later, so keeping the foil lighter and more compact at this stage will prevent the cap from growing too large.
Pinch and press the foil until you get a rounded top and a subtle, curved underside. Don’t worry about perfection — mushrooms are wonderfully organic, irregular, and each one will develop its own personality as you sculpt.
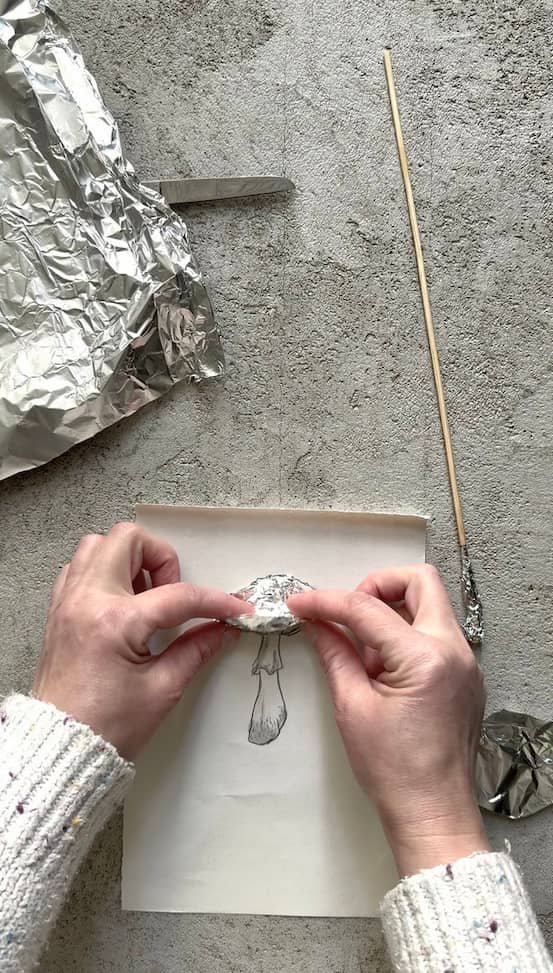
Step 2 — Adding the Paper Pulp (Stem + Cap)
Now we give the mushroom its first bit of texture.
Start by applying a layer of paper pulp onto the foil-wrapped stem — press it gently with your fingers and shape it loosely according to your sketch. It doesn’t need to be perfectly smooth; those small irregularities will later make the mushroom feel more natural and organic.
Next, apply paper pulp only to the top side of the cap, letting it extend slightly beyond the foil base. This will create a soft, rounded edge once it dries. We are not covering the underside yet — that comes later.
At this stage do not attach the cap to the stem. Leave both pieces to dry separately so they keep their shape without distortion.
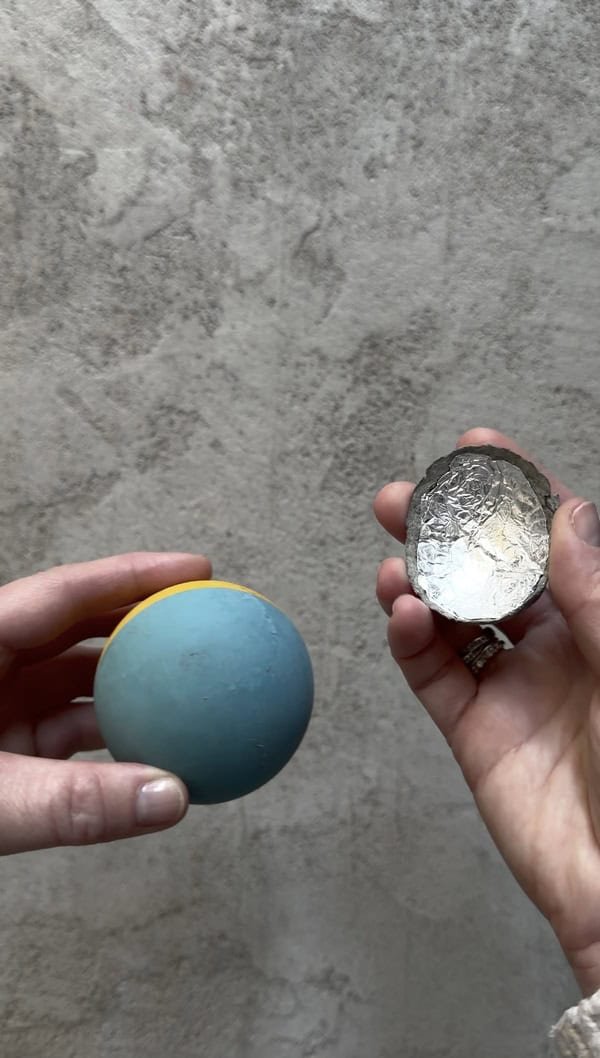
Tip — You Can Shape the Cap Using Whatever You Have at Home
You don’t need special tools to form the cap — everyday objects work beautifully. For one of my mushrooms, I shaped the foil over a small rubber dog toy, and the largest cap dried perfectly resting on the back of a big spoon. Feel free to experiment with bowls, balls, measuring cups — anything with a gentle curve can become a mould.
Step 3 — Shaping the Underside of the Cap & Attaching the Stem
Once the top surface of the cap is completely dry, it’s time to build the underside.
Apply a fresh layer of paper pulp underneath and start shaping the cap according to your sketch. If you want the cap to lift and curl upwards, add more pulp to build extra volume. If you prefer a classic umbrella-like mushroom shape, apply a thinner layer and keep the form flatter and more open.
Before adding details, check where the stem should sit.
Create a small opening in the centre of the cap — this will help us attach the stem securely later.
When you’re happy with the overall shape (just the form, without gills yet), you can attach the stem. Brush the top of the stem with a thin layer of PVA glue so it bonds well with the fresh underside of the cap. Press the pieces together gently and blend the edges so the connection looks natural and seamless.
Set the mushroom aside for 30–60 minutes, just until the form firms up and we can move to the next stage.
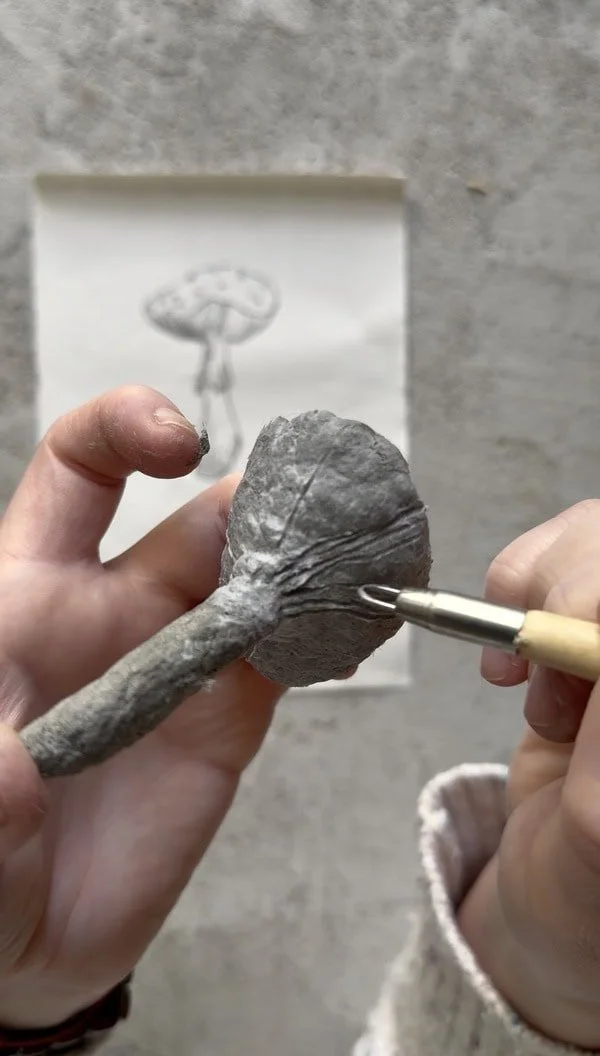
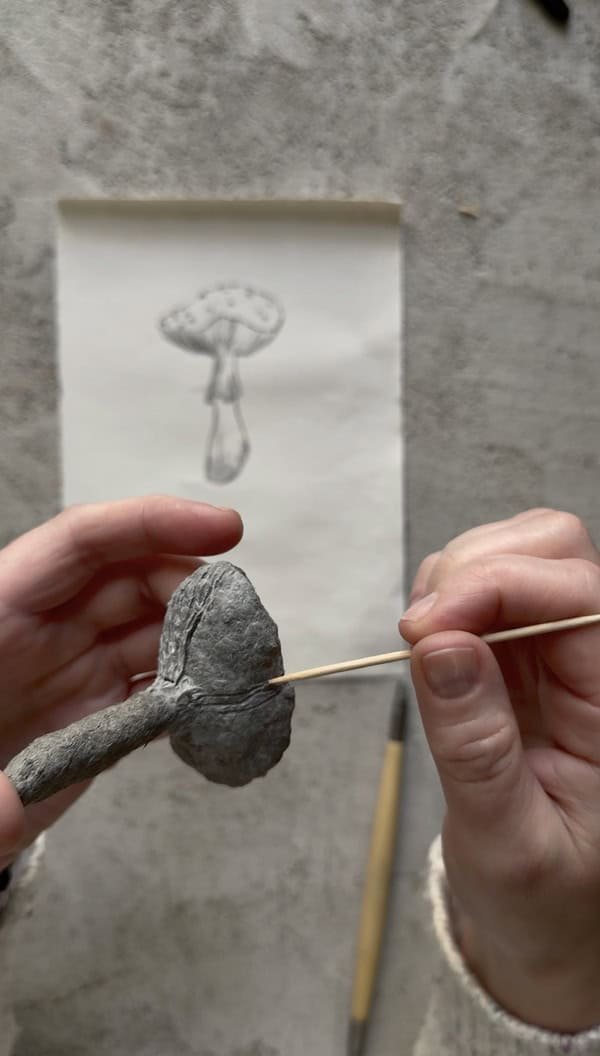
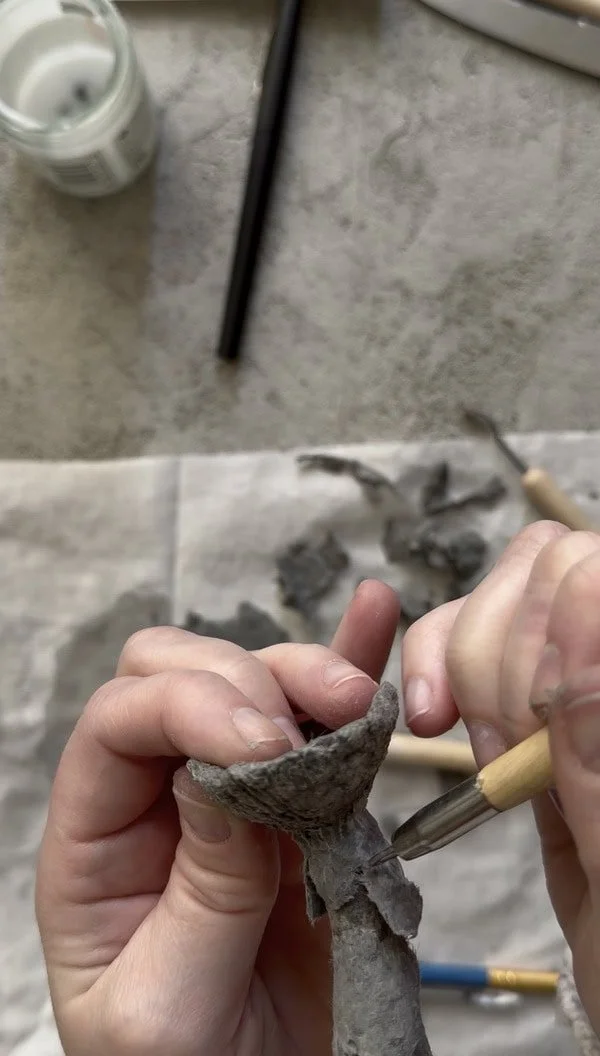
Step 4 — Adding the Gills (Texture Under the Cap)
Now it’s time to create the gills — one of the details that makes the mushroom feel real.
Use a tool with a thin pointed tip. I used a sculpting tool, but a simple toothpick works just as well. Press gently into the paper pulp and pull outward in short strokes, following the natural lines of a mushroom. Don’t aim for perfect symmetry — real gills are beautifully irregular, so let the texture flow.
At this stage the cap and stem may still feel slightly fragile, because the connection hasn't fully hardened yet. Work slowly and support the mushroom with your fingers. If the stem pops off — don’t worry! Just glue it back on, blend the pulp again, and continue carving. Every crack, tear or softness can be repaired immediately — that’s the beauty of paper pulp.
Move around the entire underside, building the gills one line at a time until you’re happy with the depth and pattern.
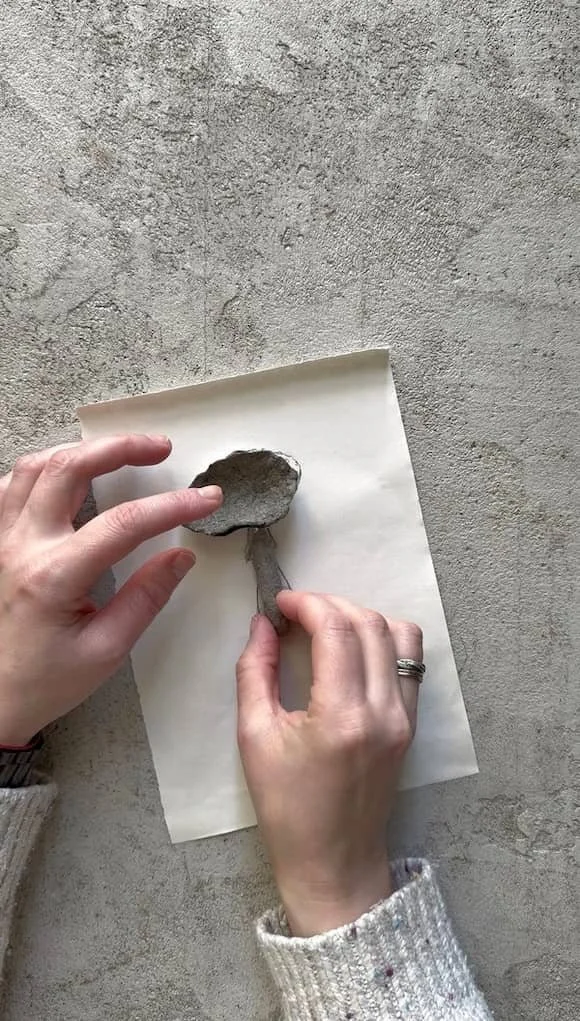
Drying
When the gills are finished, leave the mushroom to dry completely.
I like using small cups, jars or containers as supports. In this example I placed the mushroom upside down — cap resting on top, stem pointing up. It keeps the underside exposed to air, helps the shape hold, and dries everything evenly.

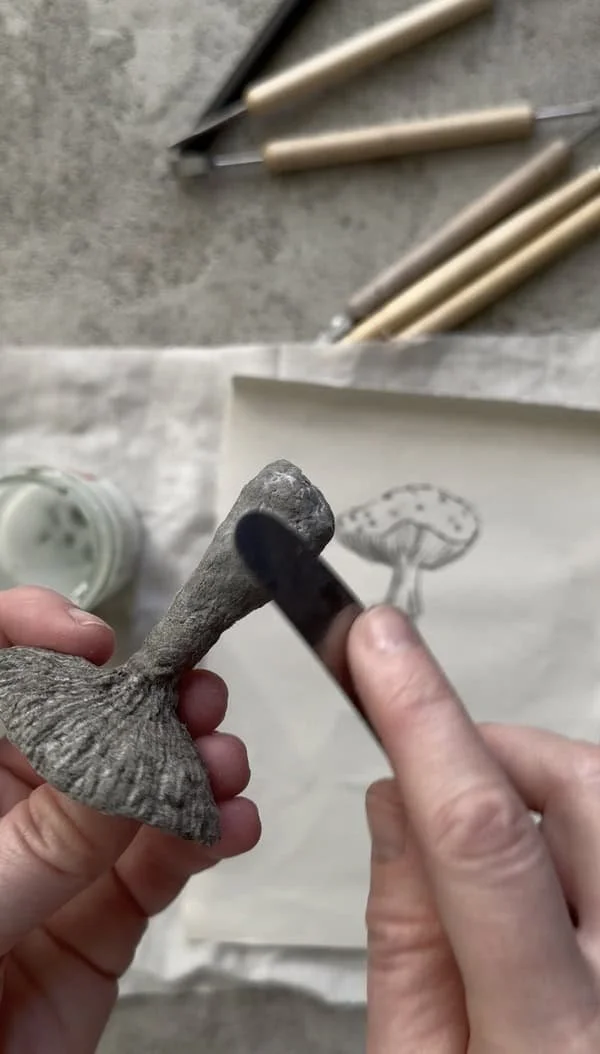
Step 5 — Shaping and Refining the Stem
Now we refine the structure of the stem.
Use your sketch again as a reference and build up the form gradually, adding small amounts of paper pulp where needed. This step is all about adjusting proportions — making the stem slightly thicker, more curved, or more natural-looking, depending on the mushroom type you are aiming for.
To smooth the pulp and shape the surface, I used a small knife, but you can use any tool with a flat, rounded edge. Glide it gently along the wet pulp to blend and compress the fibers — this helps the stem look more realistic and cohesive with the cap.
Keep shaping until you're happy with the overall form.
When finished, set the mushroom aside to dry completely.
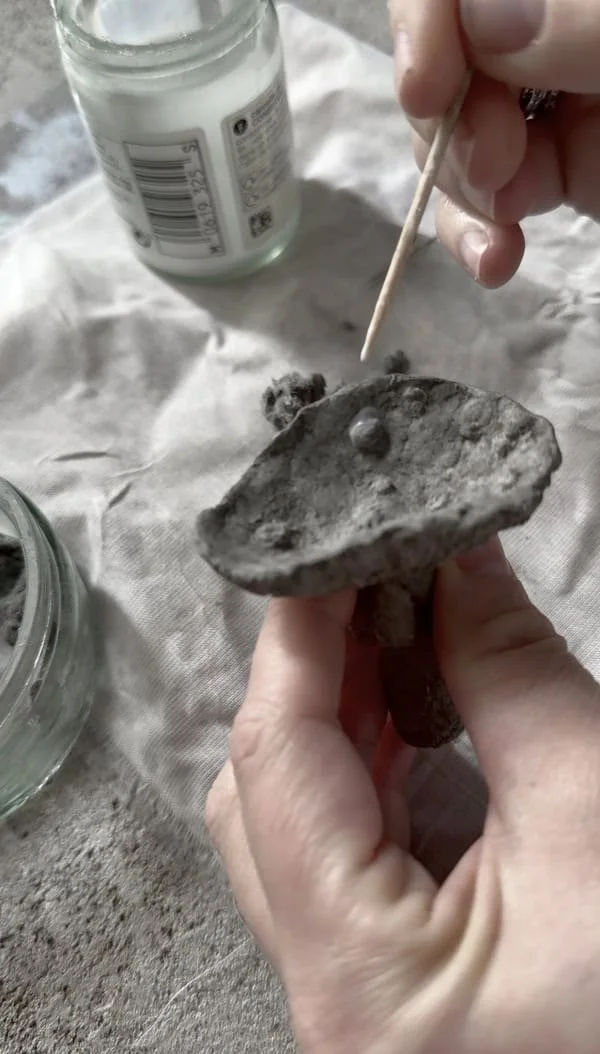
Step 6 — Adding 3D Dots to the Cap (Not Just Painted)
Mushrooms don’t have flat, painted spots — they’re raised, tactile, and uneven.
To mimic that natural look, I roll tiny balls of paper pulp between my fingers and place them onto the cap. I use smaller ones near the centre and larger, more spaced-out ones toward the edges, just like on real fly agarics.
Brush a tiny spot of PVA glue onto the cap first, then press the pulp dot into place.
To smooth and blend the edges, use a toothpick or a sculpting tool — something with a precise tip that allows you to push the pulp gently into the surface without flattening the bump. This way the dots remain raised but still look as if they naturally formed with the cap.
Work slowly, adjusting size and spacing — those little irregularities are what make the mushroom feel authentic.
Step 8 — Adding the Collar (Skirt / Ring)
This little detail changes everything — it gives the mushroom its character and makes the silhouette instantly recognisable.
You can add the collar right after the 3D dots, while the surface is still slightly workable, just be gentle so you don’t damage what you’ve already sculpted.
Roll out a small piece of paper pulp into a thin sheet.
Cut out the collar shape — the inner edge (the part that touches the stem) should be shorter than the outer edge, almost like a flared skirt or a bell sleeve. You can see the logic of the shape in my video: narrow at the centre, wider towards the outside.
Apply a little PVA glue around the stem where the collar will sit, then wrap the pulp strip around it.
Blend the top edge softly into the stem so it looks like a natural growth rather than an added piece. Leave the outer edge more free and organic — that slight unevenness looks real and beautiful.
Once you're happy with the form, let the mushroom dry again before moving to paint.
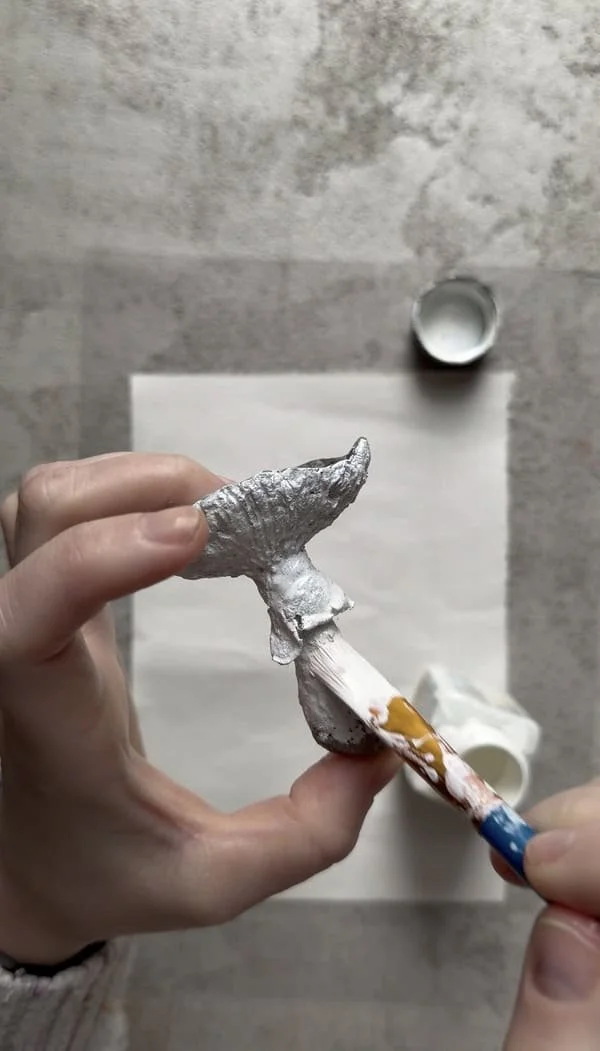
Step 8 — Painting the Base Coat (Porcelain White)
Time for colour — or rather, the lack of it.
I wanted my mushrooms to have a delicate porcelain-like finish, the kind you might find on vintage holiday ornaments. I’ve used this effect before in another project, which you can see here: (add link).
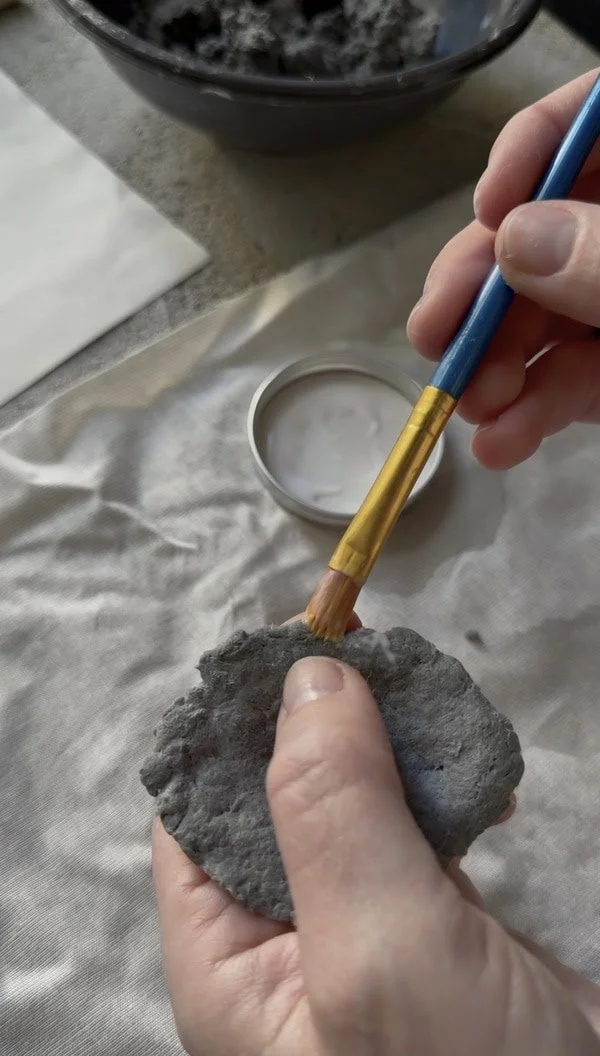
Start by brushing on a solid white base coat.
I applied three layers in total — thin, even coats dry quickly and give a much smoother finish than one thick pass. The goal here is full coverage without filling in the texture we worked so hard to create.
Let the mushroom dry completely before moving on.
Once the white sets, the surface becomes the perfect canvas for soft colour washes and transparent tones.

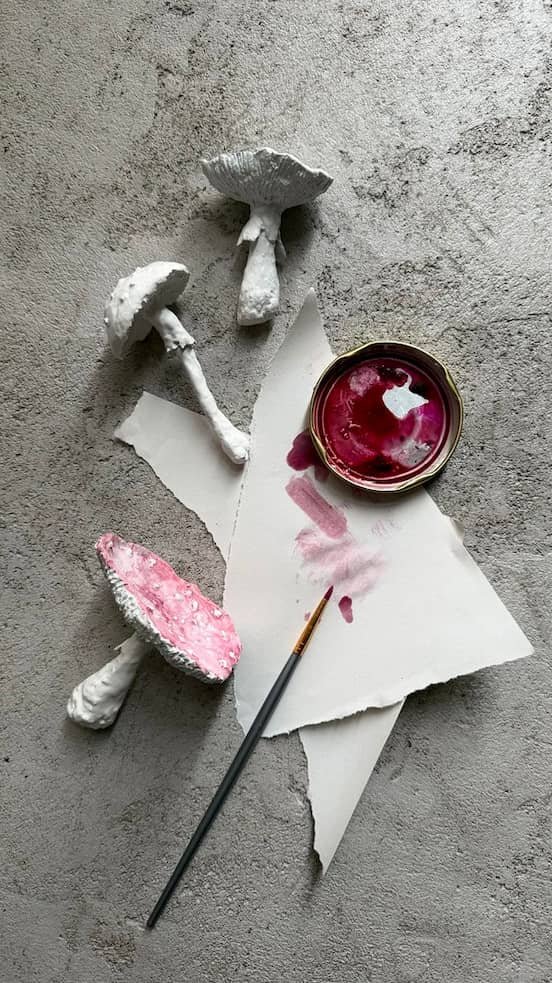
Step 9 — Adding Colour (Soft Watercolour Washes)
Now comes my favourite part — colour.
I decided to give my mushrooms a soft watercolour look, rather than full opaque paint. For this I used glass paints in shades of red, pink, gold and a touch of black — the black works beautifully as a shading tone for soft “dirty” washes and ageing.
Glass paints tend to be dense and highly pigmented, so I mixed mine with a matching thinner from the same range. This lightens the colour, makes it flow more freely, and helps create those delicate, almost translucent watercolour layers.
I started with the cap, building colour gradually — never in one flat coat.
The edges and deeper textures were brushed with gold, which picks up the light and brings out the sculpted surface in the most gentle way.
Work slowly, layer by layer.
Let each wash settle before adding the next.
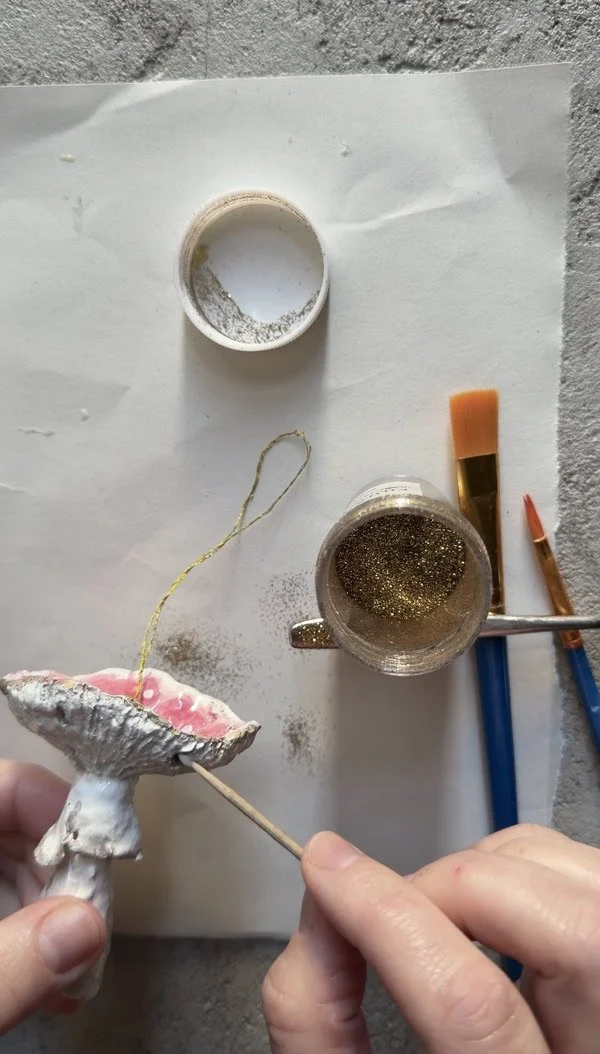
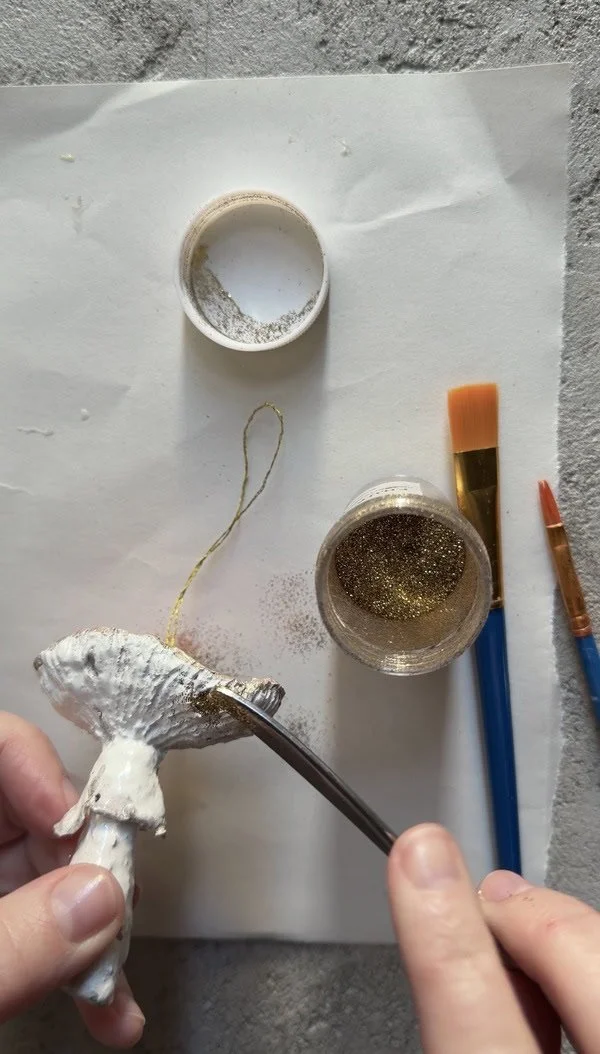
Step 10 — Adding Glitter (A Festive Touch)
After painting the mushrooms and adding the hanging strings, I realised that a hint of glitter would make them feel even more festive.
In the logical order of steps, glitter should actually come before attaching the string — but I did it the other way around. Here, however, I’m presenting everything in a clean, easy-to-follow sequence.
Apply a small amount of PVA glue to the areas where you want the sparkle, and then gently sprinkle glitter on top.
I used a toothpick and a fine brush to place the glue precisely, and the end of a teaspoon handle to sprinkle the glitter exactly where I wanted it.
I always do this over a clean sheet of paper, so any excess glitter falls onto it and can be easily poured back into the jar. No waste, no mess — let’s reuse materials whenever we can.
Once you're happy with the coverage, set the mushroom aside so the glue can set and firm up before you move to the next step.
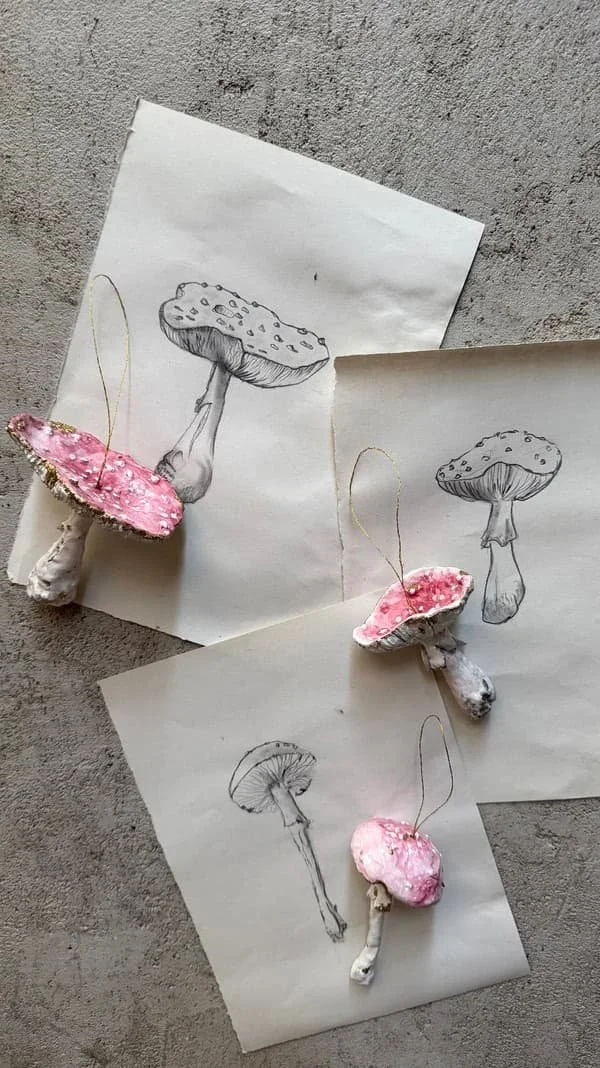
Final 11 Step — Adding the Hanging String
The very last step is attaching the hanging string.
You can, of course, use a store-bought cord, but I decided to make my own — a simple braid created from three strands of golden thread that matched the colours of my mushrooms. You can also see this step in my video.
Before adding the string, you need to create a hole in the cap.
It’s important to first check which spot will give your ornament the best balance so it hangs straight rather than tilting to one side. A small detail, but it makes a huge difference in the final look.
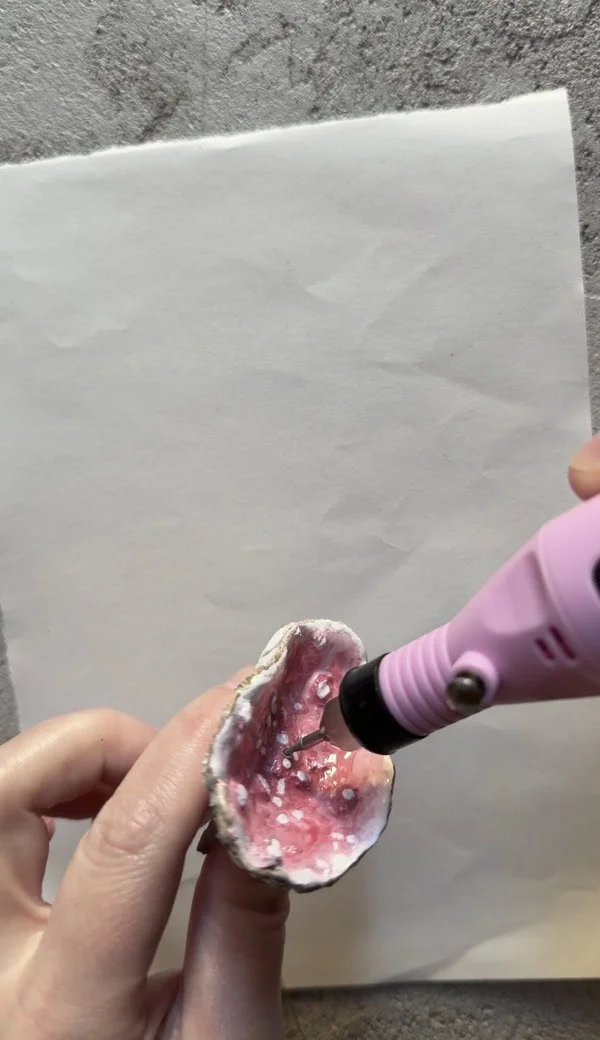
Once you’ve chosen the right point, make the hole. You can use:
a small nail — it works, though it requires a bit of patience,
or, like I did, an electric nail file, which is surprisingly perfect for small craft projects like this.
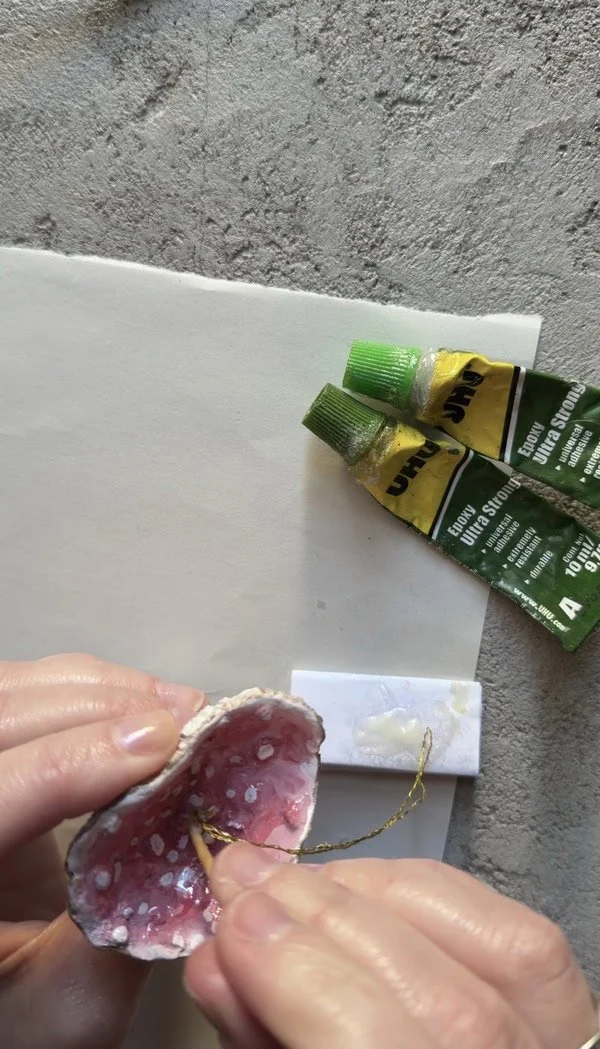
When the hole is ready, insert the end of your string and glue it inside.
I use a two-part adhesive, as it holds really well and ensures the loop won’t come loose.
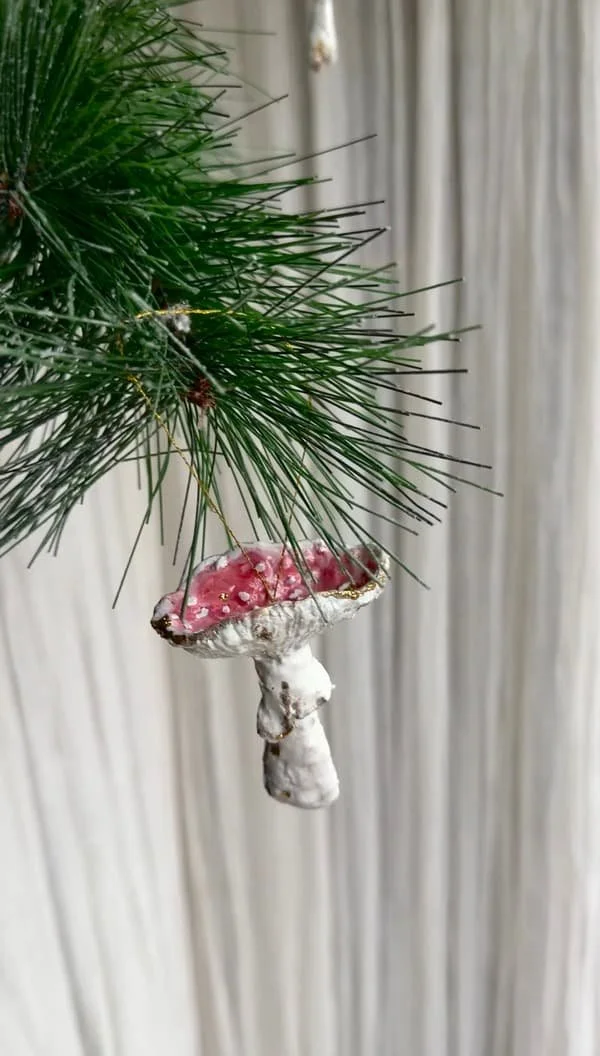
After the glue dries, your ornament is finished — ready to go straight onto the Christmas tree.