How to Make a Reusable Cardboard Mould for Paper Pulp
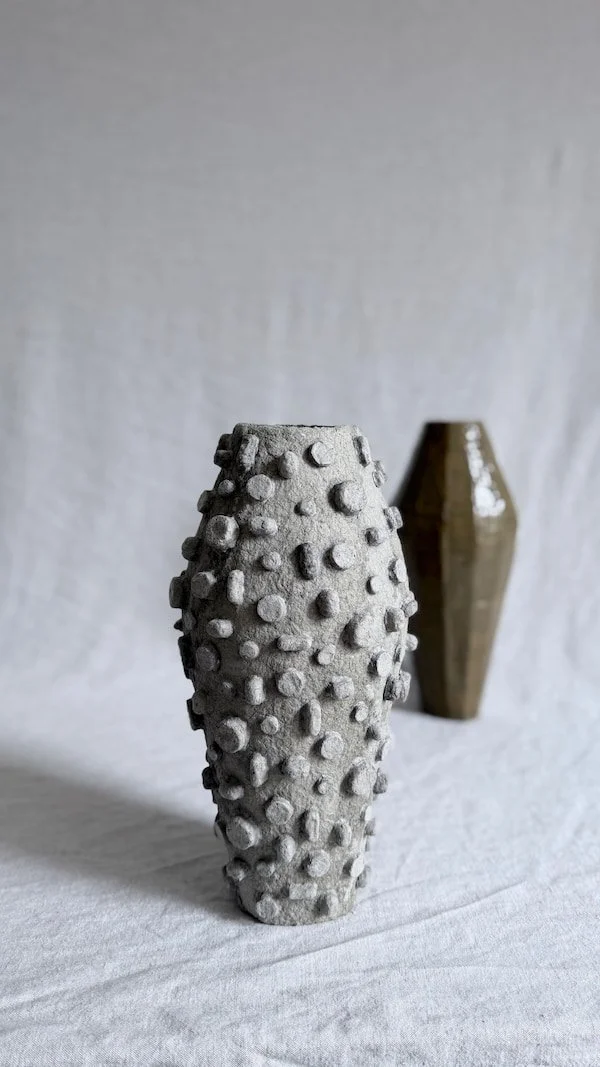
Finding the right mould for working with paper pulp is not always easy. I often use whatever I already have at home—product packaging, boxes, jars, bottles or other containers. These objects can be useful, but they also have their limitations. Their shapes do not always suit the project I have in mind, and once the pulp has dried, removing a rigid object from inside can be surprisingly difficult. Sometimes the only solution is to cut open the finished piece or destroy the mould.
That is why I decided to create my own cardboard mould in exactly the shape and size I needed. I wanted it to be lightweight and stable enough to support the wet pulp, yet flexible enough to be rolled up and easily removed once the piece had dried. The mould consists of two sections that can be separated, reassembled and used again for another project.
Once the surface is sealed with packing tape, the cardboard is protected from moisture and the material does not stick directly to it. The mould can be used not only with paper pulp but also with other lightweight sculpting materials applied in layers. The greatest advantage of this method is the freedom it offers: instead of adapting an idea to a randomly found container, you can design your own shape from the beginning and create a mould specifically for it.
CHECK OUT FULL TUTORIAL:
What You’ll Need
Old corrugated cardboard, such as cardboard from delivery boxes — this is a great way to reuse packaging that would otherwise be thrown away
A pencil
A ruler
Scissors
Water-resistant packing tape
Paper masking tape or painter’s tape
Step 1: Create the Panel Template
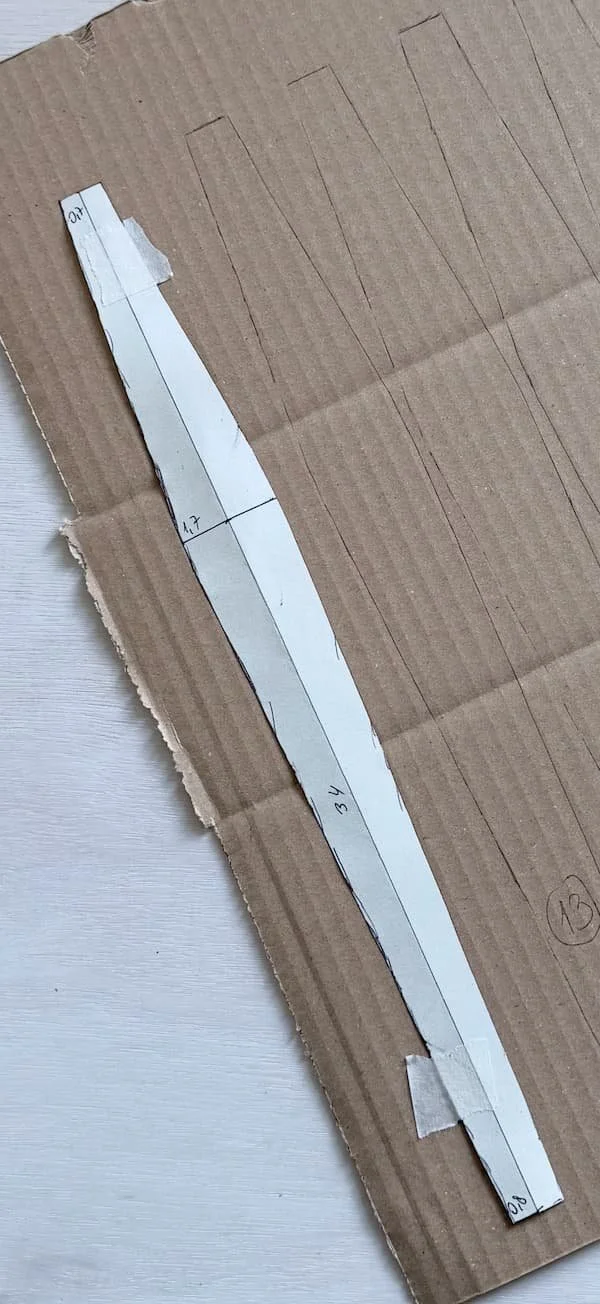
Begin by designing one vertical panel that will determine the profile of the entire mould. My panel is 34 cm tall. It measures 0.7 cm wide at the top, 1.7 cm at its widest point and 0.8 cm at the bottom.
You can adjust these measurements to create a different height, width or silhouette. Once you are happy with the shape, cut out the template and trace it onto the cardboard 14 times. These identical panels will later be joined together to build the complete three-dimensional mould.
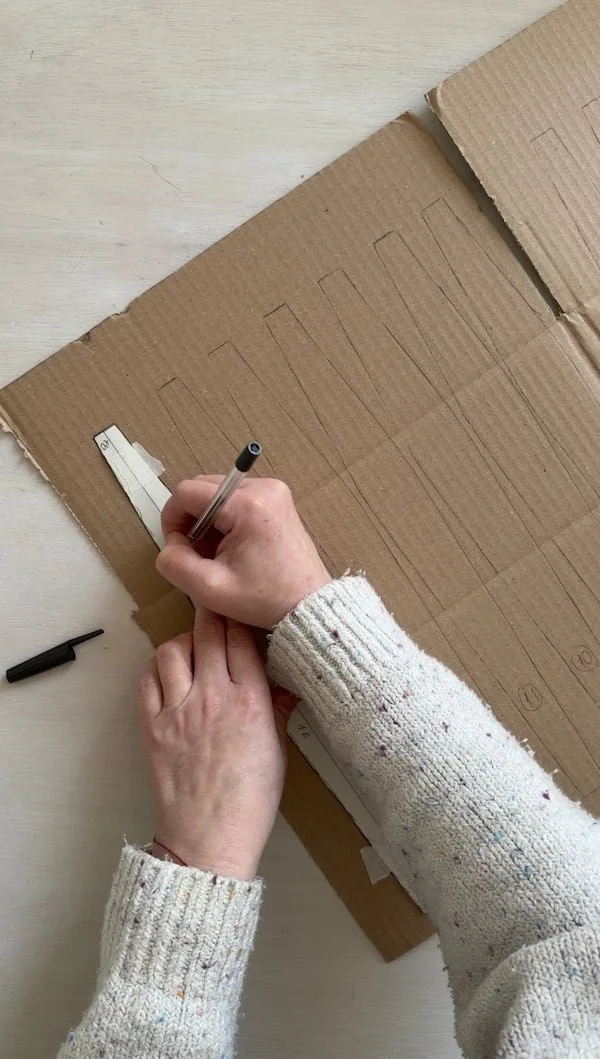
Step 2: Cut Out the Panels
Before cutting along the outline of each panel, make a series of short relief cuts through the excess cardboard. Cut perpendicular to the outline and stop when you reach the drawn line.
Next, cut carefully along the outline. The excess cardboard will come away in smaller sections instead of bending or pulling against the shape. This simple step makes corrugated cardboard much easier to cut and helps you achieve a cleaner, more accurate edge.
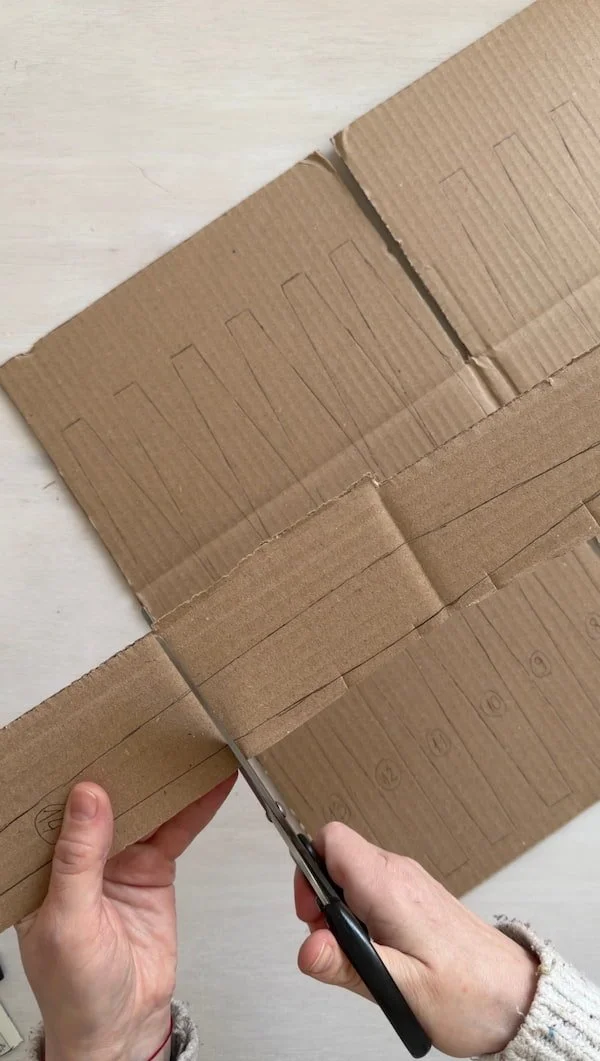
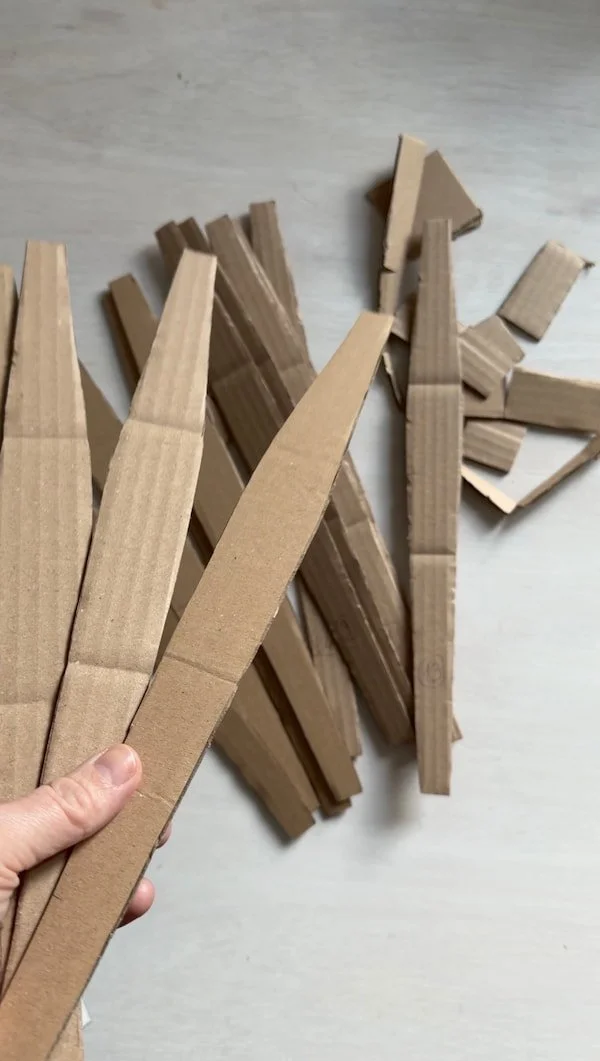
Step 3: Soften the Cardboard Panels
Before joining the panels, soften each one so that the cardboard becomes more flexible and easier to shape.
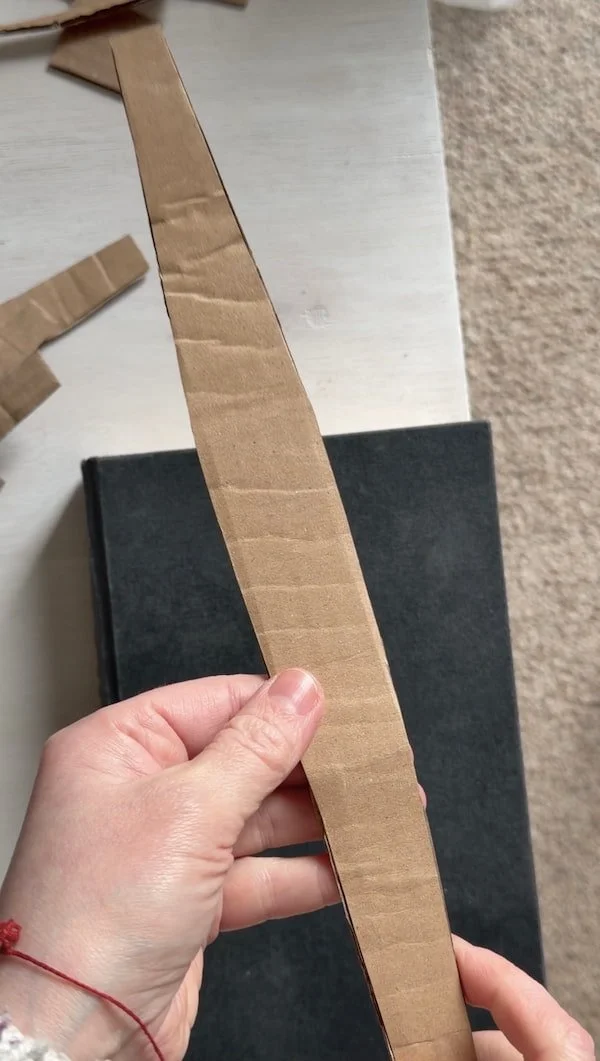
Place a panel between the tabletop and a heavy book. Hold the book firmly in place, then slowly pull the cardboard over the edge of the table. This gently loosens the structure of the corrugated cardboard without breaking it.
Alternatively, you can carefully roll each panel in both directions. Work gradually along its entire length and avoid creating sharp folds or creases. The aim is simply to reduce the stiffness of the cardboard so that the panels curve naturally and are easier to join together.
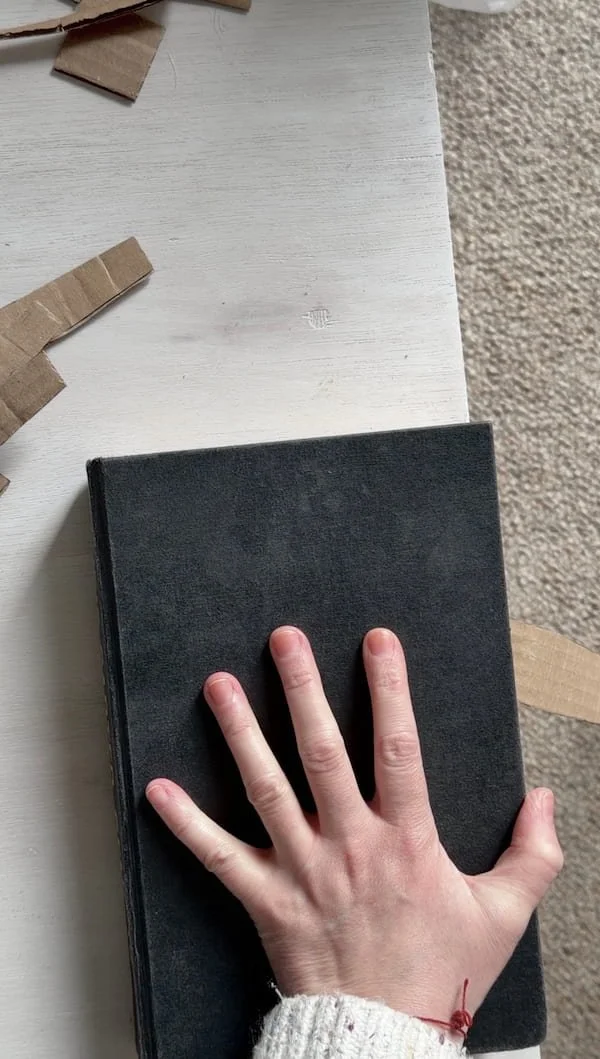
Step 4: Assemble the Two Halves
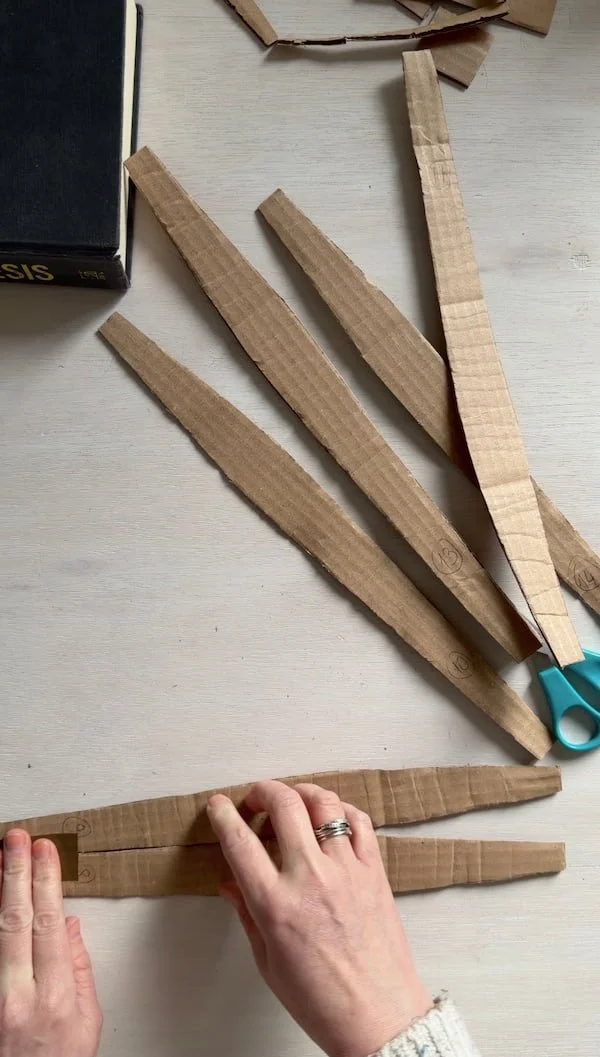
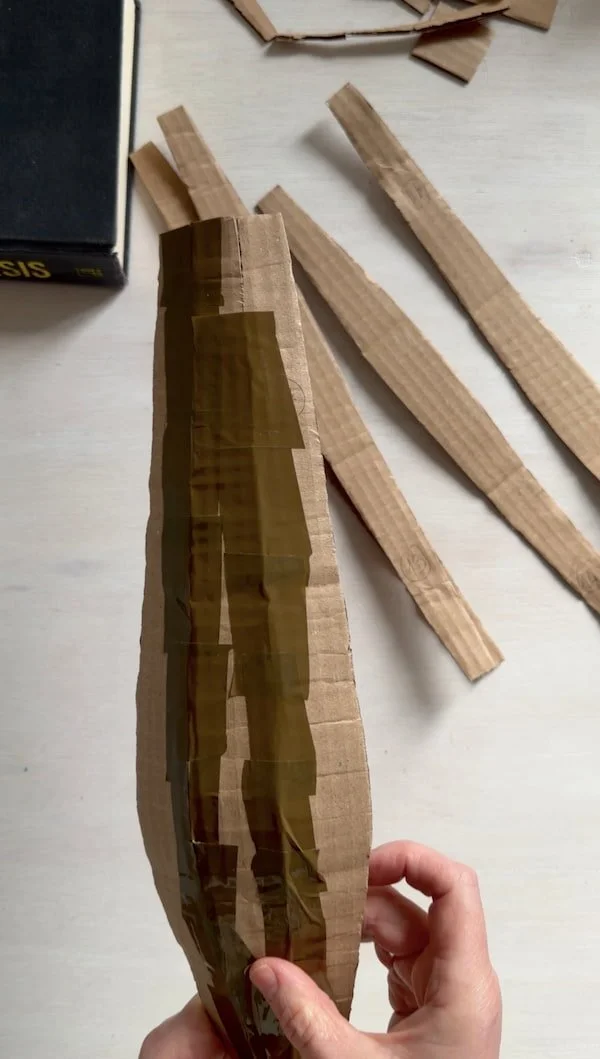
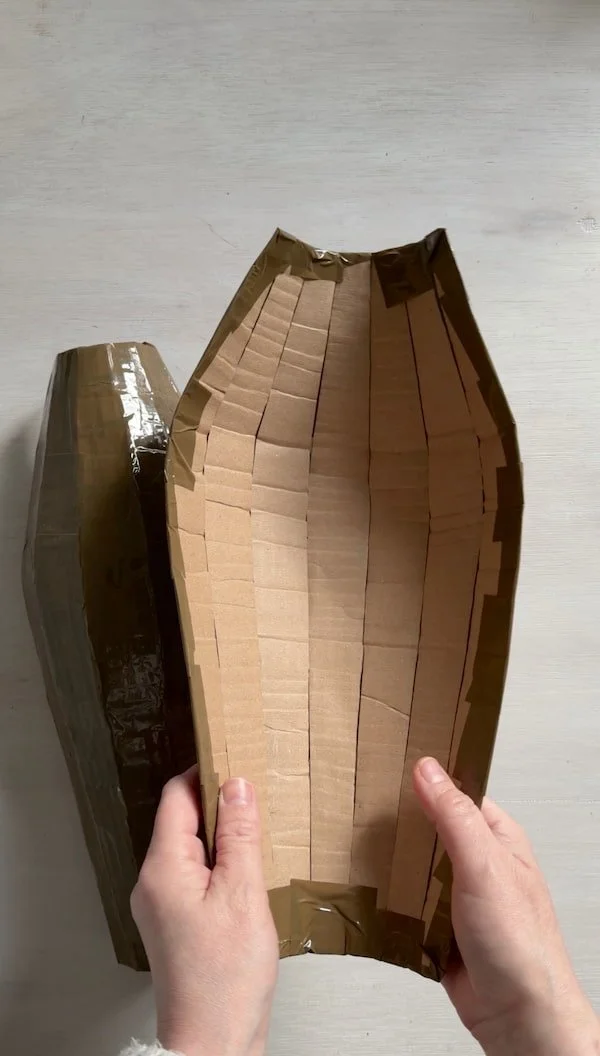
Divide the 14 panels into two sets of seven. Join the panels edge to edge with packing tape, adding them one at a time until you have created two separate halves of the mould. Working in two sections makes the structure much easier to handle and allows the edges to be aligned more accurately when the mould is closed.
Once assembled, each half should be firm enough to hold its shape but still respond to pressure. The cardboard can be gently bent, compressed or rolled, which will make it much easier to remove the mould from inside the finished piece later.
Step 6: Join the Two Halves
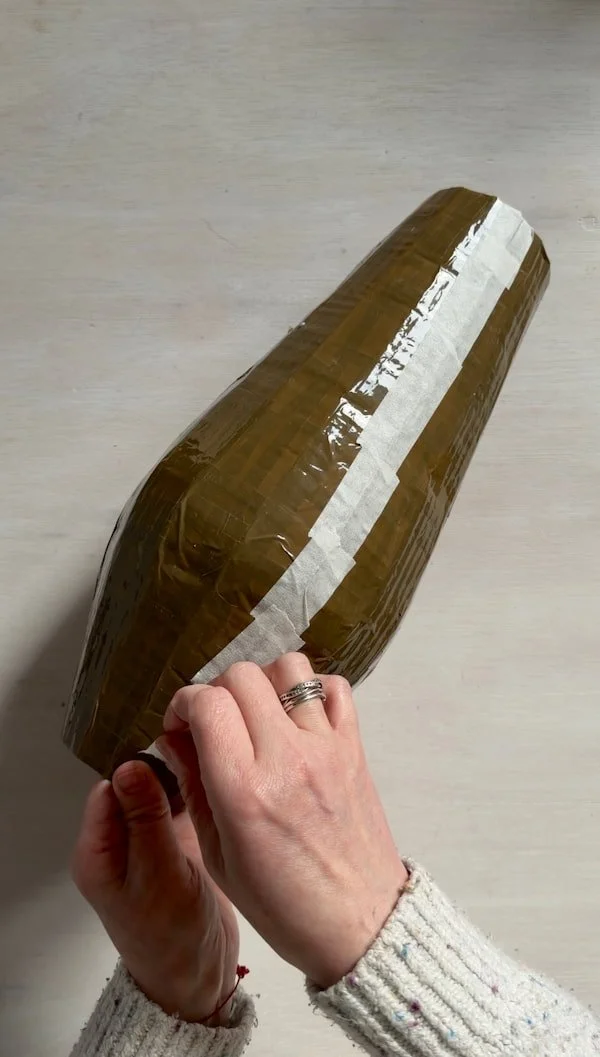
Place the two halves together, carefully align their edges and join them with masking tape. Apply the tape along both seams to hold the complete mould securely in place.
Masking tape is strong enough to keep the mould closed while you work, but it can also be torn or removed easily. When the outer shell is completely dry, the two halves can be separated, gently folded and removed through the opening of the finished vase.
Step 7: Support the Mould from Inside
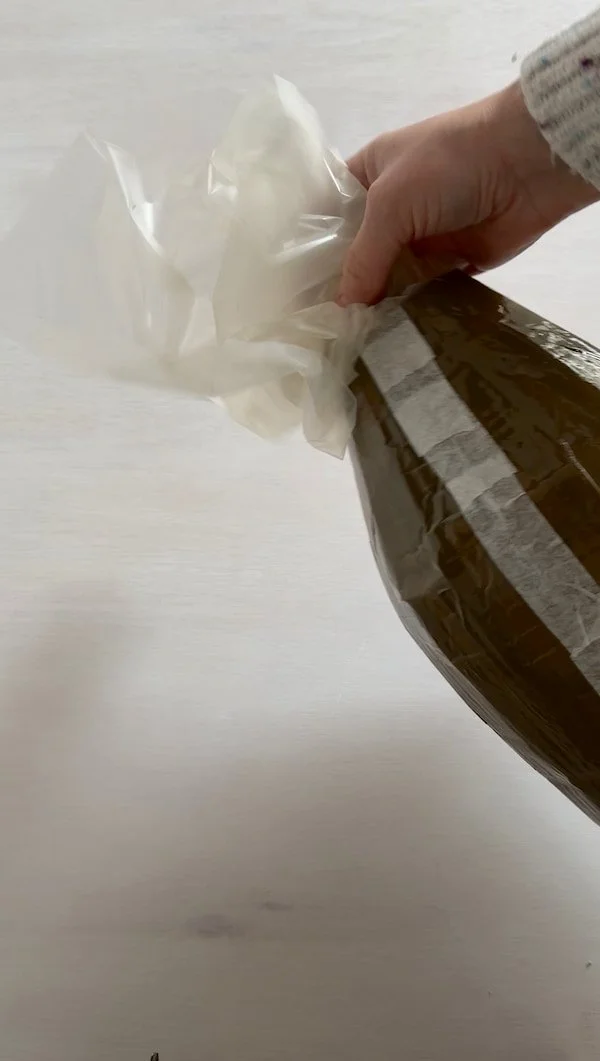
Before applying the paper pulp, fill the mould with crumpled plastic bags or another lightweight material. Gently pack the filling inside so that it supports the cardboard panels and helps the mould maintain its shape under the weight of the wet pulp.
Make sure the filling reaches all parts of the mould and provides even support from the inside. It is only temporary and can be easily removed together with the cardboard mould once the outer shell is completely dry.