How to Make a Lid for a Paper Pulp Box
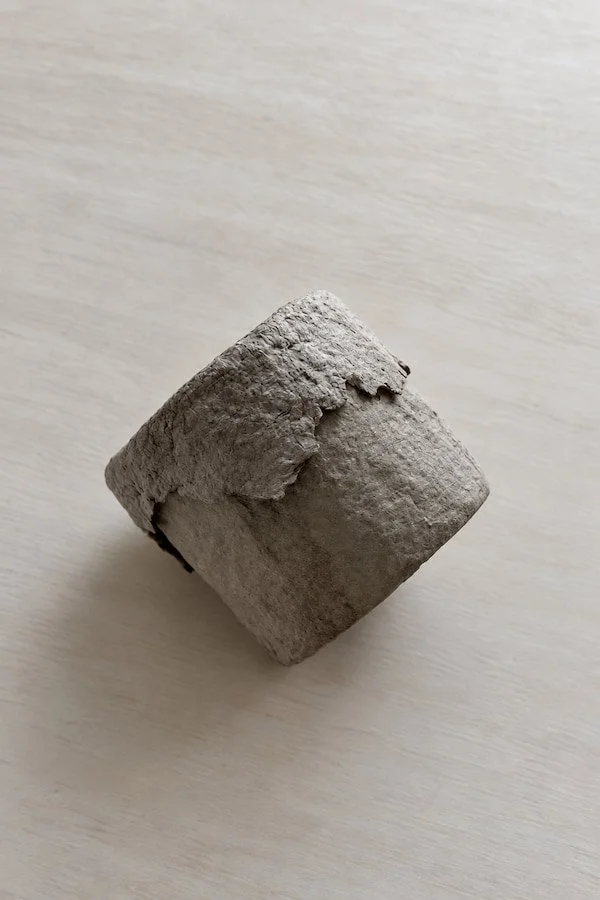
In my previous tutorial, I showed how I made simple sculptural containers from paper pulp. They can be used as plant pot covers, storage for small objects, or simply as decorative pieces. This time, I decided to take the idea one step further and see if I could create a fitted lid for one of them.
This turned a simple container into a complete box that could also be used as an original handmade gift box. You could fill it with jewellery, a small present, or any little treasures you would like to keep inside.
In this tutorial, I’ll show you how I shaped the lid directly over the finished box so that, once dry, it can be removed and put back on easily. You can later paint or decorate the box in many different ways, but it also looks beautiful left completely raw, with its natural colour, uneven edges, and visible paper texture.
If you haven’t made the paper pulp box yet, you can find the full tutorial for creating the base form below.
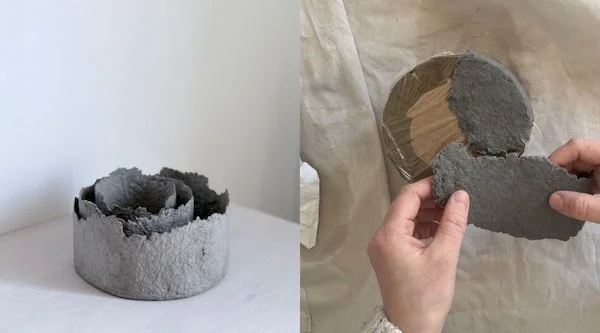
CHECK OUT FULL TUTORIAL:
What You’ll Need:
Paper pulp — you can find the recipe [here]
Cling film
PVA glue
A paintbrush
A blunt knife, spatula, or another tool for smoothing the paper pulp
Step 1 — Wrapping the Box with Cling Film
Before you begin, make sure your paper pulp box is completely dry.
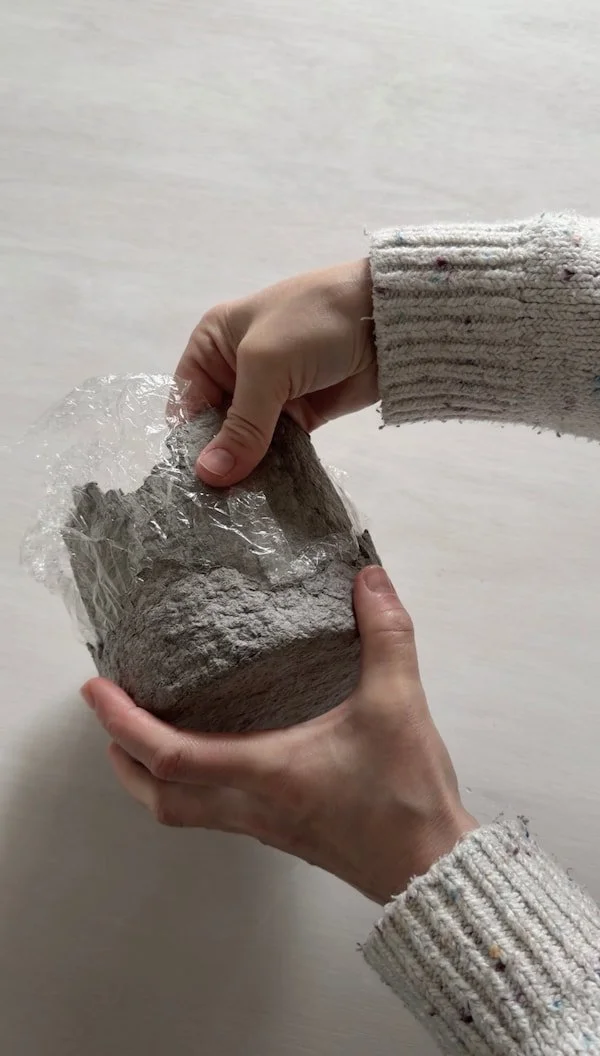
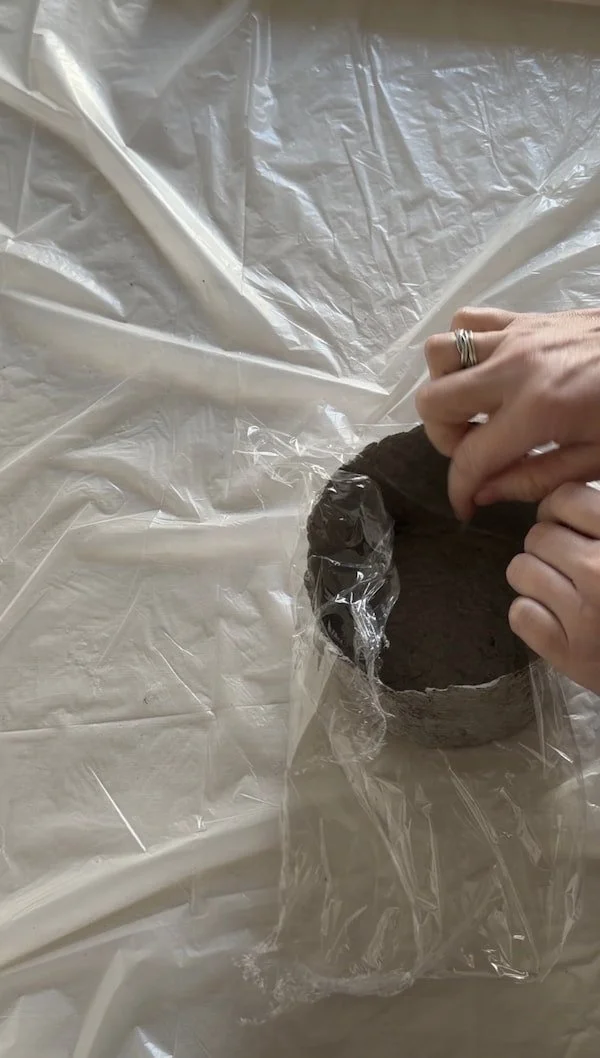
Cover the bottom of the box and the surrounding sides with several layers of cling film. One layer will not be enough, as the finished lid needs a little extra room to slide easily over the box once it has dried.
It is also worth thinking ahead about how you plan to finish the box. Paint, metallic leaf, or other decorative layers will add some thickness to its surface, so leave enough space for these additions when forming the lid.
Step 2 — Rolling Out the Paper Pulp
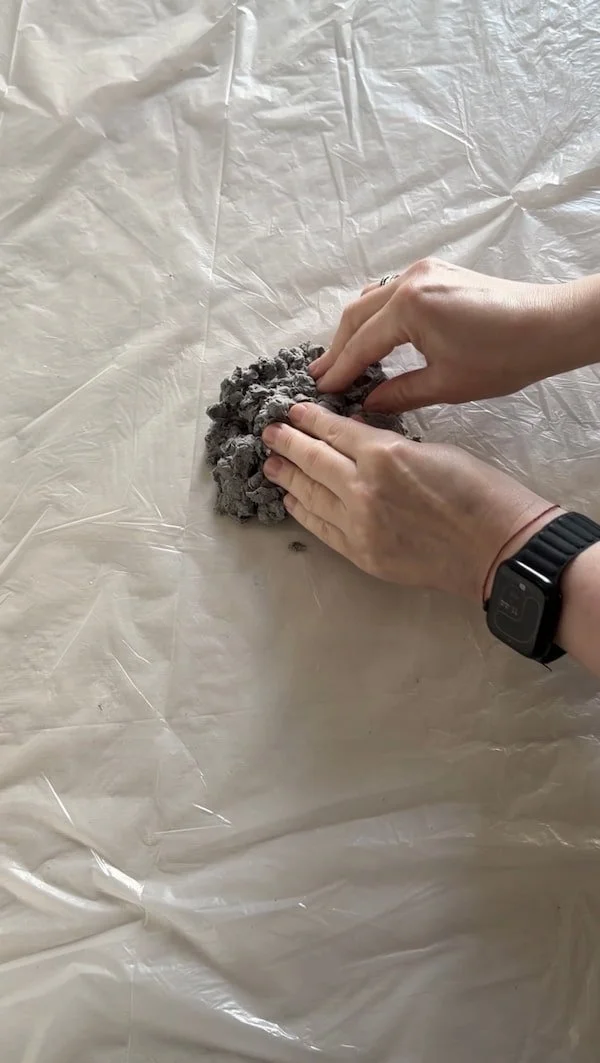
Protect your work surface with a large sheet of plastic. I used a clean, cut-open bin bag for this step.
Place a portion of paper pulp onto the plastic, cover it with another sheet, and roll it out evenly. Try to make the layer approximately the same thickness as the walls of your box.
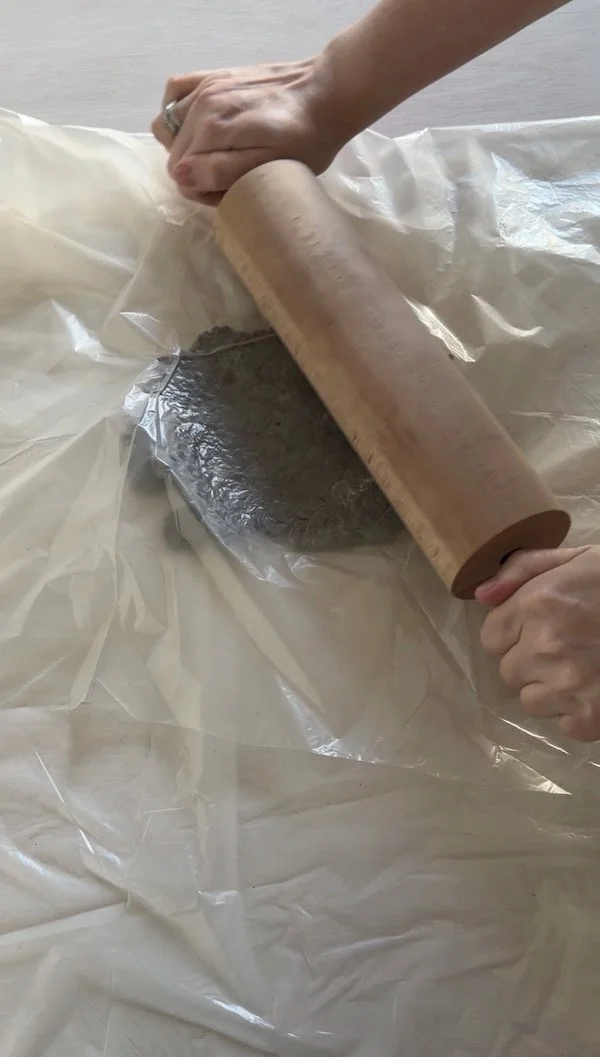
Step 3 — Placing the Box onto the Paper Pulp
Place the cling-film-wrapped box onto the rolled-out paper pulp, with the bottom facing down. Make sure there is enough paper pulp extending around the box to form the sides of the lid.
Then, holding everything securely, turn the box over in one quick movement so that the paper pulp is now on top. You can see the entire process more clearly in my video, linked at the top of this post.
Don’t worry if small pieces of paper pulp tear away during this step. We can easily glue them back into place later.
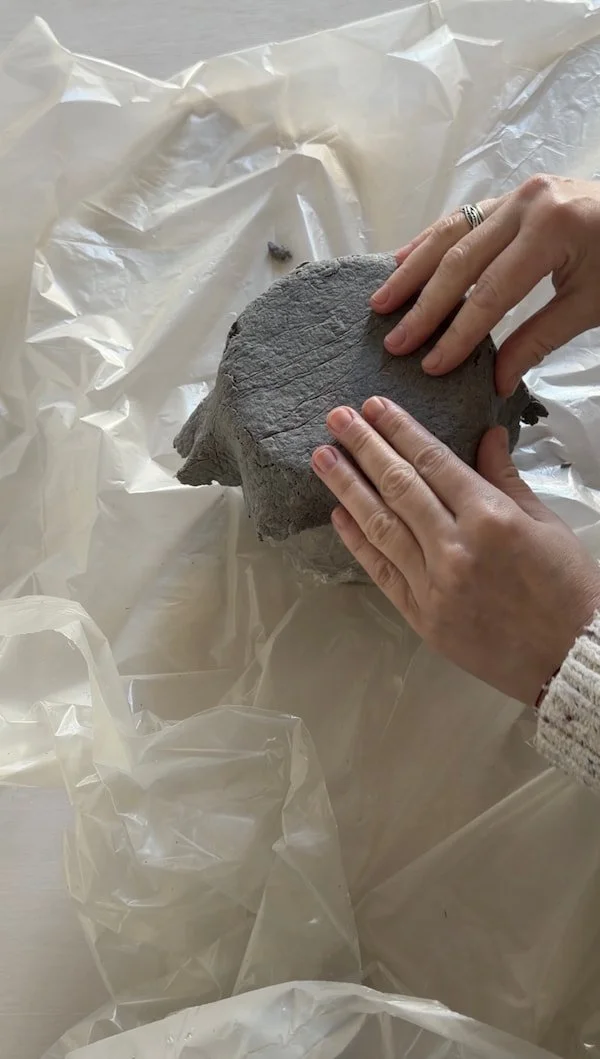
Step 4 — Building the Rim of the Lid
Now begin building the rim of the lid. If some of the paper pulp has torn away from the edges, simply reuse those pieces or roll out a fresh layer and cut off the amount you need.
Apply a generous amount of PVA glue, then add the pieces of paper pulp so that they overlap slightly. Use a blunt knife, spatula, or another smoothing tool to press and blend the layers together until the joins are no longer visible.
Continue adding and shaping the pulp around the box until the rim has the height and shape you want.
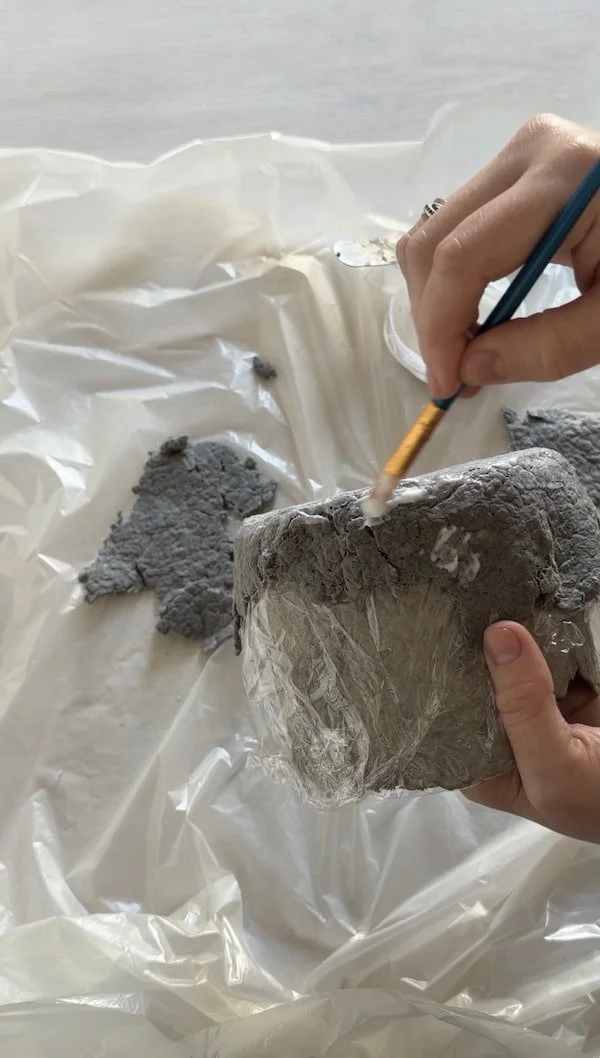
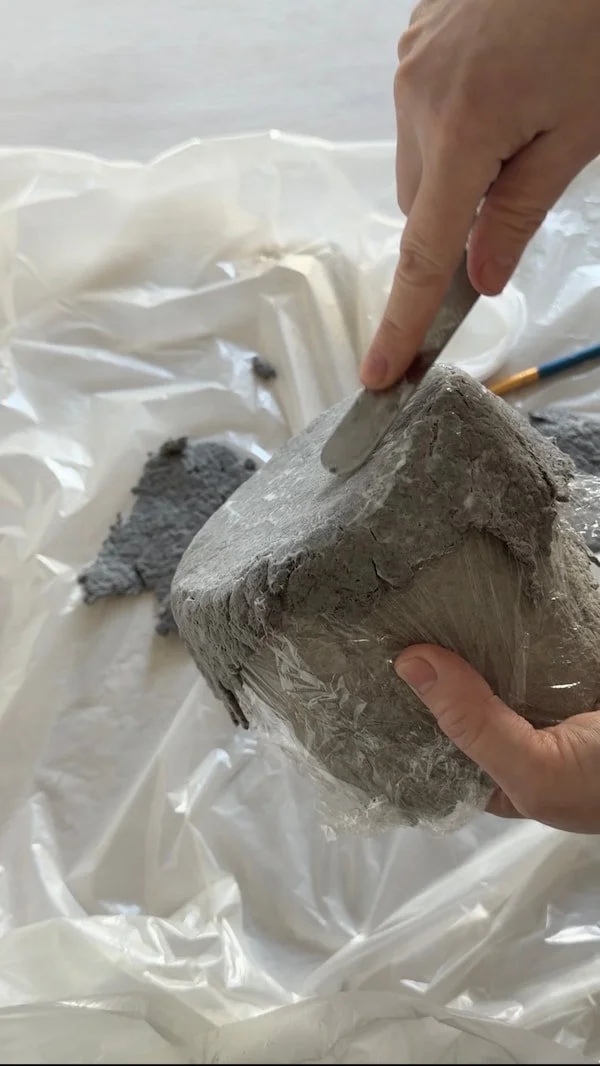
Step 5 — Drying and Removing the Lid
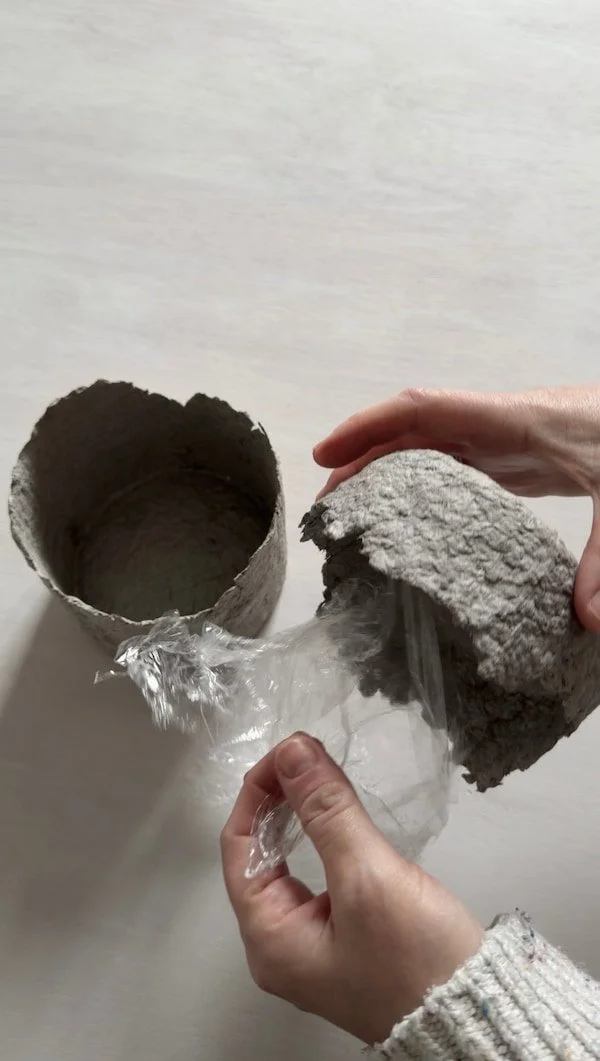
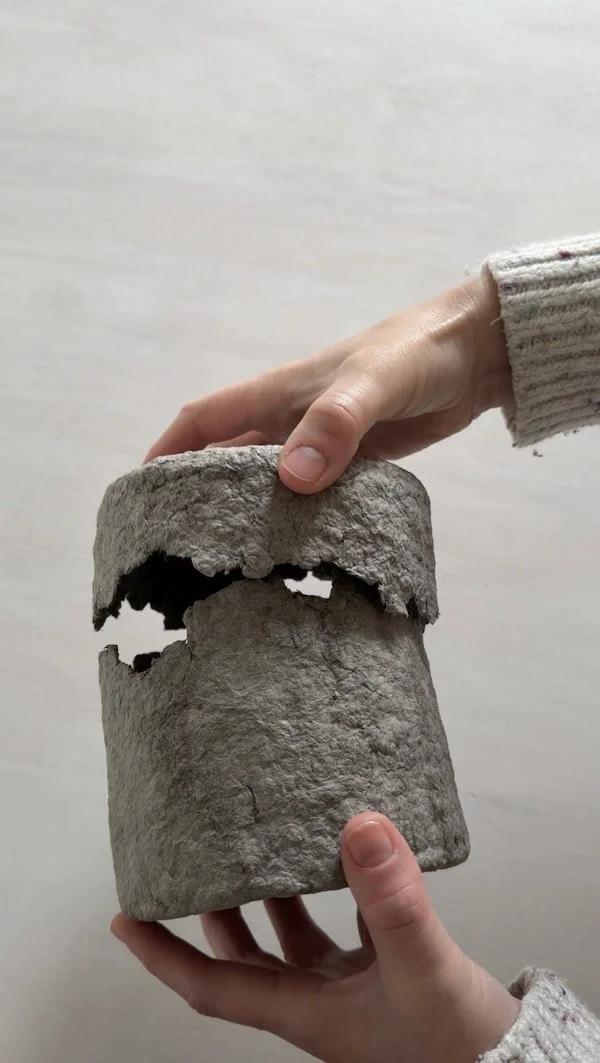
Leave the lid on the box until the paper pulp has dried completely. Once dry, gently lift it off and remove all the cling film.
Your lidded box is now ready. You can leave it in its natural, raw form or decorate it in any way you like — paint it, add metallic leaf, or experiment with other finishes and textures.