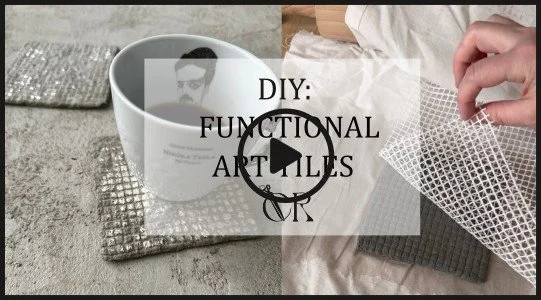
Functional Art Tiles DIY: Textured Paper Pulp Tiles with Silver Leaf

This project is really simple and doesn’t require any specialist tools – you only need a few basic supplies and a little patience. It’s the kind of DIY you can make slowly, without pressure, but the finished result still looks like a small designer object. What I love most is how flexible it is: you can keep it minimal with subtle texture, or go bold and turn the pieces into true functional art.
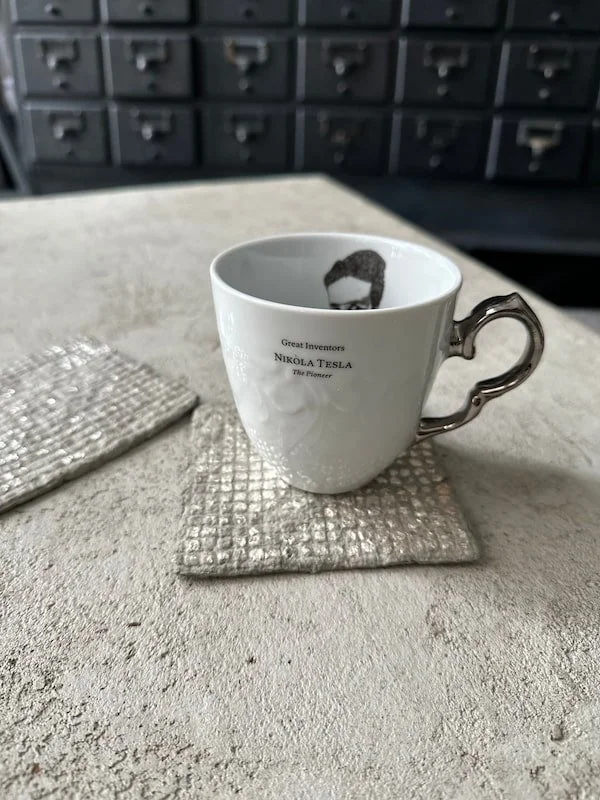
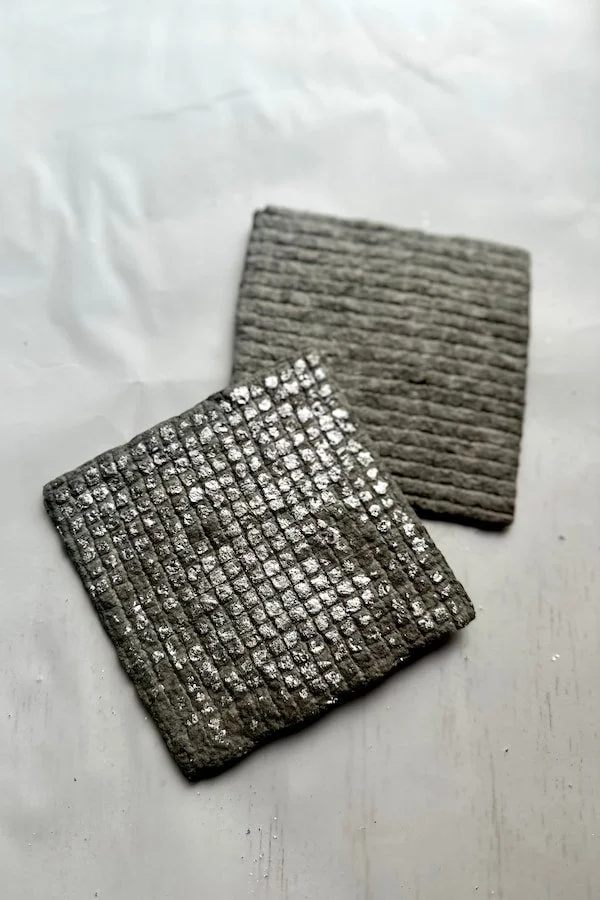
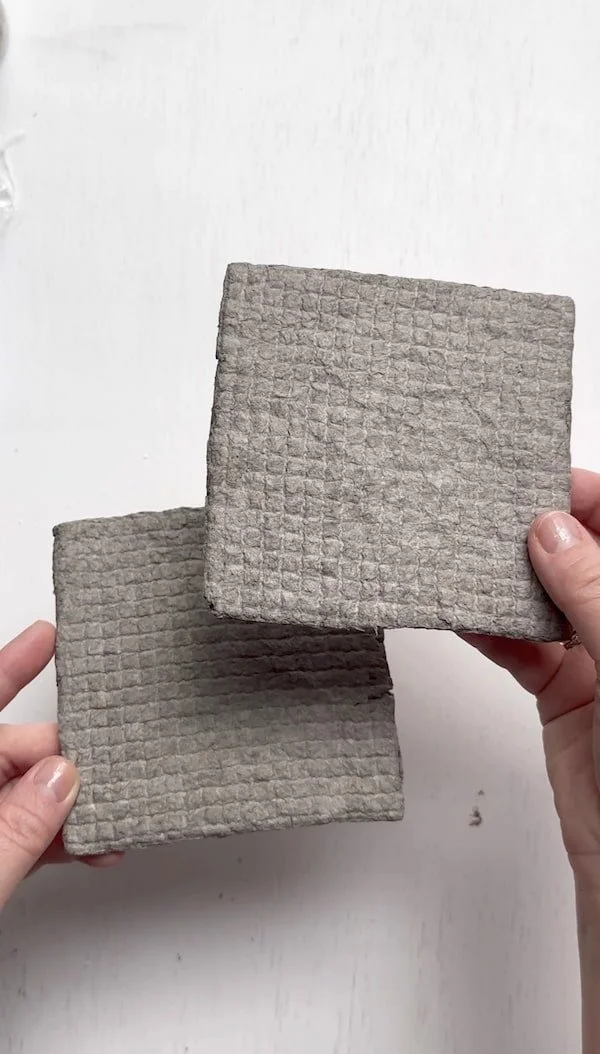
In this tutorial I’m showing you how to create decorative tiles with strong texture and a raw, concrete-like feel. They can be used as drink coasters, but they also work beautifully as wall decor – for example as a small panel made from several tiles arranged together. You can easily scale them up, change the shape, or experiment with different sizes depending on your own idea and how you want to use them.
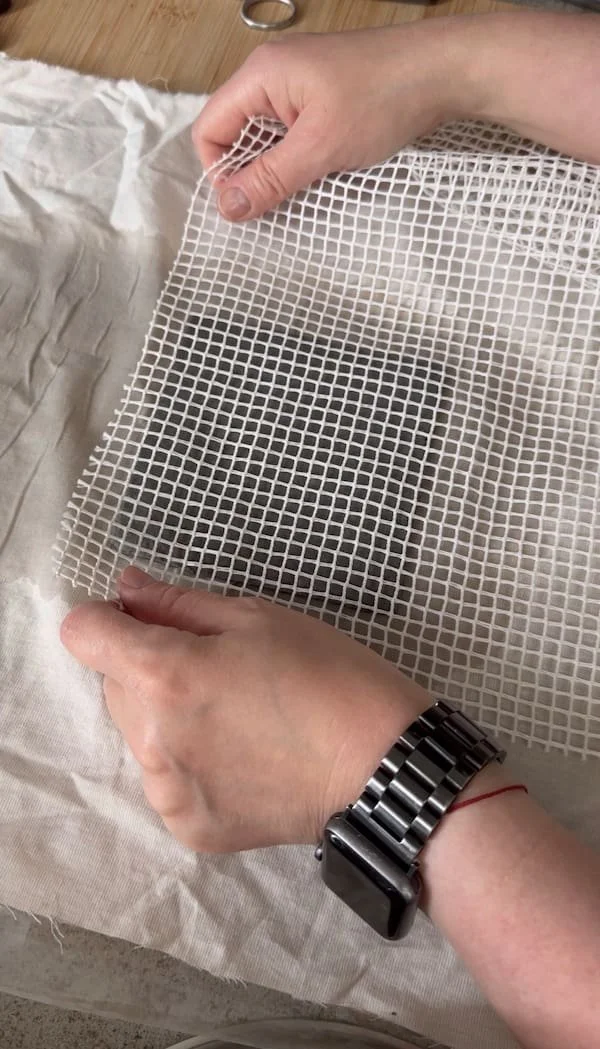
Texture is the key here – it creates the whole effect. You can imprint patterns using all sorts of materials: mesh, fabric, lace, rope… basically anything you have at home. I used a macramé mesh sheet because it gives a clean, repeating pattern that looks amazing with a raw finish.
To finish, I added silver leaf details that catch the light and create a subtle wow effect. This step is optional – you can keep the tiles fully matte and minimalist, or decorate them in your own way using metallic pigment, paint, or stain. Either way, every piece will come out slightly different, which makes the final set feel unique and handmade.
CHECK OUT FULL TUTORIAL:
What you will need:
Paper pulp (recipe link)
Old fabrics (for example cotton)
Plastic foil (for example cellophane)
Rolling pin
Paper
Pencil
Ruler
Scissors
Paintbrush
PVA glue
Silver leaf flakes
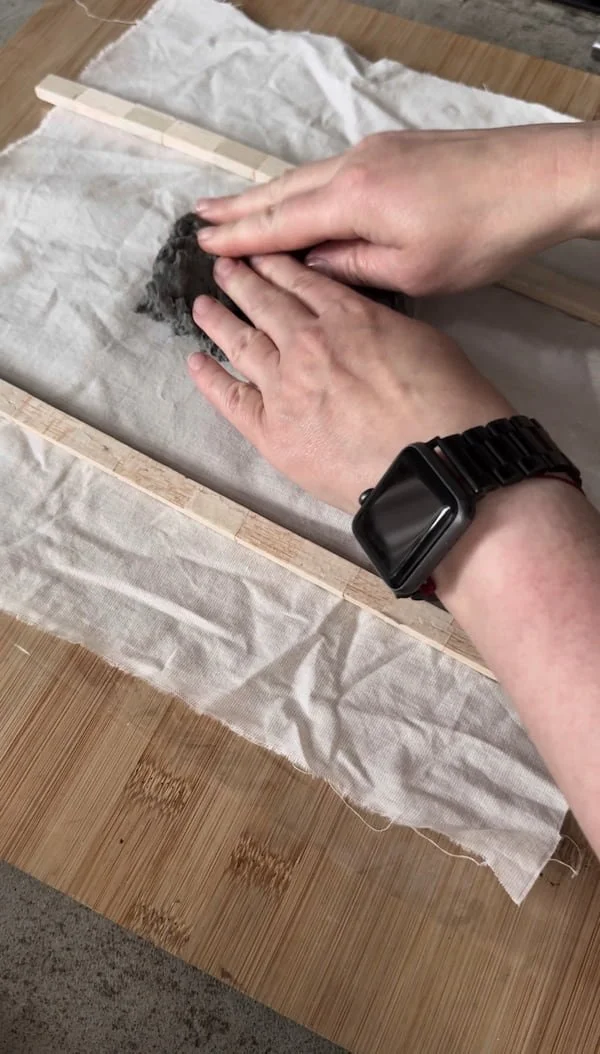
Step 1: Surface prep and rolling setup
We start by protecting our table/work surface. First, place a sheet of plastic foil, then add a piece of fabric (for example cotton or linen). Next, add some paper pulp, cover it with fabric again, and finish with another layer of foil on top.
This setup protects both the surface and the rolling pin from getting soaked – when you roll the pulp, water will be released, and it’s best if the fabric absorbs it.
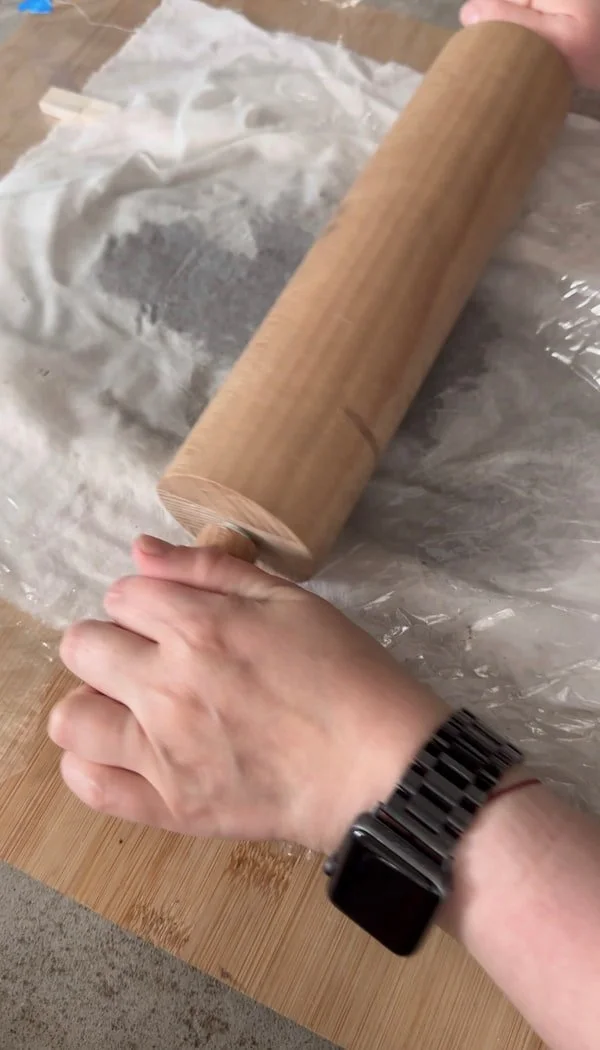
Place spacers along the sides (wooden strips, or pieces of cardboard) to keep the thickness even while rolling. Mine are a few millimetres high.
Roll out the paper pulp.
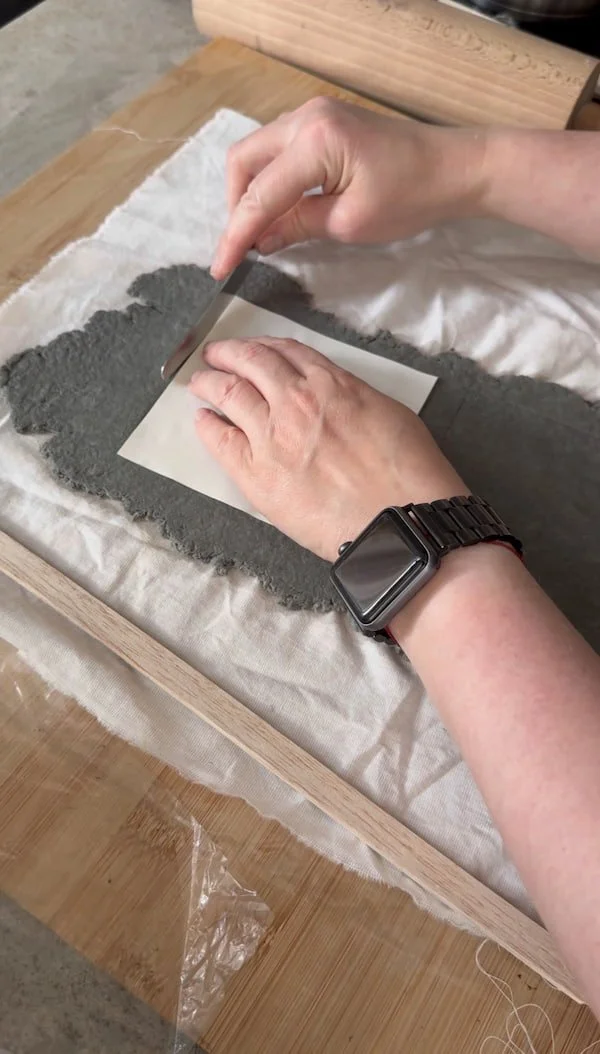
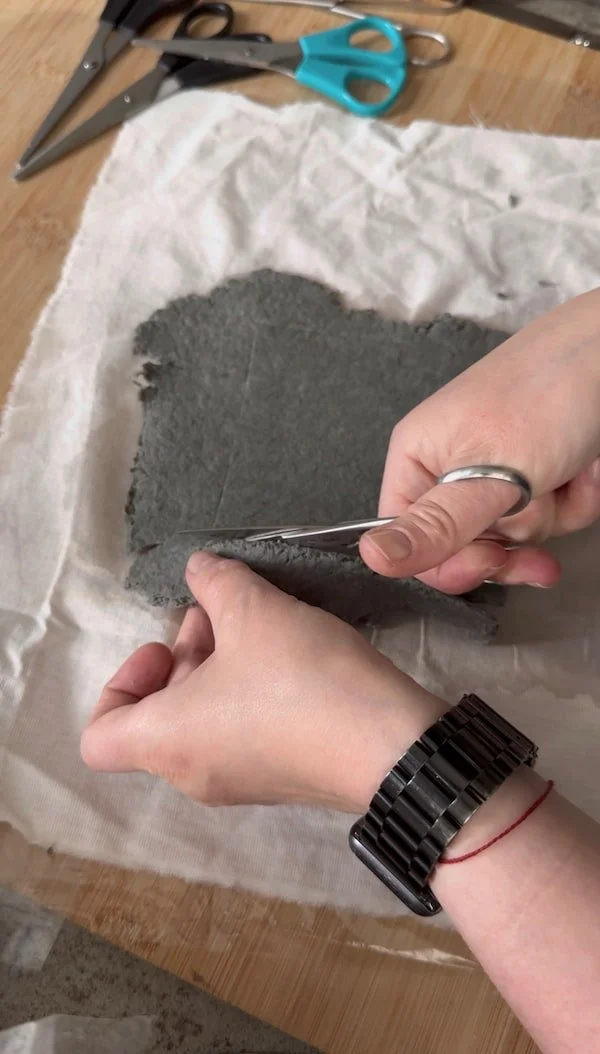
Step 2: Cut your tile shape using a template
Next, prepare a paper template. Mine is 10 × 10 cm, but yours can be any shape you like – even circular ;-)
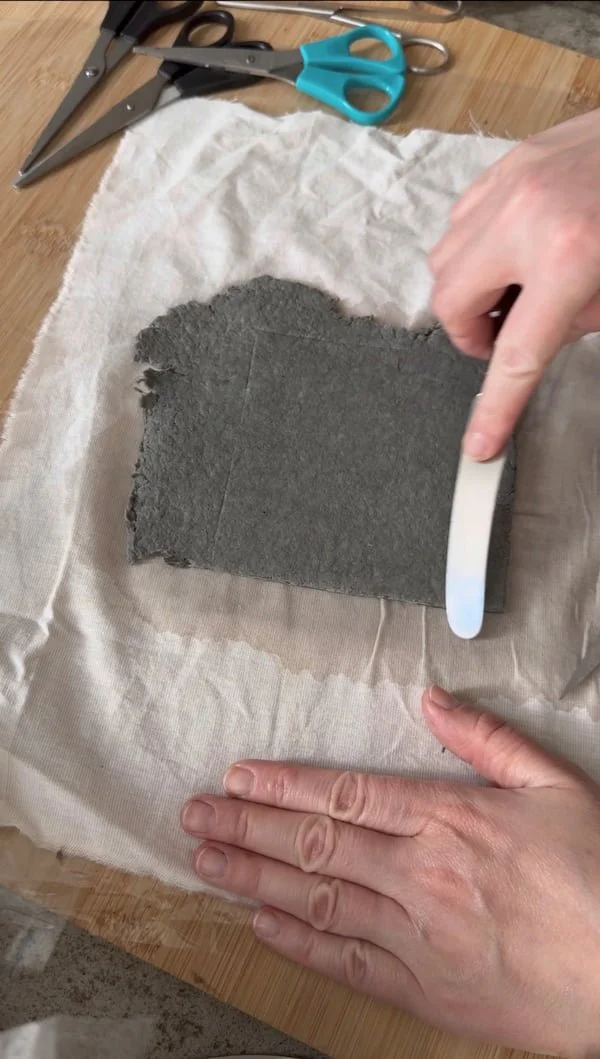
Place the template onto the pulp and trace around it using a knife. Then, using sharp scissors, cut the shape out of the pulp. Smooth the edges with a knife.
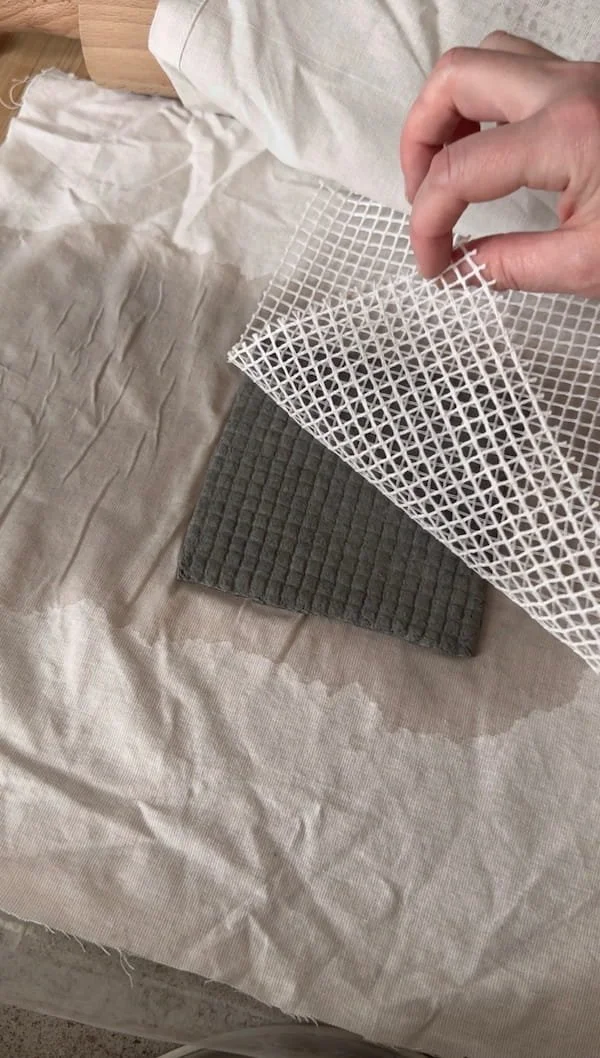
Step 3: Imprint the texture pattern
In the next step, place the mesh sheet on top of your cut-out tile. Then add a layer of fabric and plastic foil, and gently roll over it.
This should be light rolling – more like pressing down than rolling out. The goal is to imprint the pattern, not to flatten the tile further.
Leave it to dry. If the piece is quite thin, it may warp while drying. The best option is to let it dry completely first, then press it flat under a few books.
If you want to use it as a coaster, it’s a good idea to glue a piece of cork to the back – this will help prevent warping.
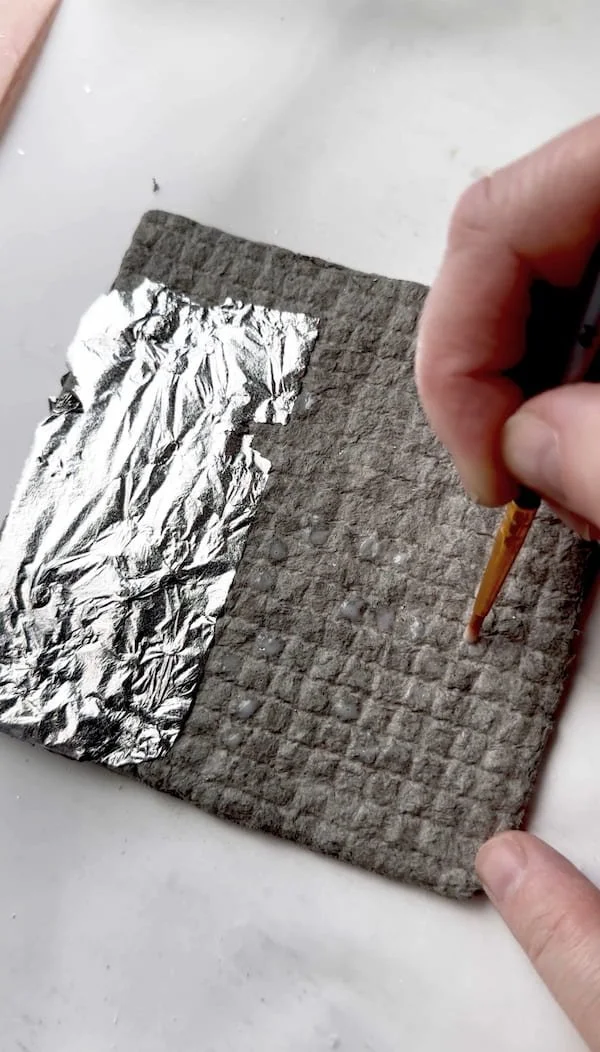
Step 4: Add silver leaf details
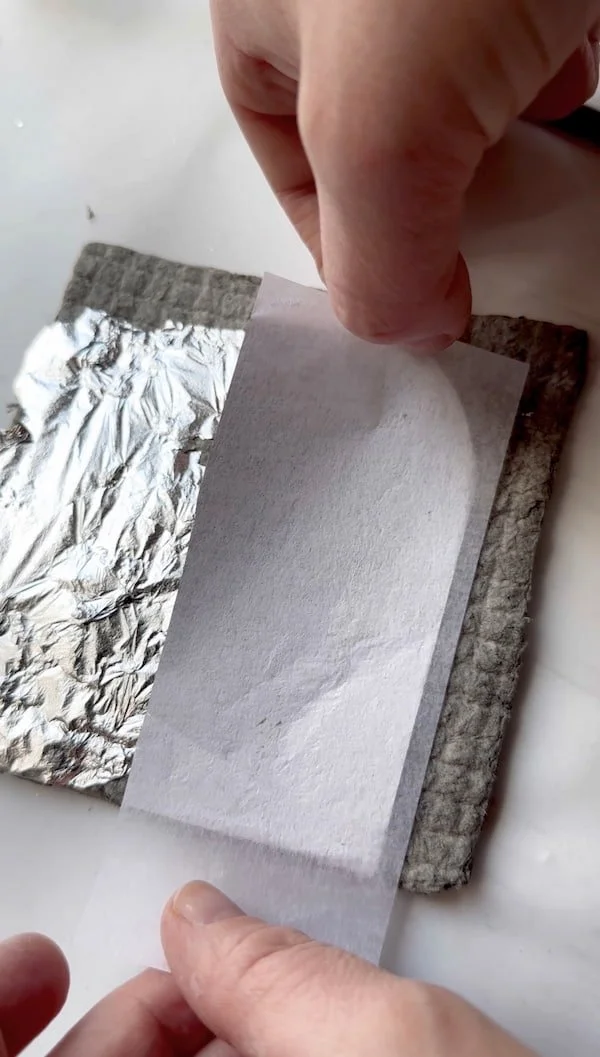
For decorating, I decided to use silver leaf sheets. I applied PVA glue to selected areas, then pressed the silver sheets onto the surface. After that, I left everything to dry.
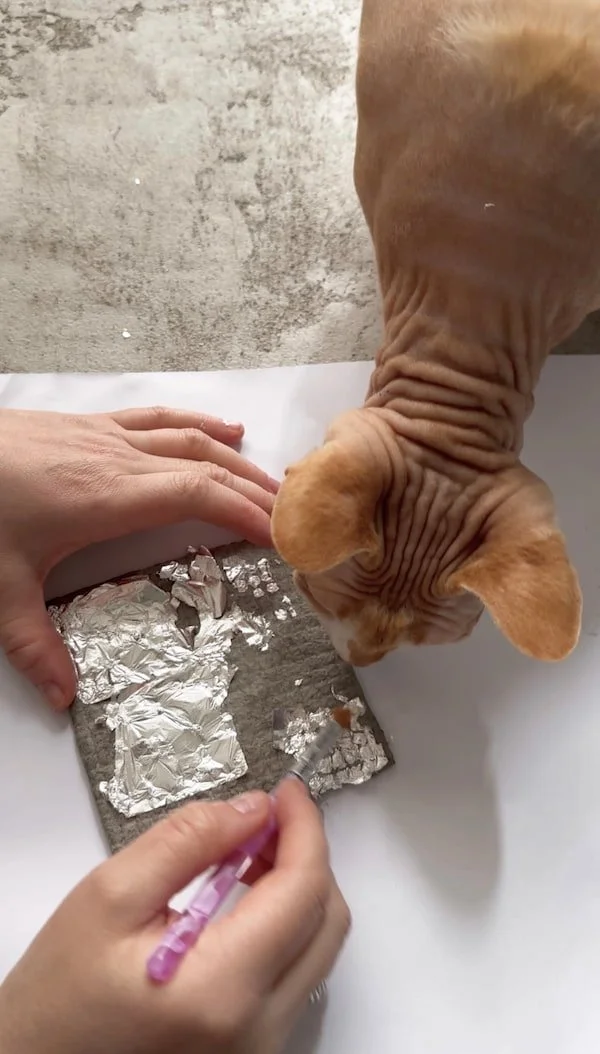
Once the glue is fully dry, remove any loose silver pieces with a dry brush. This way, only the raised parts of the texture stay coated in silver.