Saving a Project That Went Wrong


Sometimes a project simply refuses to go the way you imagined it. That’s exactly what happened here. At first, I thought a soft grey-silver finish would give the piece a delicate look. Then I completely changed direction, convinced that deep black was the answer. But in the end… I wasn’t happy with the result at all.
Instead of giving up, I decided to try and save it. Along the way, the project has already changed quite a bit, and honestly, I’m still not sure if I’ll finish it — the shape itself doesn’t fully convince me yet. But that’s the beauty of the process. It’s a chance to show that even when something doesn’t work out, there’s always a way to give it a second life and explore a different path.
So… let’s save this piece.
You can watch the full step-by-step video on YouTube – link below.
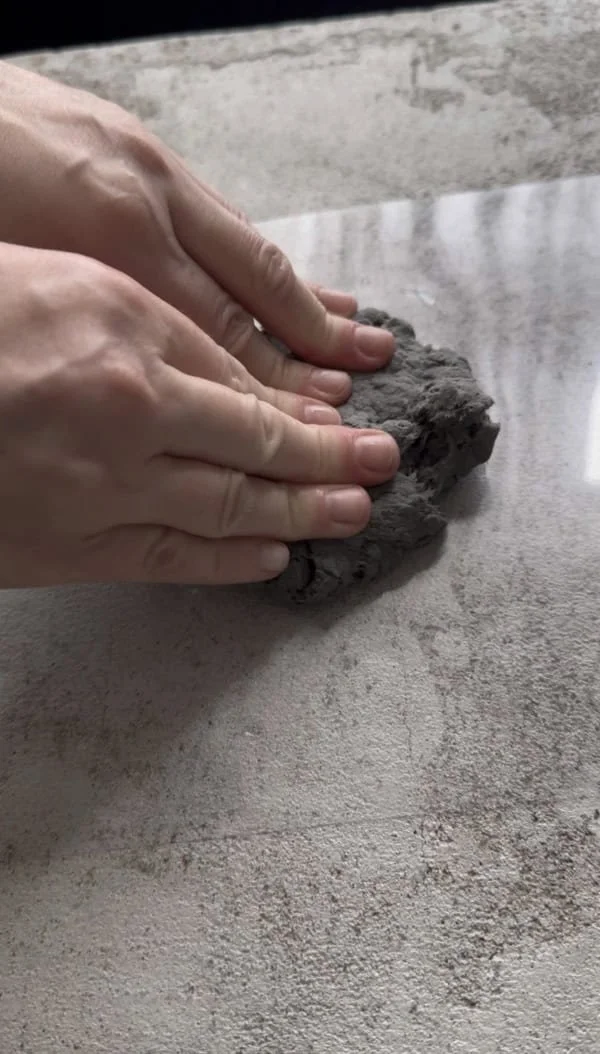
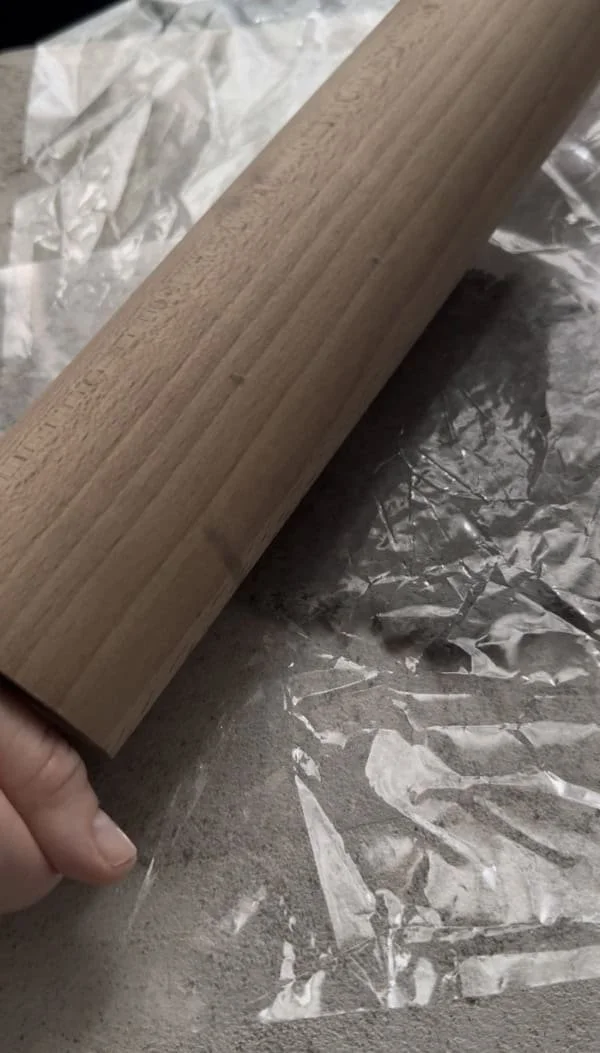
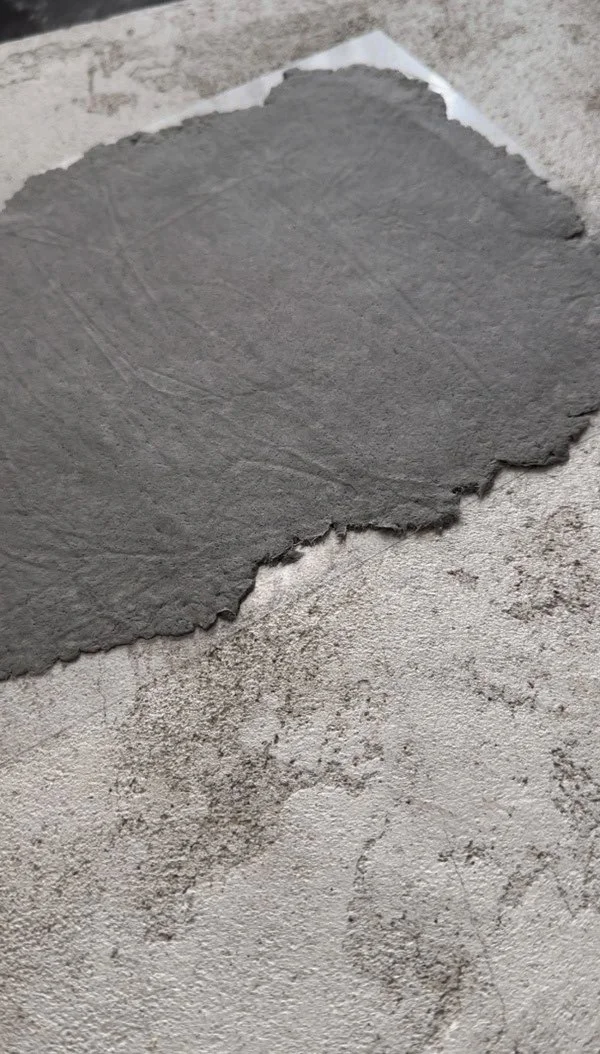
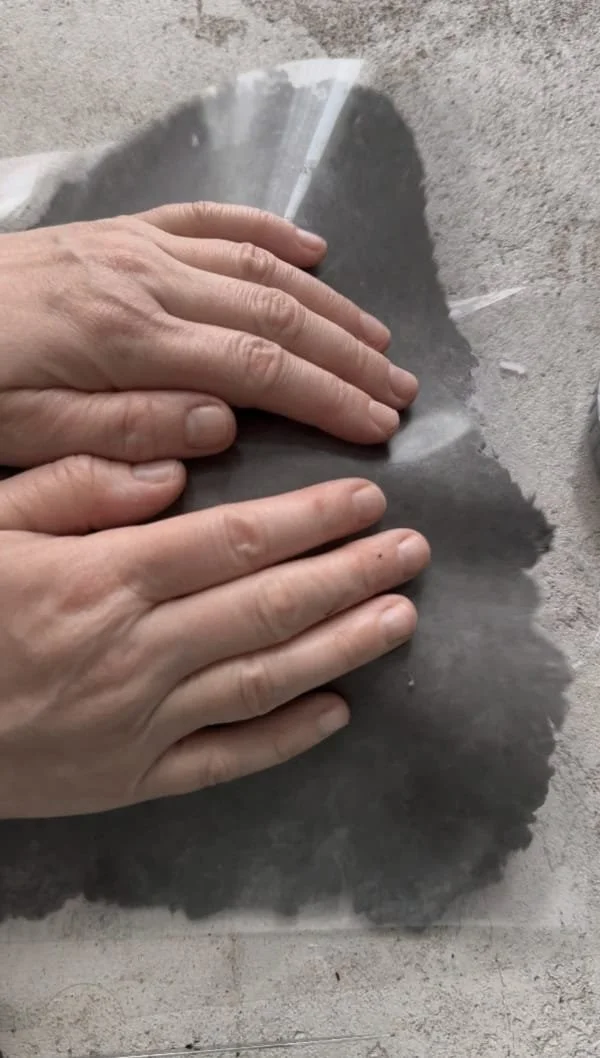
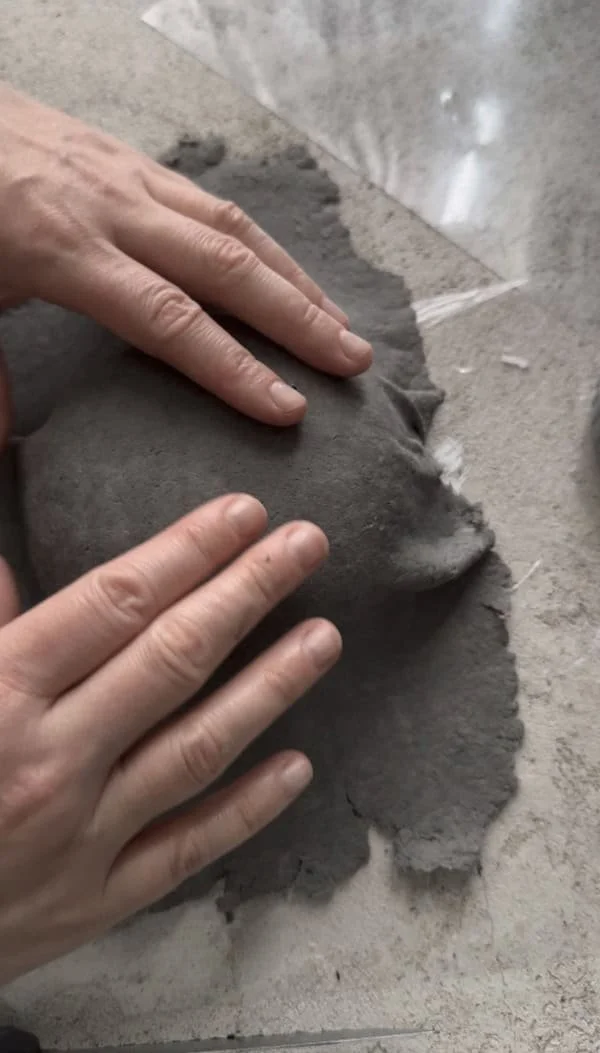
Step 1: Rolling Out the Paper Pulp
We start by rolling out the paper pulp into a very thin, smooth sheet. To do this, I like to use old materials I already have at home — for example, a piece of cotton fabric, a transparent foil like cellophane, or even a binding cover. A simple rolling pin works perfectly for this step.
For the best results, make sure the paper pulp is rolled out as thinly and evenly as possible, creating a smooth surface. If you’d like a more detailed guide on how to properly roll out the paper pulp, you can find a full step-by-step tutorial in one of my previous posts.
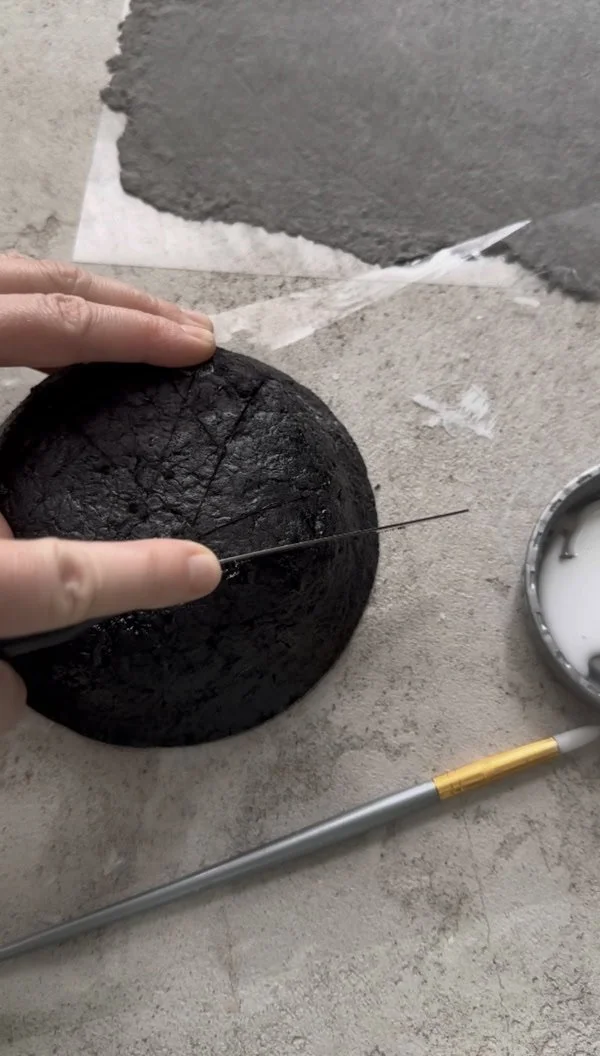
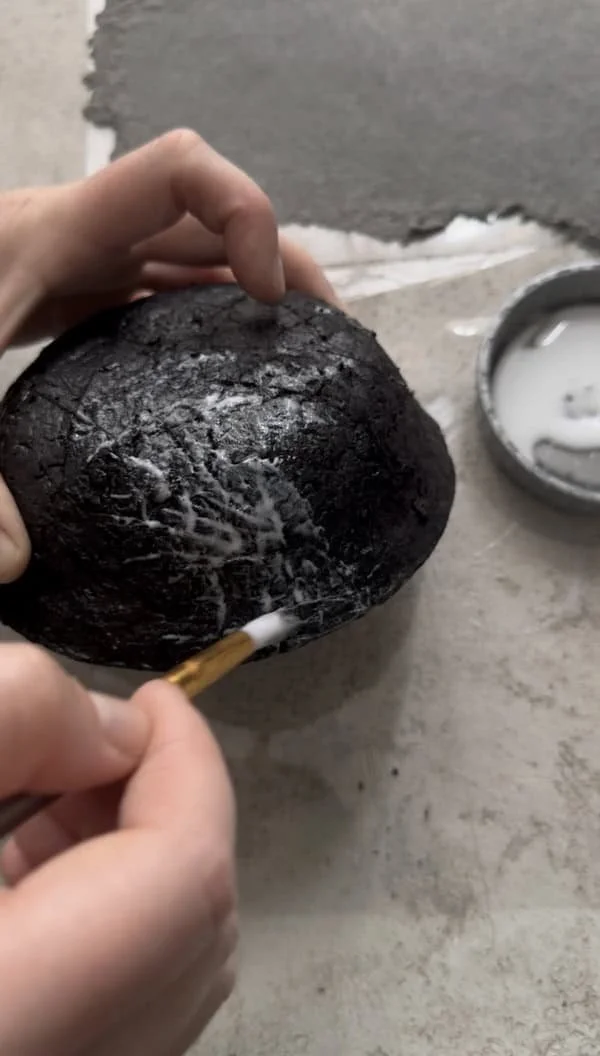
Step 2: Preparing the Surface
Before applying the paper pulp sheet, we need to prepare the surface of the object. Lightly score the base using a knife or another sharp tool — this will create small grooves that help the pulp grip better. Once that’s done, apply a generous amount of PVA glue over the entire surface to ensure strong adhesion.
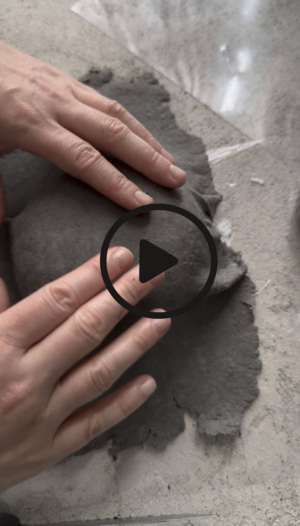
Step 3: Applying the Paper Pulp Sheet
Next, place the rolled-out paper pulp sheet onto your object. Carefully remove the transparent foil and gently press the sheet with your hands, making sure it follows the shape of the object and adheres well to the surface.
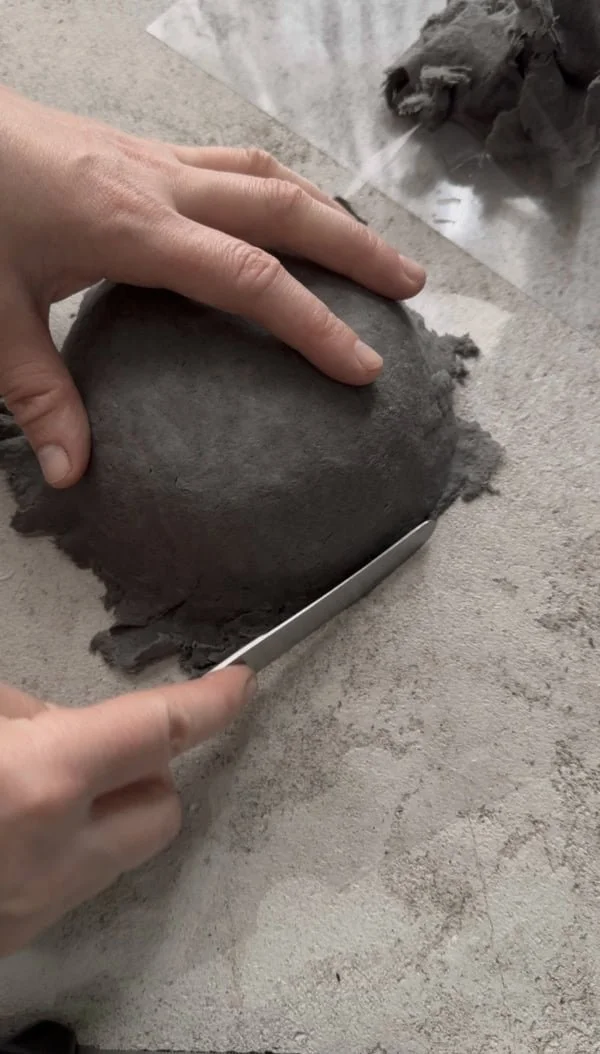
Step 4: Removing the Excess and Blending the Surface
In the next step, gently tear off any excess paper pulp around the edges. Then start blending the material into the surface using a smooth knife with a rounded tip. This will help you seamlessly merge the edges and create an even, polished finish.

Don’t worry if you notice any small holes or gaps. You can easily add a thin piece of pulp (using the parts you tore off earlier), press it onto the surface, and blend it in with the knife. The material is very flexible and easy to shape, making it simple to create a smooth, seamless look.

