A Touch of Silver — A Gift Box for Christmas
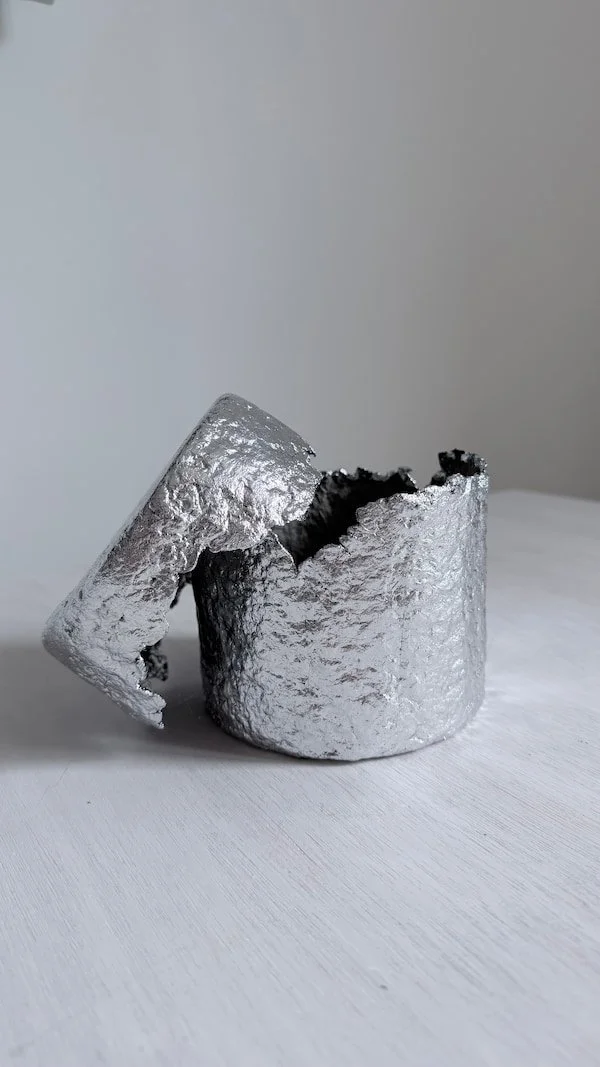
I know, I know — Christmas is still a little way off. But if you’re planning to make gifts by hand, now is a pretty good time to start. I’ve already made a start because I know myself, and I know it’ll take me a while. Something will need to dry, something else will need a little adjustment, and I’ll probably come up with a few more ideas along the way.
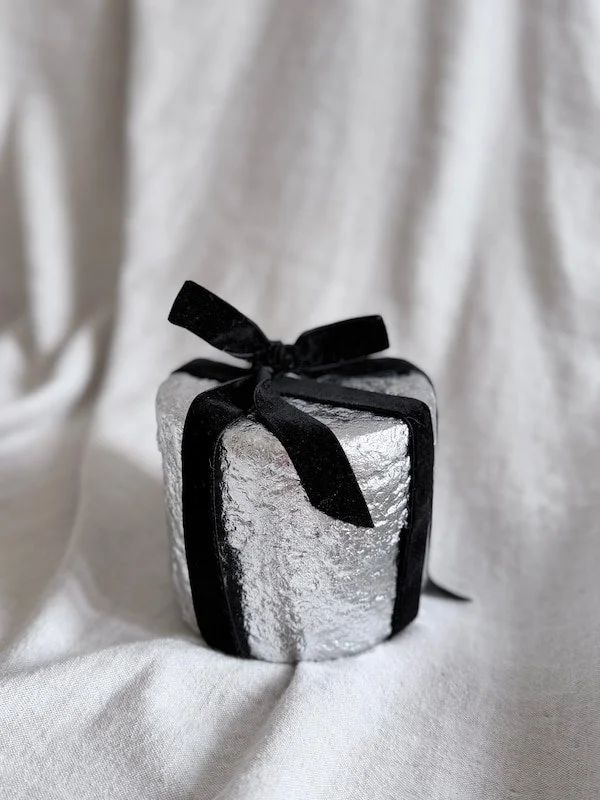
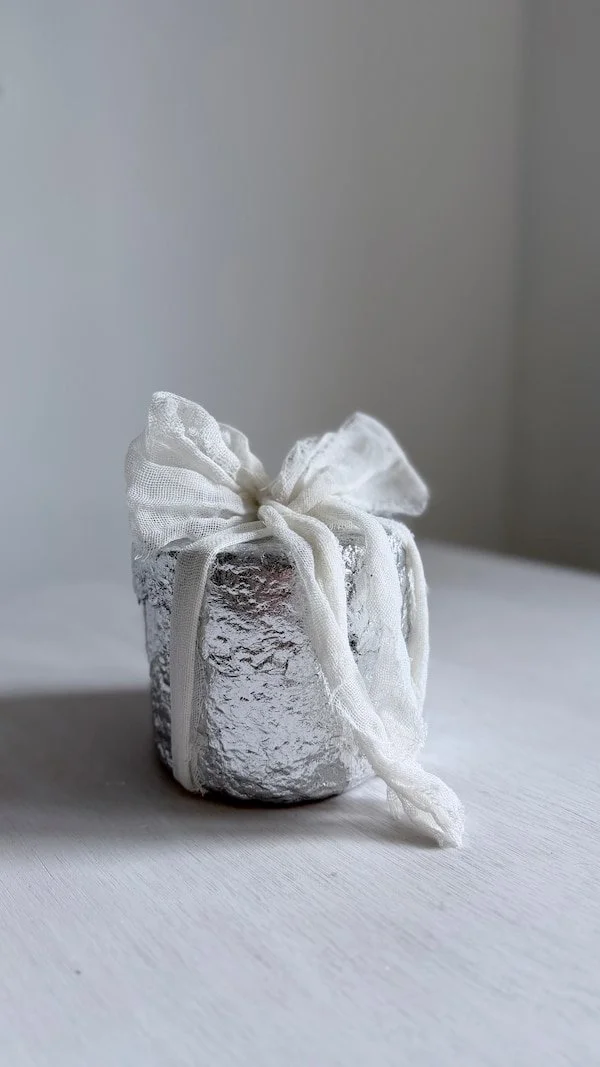
First, I added a little silver to my paper pulp box. I love how the metal leaf brings out its uneven texture — the surface catches the light, making every little hollow and irregular edge even more noticeable. Add a bow, and it’s ready to hold a Christmas gift. Afterwards, the box can become a home for jewellery or other little treasures.
In this tutorial, I’ll show you how to create this silver finish. You can decorate a ready-made paper box or make your own — you’ll find the instructions for mine in a separate tutorial. Gather your brushes and silver leaf, and perhaps an idea for what to put inside will come to you along the way.
CHECK OUT FULL TUTORIAL:
BOX TUTORIAL:
LID TUTORIAL:
What you’ll need:
A paper box with a lid
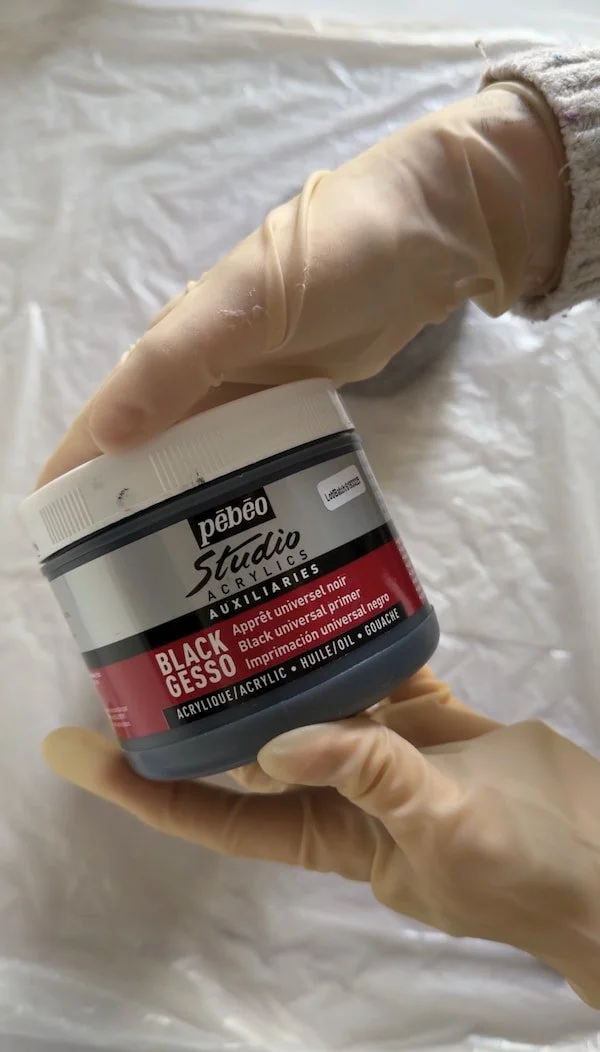
Black gesso
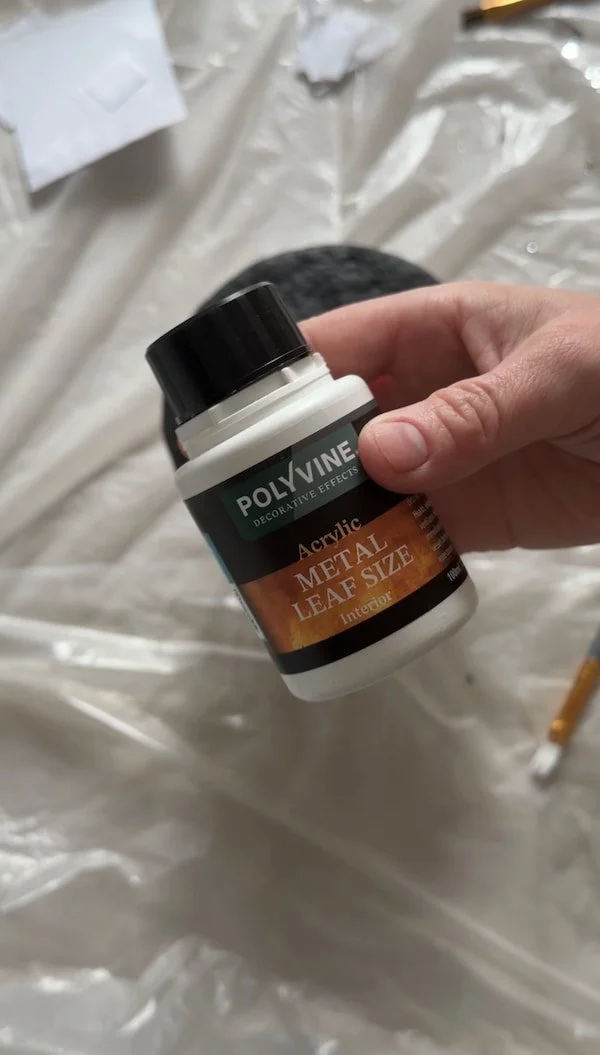
Metal leaf adhesive (size)
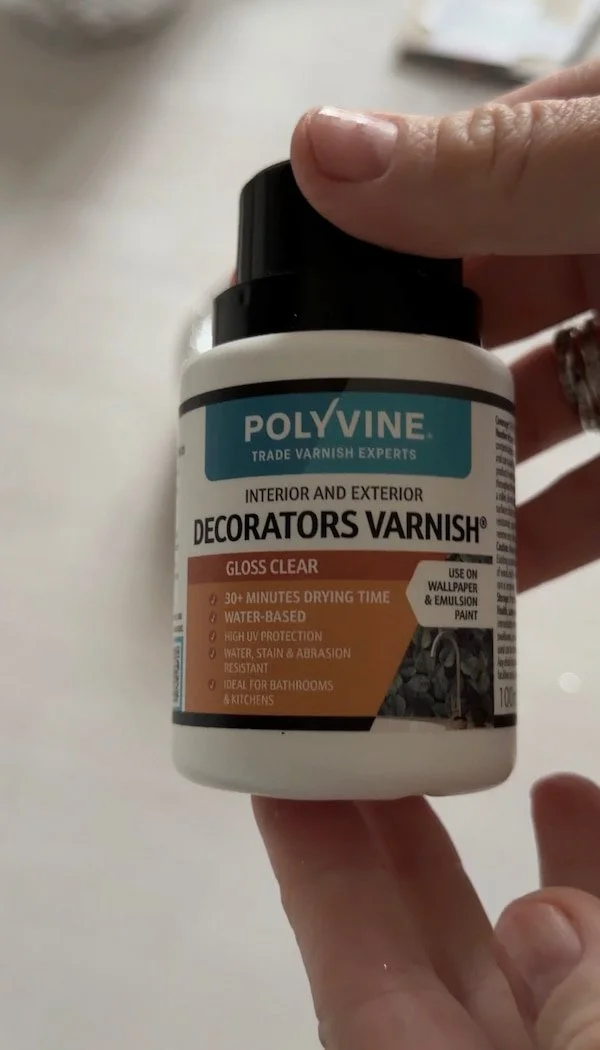
Clear gloss varnish
Silver leaf sheets
Brushes, including a soft, dry brush for removing excess leaf
Scissors
A protective sheet to cover your work surface
A quick note about the box before we begin: if you’d like to make one from scratch, you can follow my paper pulp box tutorial. But if you’re short on time, don’t feel like making one, or simply prefer to focus on decorating, you can reuse a paper box you already have or buy a plain one.
If your box has a glossy or coated surface, lightly sand it with fine-grit sandpaper to help the next layers adhere. Wipe away any dust before applying the gesso.
Step 1: Apply the black gesso
Start by applying a coat of black gesso to the box and lid. I used just one coat, which was enough for my box, although two coats are sometimes recommended. Follow the instructions for your chosen product and leave to dry completely.
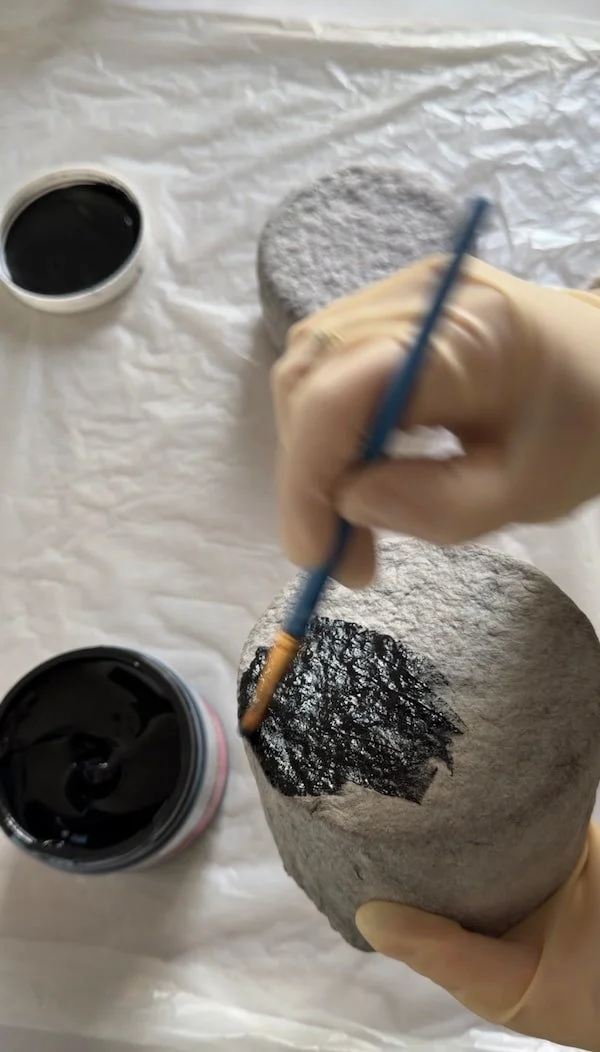
I placed the box and lid upside down on glasses to raise them above the work surface. This made each layer easier to apply and kept the coated edges clear of the table, allowing them to dry properly too.
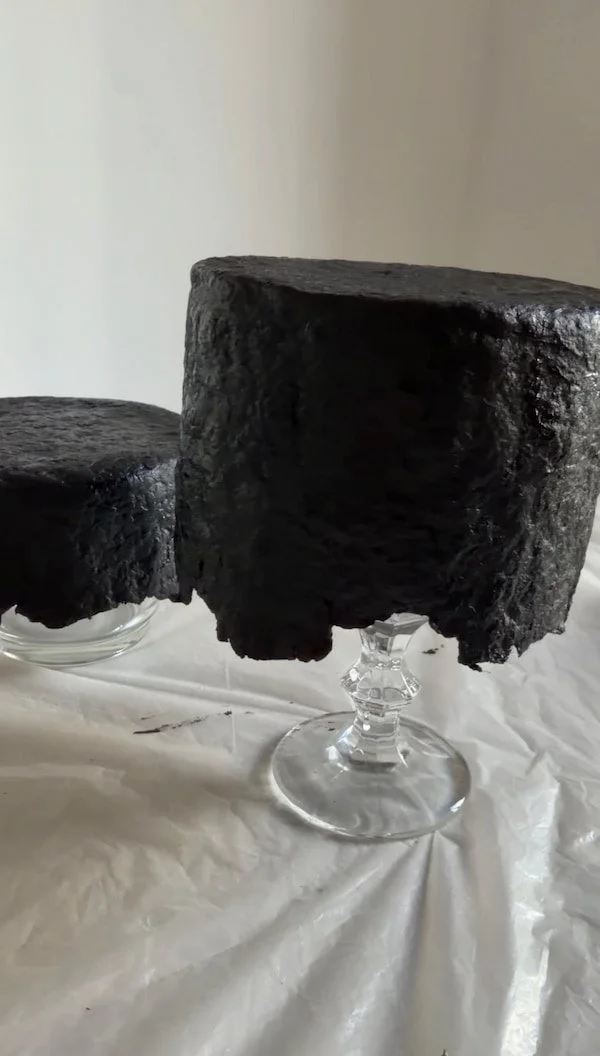
Step 2: Apply the metal leaf adhesive
Once the gesso is completely dry, apply the metal leaf adhesive to the areas you want to cover with silver leaf. Leave it until it turns clear and feels tacky. In my case, this took around 15 minutes, as stated in the product instructions. Follow the waiting time recommended for your chosen adhesive.
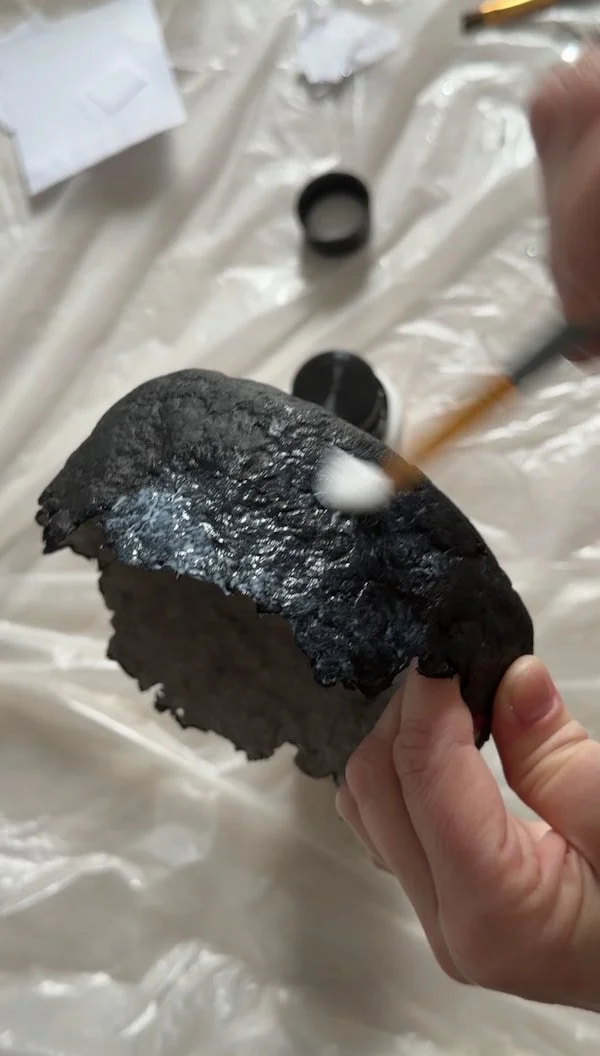
Step 3: Apply the silver leaf
Carefully lay the silver leaf sheets onto the prepared surface, slightly overlapping the edges to avoid any gaps, even tiny ones.
You can find metal leaf sheets online quite cheaply — I paid around £8 for a pack of 100. They come in different colours too, so feel free to try gold or a colourful finish instead.
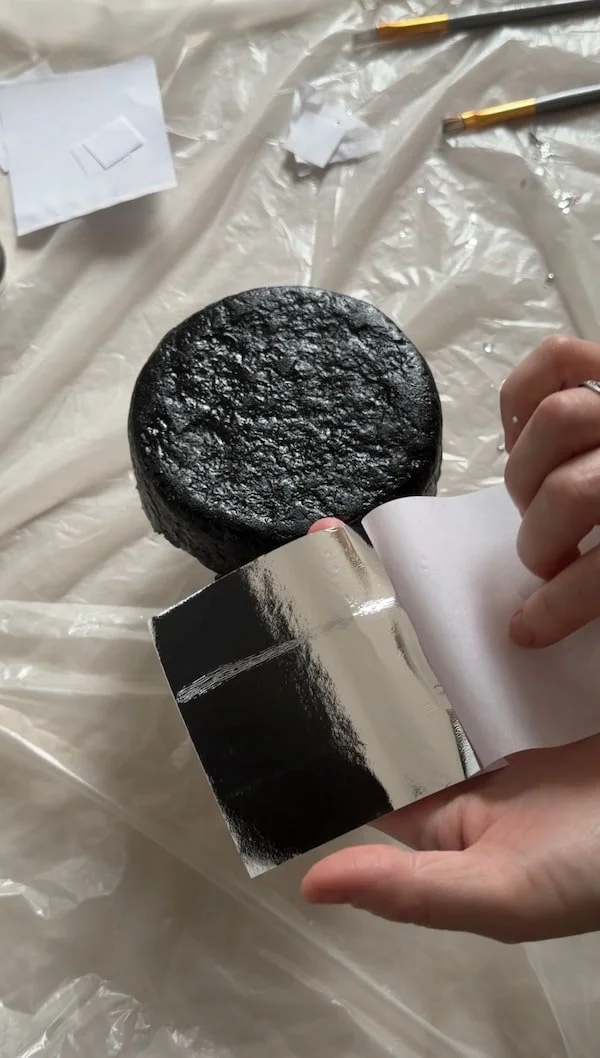
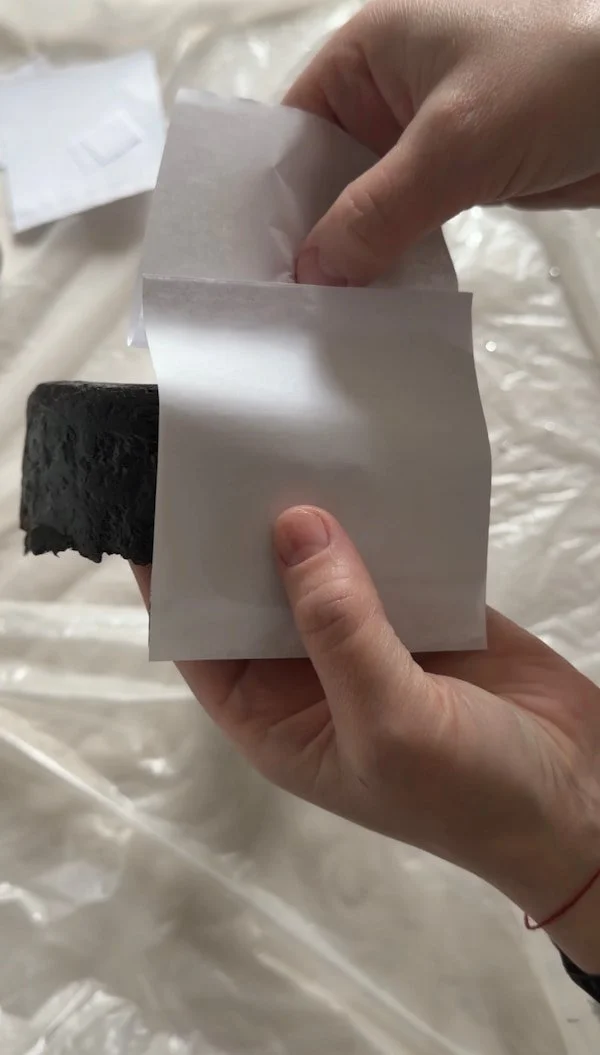
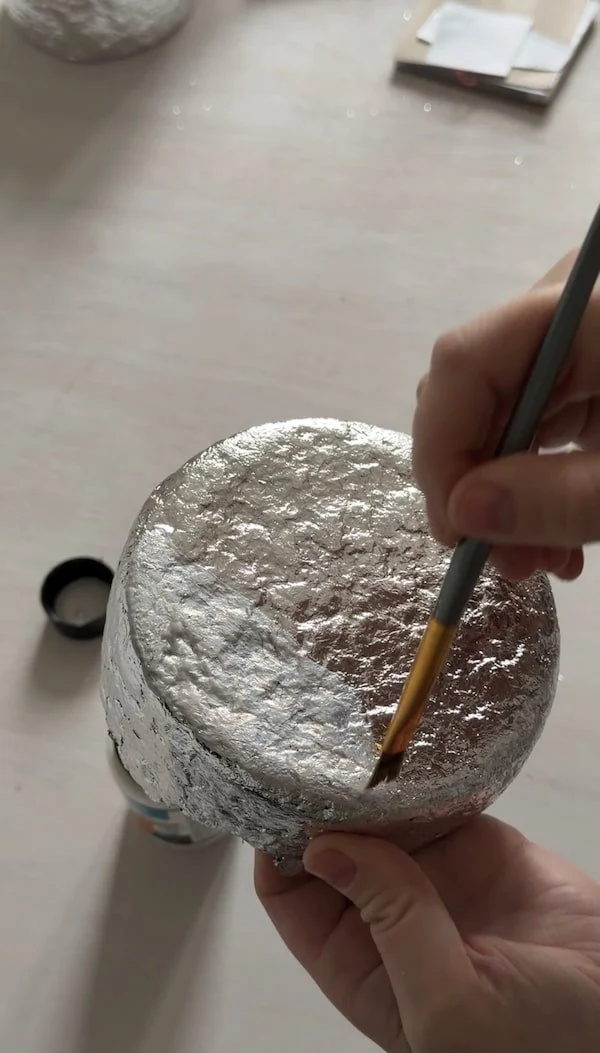
I used the tissue paper that came with the sheets to gently press the silver leaf onto the surface, then lightly pressed it into the texture with a soft brush. Be gentle to avoid lifting or tearing the freshly applied leaf, although the adhesive holds it in place quite well.
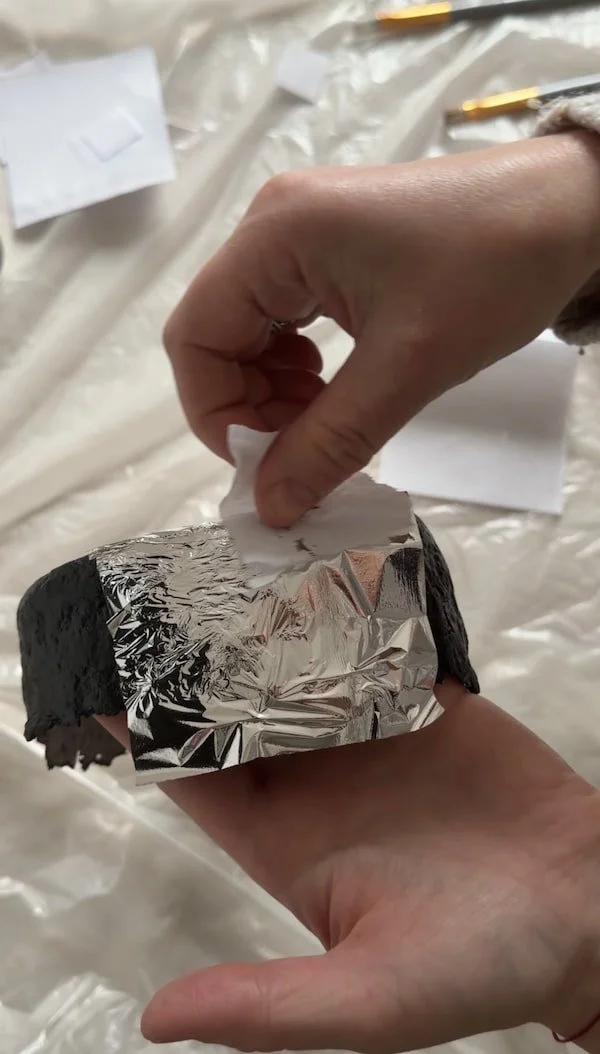
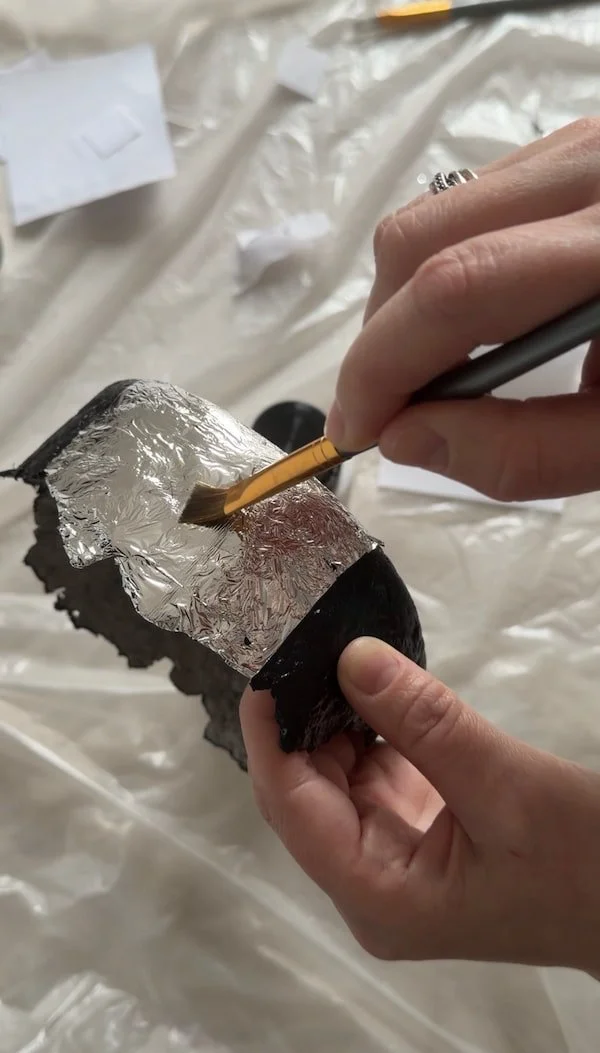
Once the box and lid are fully covered, place them back on glasses or other raised supports and leave to dry, keeping the coated edges clear of the work surface.
Step 4: Brush away the excess silver leaf
Once everything is dry, use a soft, dry brush to gently remove any loose silver leaf that hasn’t stuck to the surface. Work carefully around the edges and textured areas.
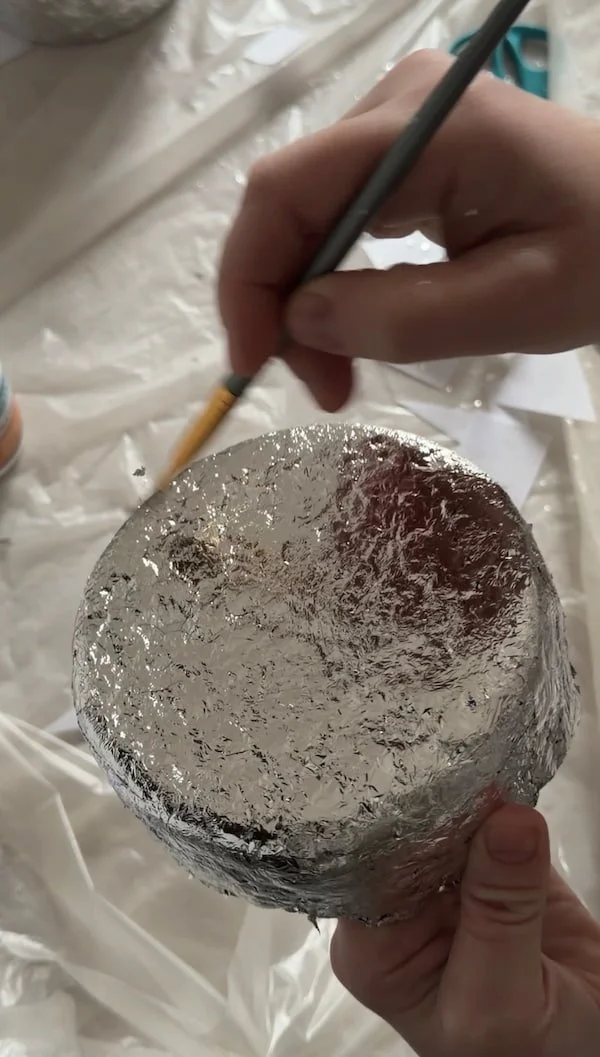
Step 5: Protect the finish with varnish
Finally, apply a clear gloss varnish to the box and lid. This seals the delicate silver leaf, helping to prevent it from flaking or rubbing off when the box is handled.
Follow the instructions for your chosen varnish and leave to dry completely before putting the lid back on or adding a ribbon.