DIY: Paper Fragments – Small Decorative Details
Sometimes very simple forms can turn into small objects that feel surprisingly special. These irregular fragments almost resemble tiny artifacts — as if they were remnants of something older, preserved in a raw, organic form.
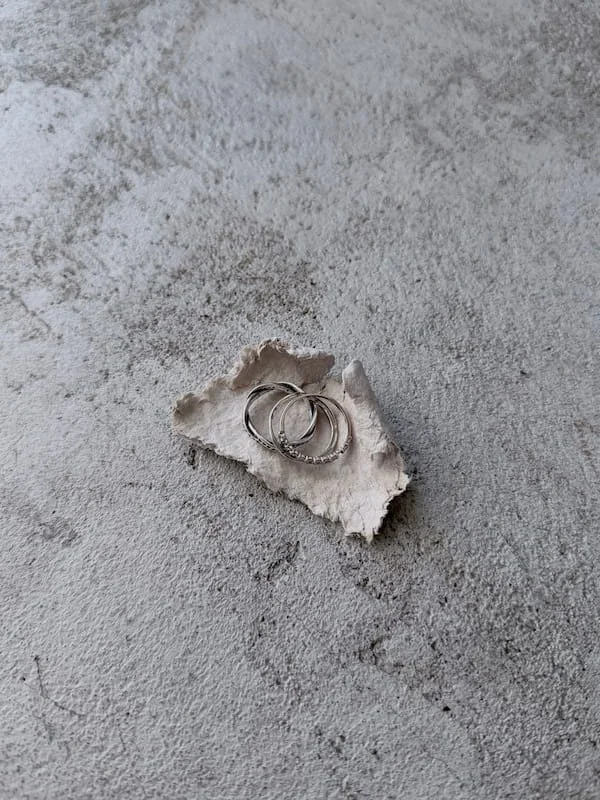
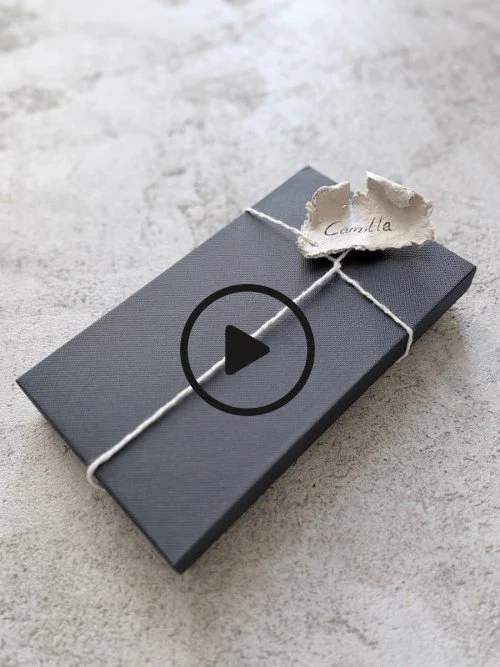
In this project I create textured pieces with uneven edges and a soft, natural surface. Each fragment turns out slightly different, which gives it its own character. They can be used as simple gift tags, small labels, decorative details, tiny jewellery dishes, or even as place cards for the table, where you can write the names of your guests.
This is a very simple DIY project where texture, freedom of form, and the natural imperfection of the material play the most important role. The goal is not to create perfect shapes, but rather to embrace an organic look and small handmade objects that feel spontaneous.
In the next part I will show step by step how to create these textured fragments and shape them into different forms.
Watch the process in the video below.
You will need:
Paper pulp (old newspapers + water + PVA glue) — you can find the recipe here.
Plastic sheet or protective foil to cover your work surface.
Old fabrics or cloths to make rolling the pulp easier and to absorb excess water.
Two knives: one with a sharp tip and one with a rounded/smooth tip.
A small brush.
A container with PVA glue.
A marker or fine liner pen.
1.Preparing the Paper Clay
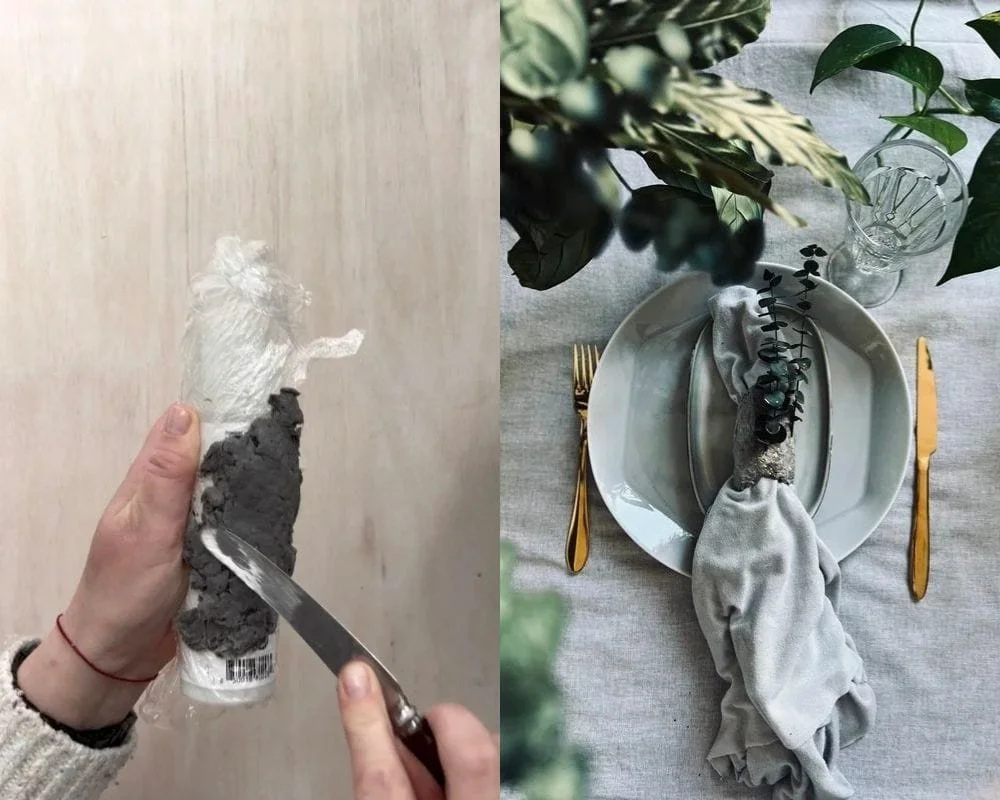
I prepared the paper clay following the recipe that you can see in detail in this post. This time, however, I used only the light parts of newspaper pages. I cut off the unprinted edges, tore them into smaller pieces, and soaked them in water. Once the paper had softened, I blended everything together, squeezed out the excess water, and added PVA glue. This created a much lighter paper pulp than the one you would get by blending entire newspaper pages.
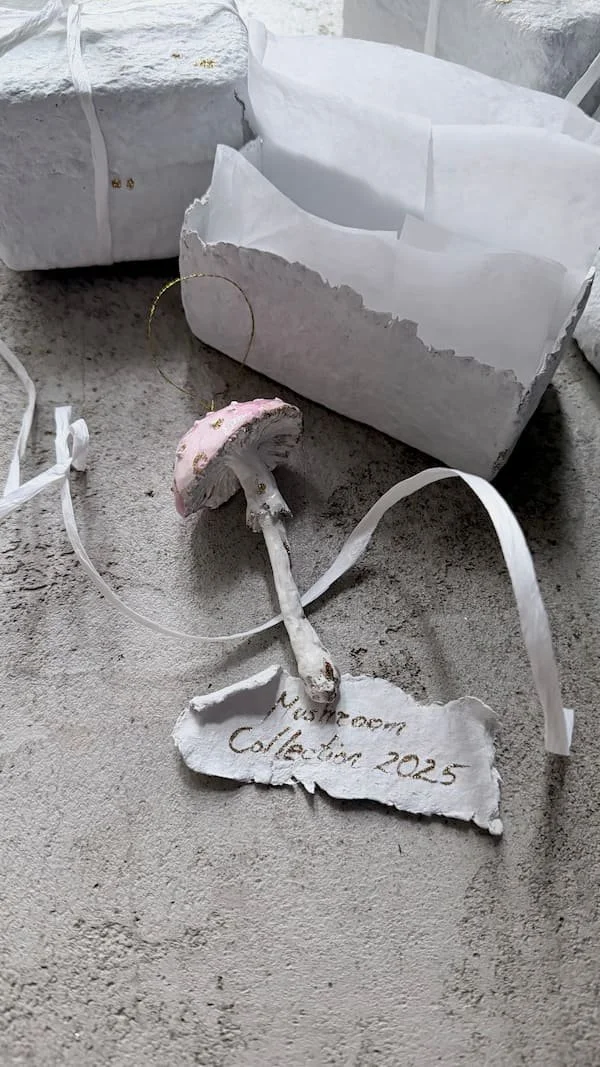
The fragment of paper that I previously added to my Christmas ornament collection (you can see it in this post) was additionally painted white – it is visible in the photo with the fly agaric mushroom ornament.
If you would like to achieve a darker paper pulp, you can simply blend whole newspapers without separating the lighter parts. An even darker tone—or completely different colours—can be achieved by painting the paper pieces after they have dried.
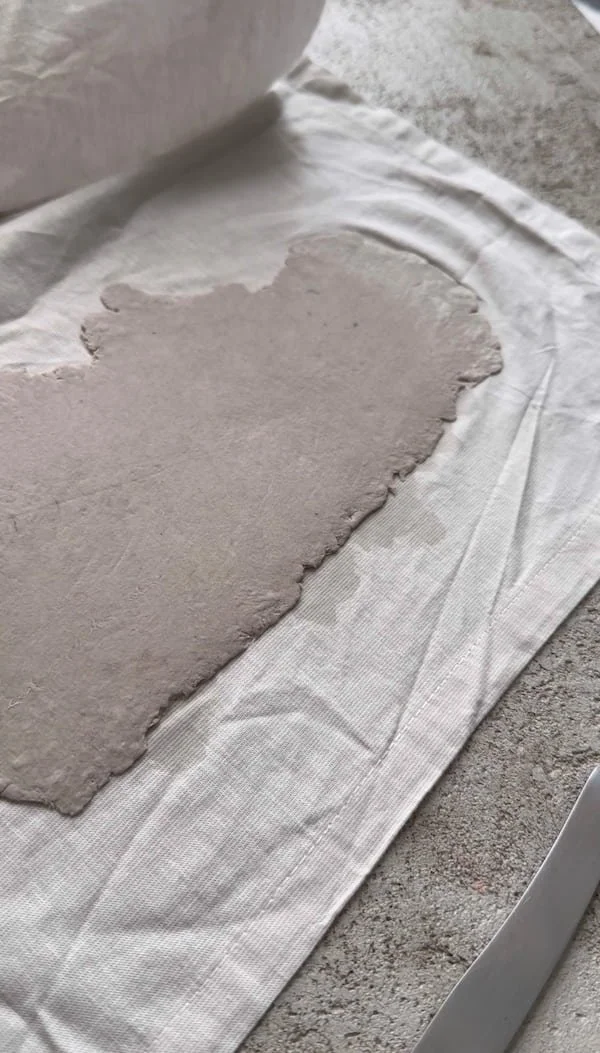
2.Shaping and Dividing the Paper Pulp
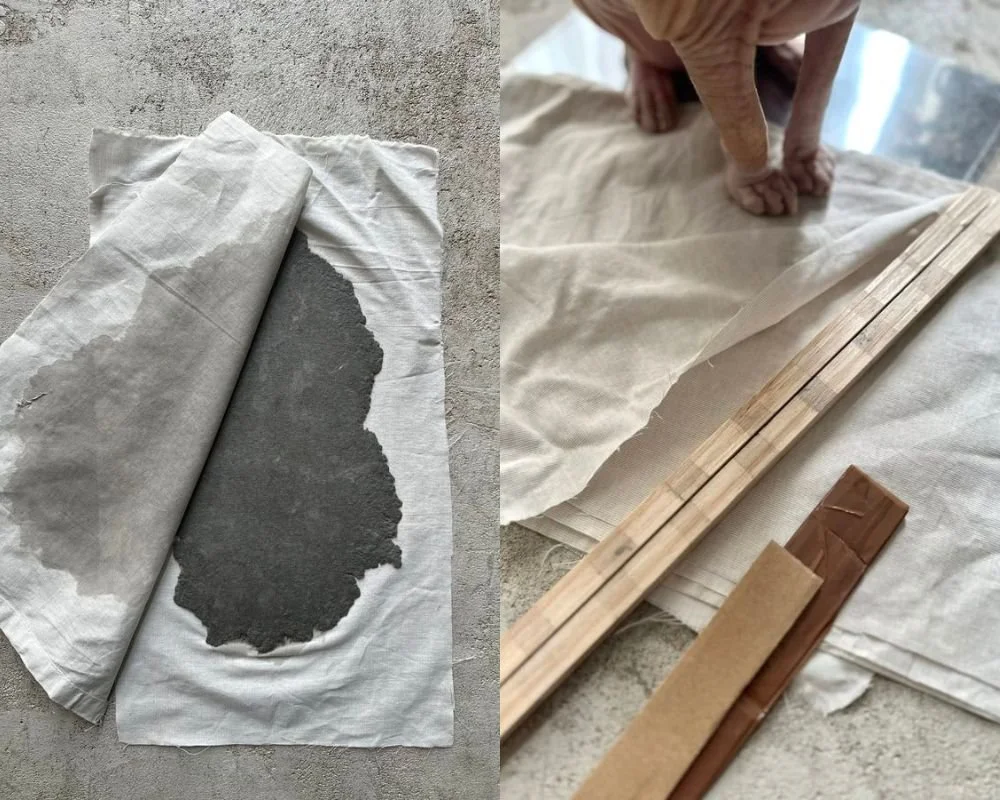
The next step is to roll the paper pulp out into a thin layer. It is a good idea to protect your work surface beforehand, as water will be pressed out of the pulp during this process. Cotton fabrics and plastic foil work well for this.
The thickness of the layer depends on the final effect you want to achieve. If you are making place cards, for example, the pulp should be rolled out quite thin. For small jewellery dishes, you can leave the layer slightly thicker.
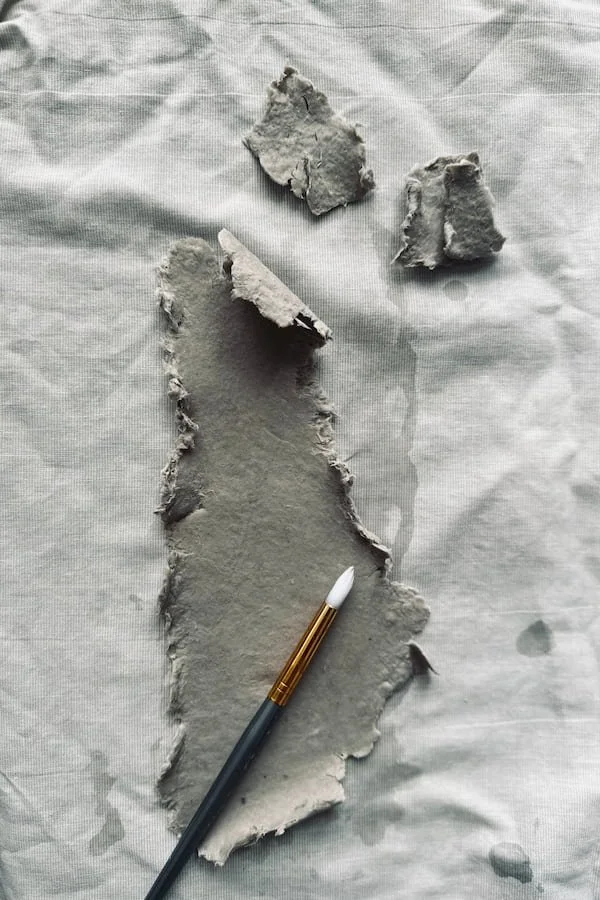
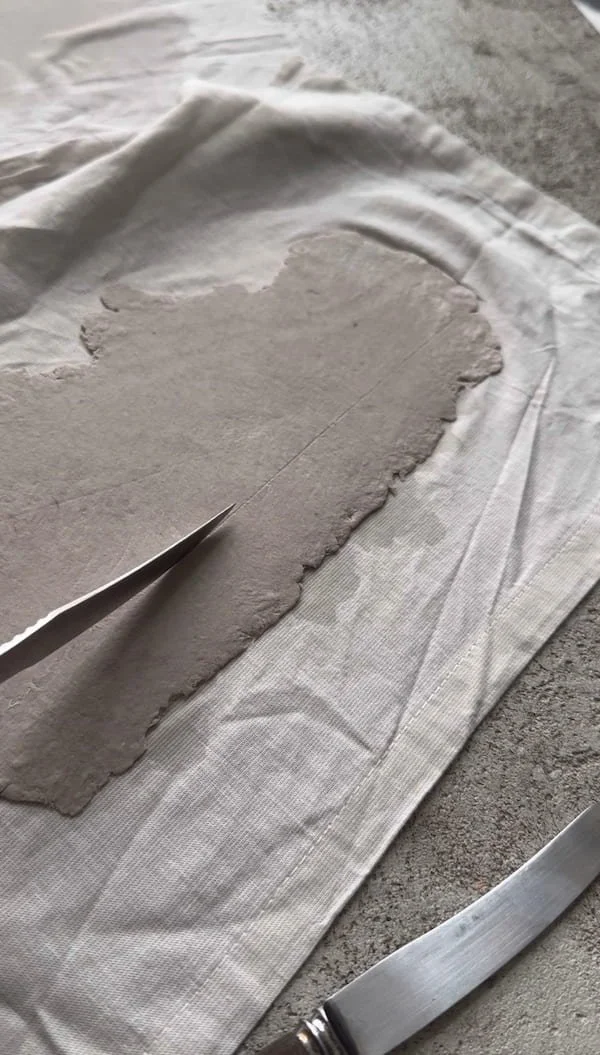
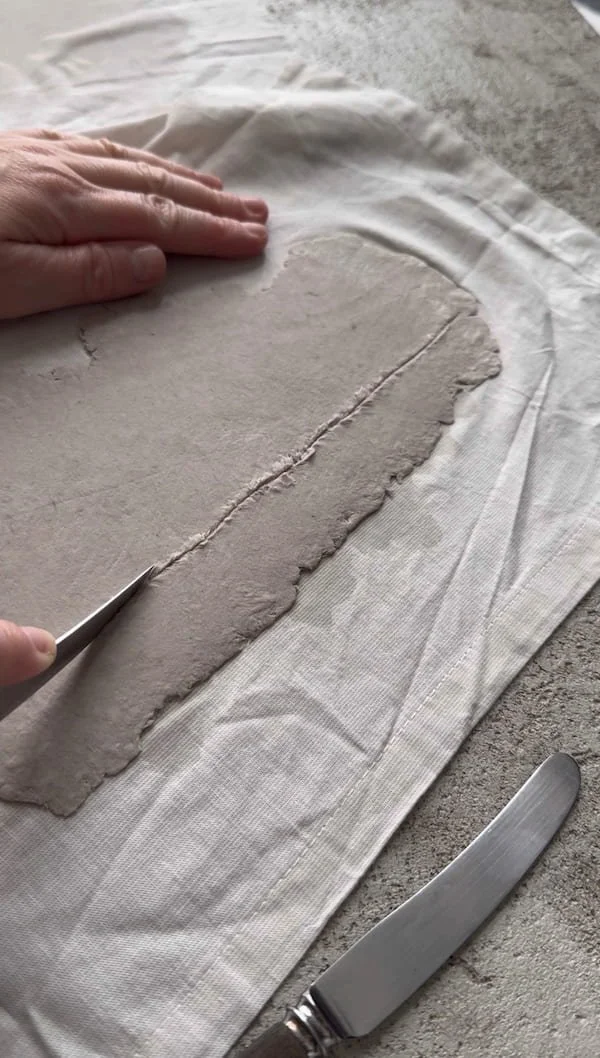
Below I show a simple way to achieve more controlled shapes. I mark lines on the surface of the pulp — in my case these are long strips that I will later divide into smaller fragments. Of course, you can create any shapes you like depending on how you plan to use the finished pieces.
Next, I deepen the marked lines slightly with a knife. This will make it much easier to separate the pulp by hand along these lines later on.
3.Shaping the Fragments and Finishing
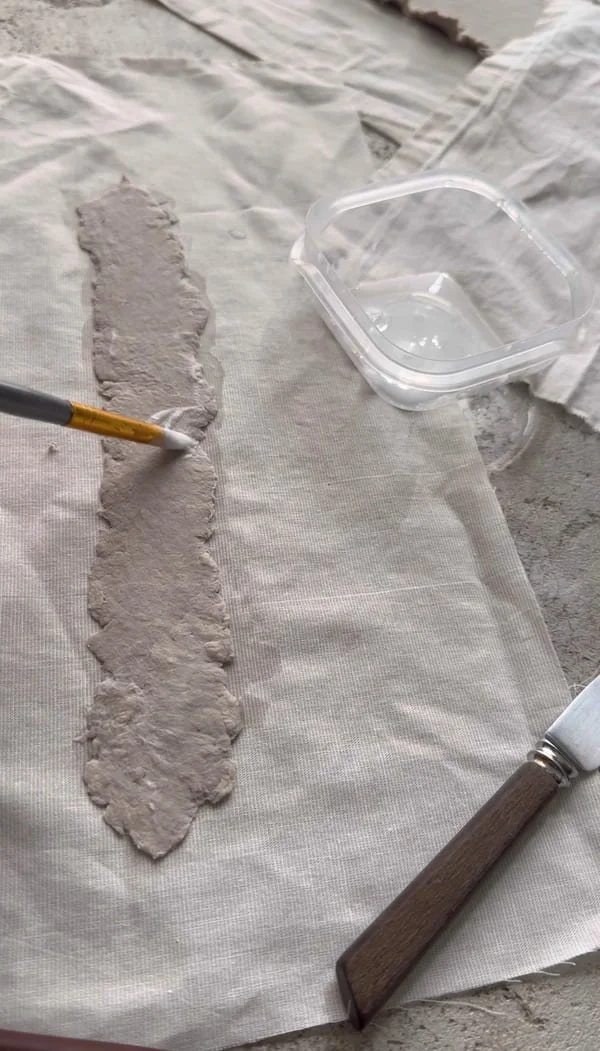
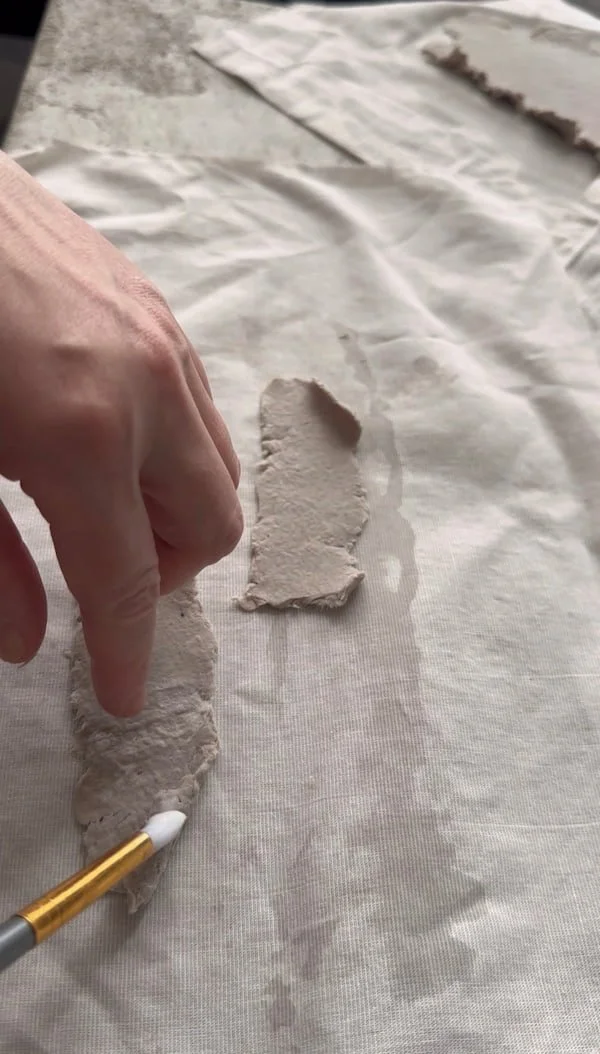
In the next step, gently tear the prepared pieces along the marked lines. Place them on your work surface and use a small amount of PVA glue to smooth and shape the edges.
If you would like to create slightly curled ends, you can wrap the soft pulp around a pencil or the handle of a brush. This helps give the pieces a more organic form.
Leave the fragments to dry completely.
Once they are fully dry, you can decorate them in many different ways — add glitter, paint them, make a small hole for a string, or attach a magnet to the back.